Advertisement
Quick Links
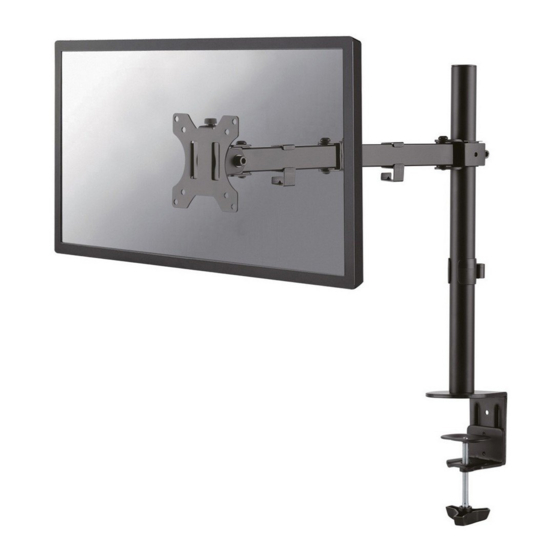
min240mm-max420mm
300mm
FPMA-D550NOTEBOOK
EN
Monitor desk mount
NL
Monitor bureausteun
DE
Monitor Tischhalterung
FR
Support moniteur de bureau
IT
Supporto da scrivania per monitor
ES
Soporte de escritorio para monitor
PT
Suporte de mesa para monitor
DK
Bordbeslag skærm
INSTRUCTION MANUAL
38mm
185mm
36mm
140mm
75mm
100mm
114mm
NO
Bordstativ til skjerm
SE
Skrivbordsfäste för bildskärm
FI
Näytön pöytäteline
PL
Uchwyt nabiurkowy do monitora
CS
Stolní držák monitoru
SK
Držiak na monitor
RO
Suport de birou pentru monitor
WWW.NEOMOUNTS.COM
Advertisement

Subscribe to Our Youtube Channel
Related Manuals for NeoMounts FPMA-D550NOTEBOOK


Summary of Contents for NeoMounts FPMA-D550NOTEBOOK
- Page 1 INSTRUCTION MANUAL 38mm 185mm 36mm 140mm min240mm-max420mm 300mm 75mm 100mm 114mm FPMA-D550NOTEBOOK Monitor desk mount Bordstativ til skjerm Monitor bureausteun Skrivbordsfäste för bildskärm Monitor Tischhalterung Näytön pöytäteline Support moniteur de bureau Uchwyt nabiurkowy do monitora Supporto da scrivania per monitor Stolní...
- Page 2 FPMA-D550NOTEBOOK Laptop 0-4,5 kg 0-44 cm 4-52 cm 75x75 - 100x100 mm Monitor 0-8 kg PARTS A. (x2) B. (x2) C. (x1) D. (x2) E. (x2) F. (x1) G. (x1) H. (x1) I. (x1) J. (x1) K. (x4) L. (x2) M.
- Page 3 STEP 1 Grommet Mount the grommet to the rod and install through the desk Monteer de doorvoer aan de stang en installeer in het bureau Befestigen Sie die Tülle an der Stange und installieren Sie sie im Schreibtisch Montez le passe-fil sur la tige et installez-le dans le bureau Montare il gommino sull'asta e installarlo nella scrivania Monte el pasacables en la varilla e instálelo en el escri-...
- Page 4 STEP 3 Attach the VESA plate to the monitor Bevestig de VESA plaat aan de monitor Befestigen Sie die VESA-Platte am Monitor Fixez la plaque VESA sur le moniteur Fissare la piastra VESA al monitor * Not Included Coloque la placa VESA en el monitor Fixar a placa VESA no monitor Przymocuj płytkę...
- Page 5 STEP 5 Adjust the torque Stel het koppel in Das Drehmoment einstellen Ajustez les couples de serrage Regolare la coppia Ajustar el par Ajustar o torque Ustawić momenty obrotowe STEP 6 Attach the clamps to the laptop holder Bevestig de klemmen aan de laptophouder Befestigen Sie die Klemmen an der Laptophalterung Fixer les pinces au support de l'ordinateur portable Fissare i morsetti al supporto per laptop...
- Page 6 STEP 8 Attach the laptop holder to the mount Bevestig de laptophouder aan de steun Befestigen Sie den Laptophalter an der Halterung Fixez le support de l'ordinateur portable au support Fissare il supporto del computer portatile al supporto Fije el soporte del portátil al soporte Fixar o suporte do portátil ao suporte Przymocuj uchwyt na laptopa do wspornika STEP 9...
- Page 7 STEP 10 Route the cable(s) through the cable clips and insert the Allen keys into the slot for future use Geleid de kabel(s) door de kabelclips en bewaar de inbus- sleutels in de houder toekomstig gebruik Führen Sie das/die Kabel durch die Kabelklemmen und stecken Sie den Inbusschlüssel in den Schlitz für zukünf- tige Verwendung Faire passer le(s) câble(s) dans les attaches de câble et con-...
Need help?
Do you have a question about the FPMA-D550NOTEBOOK and is the answer not in the manual?
Questions and answers