Table of Contents
Advertisement
Quick Links
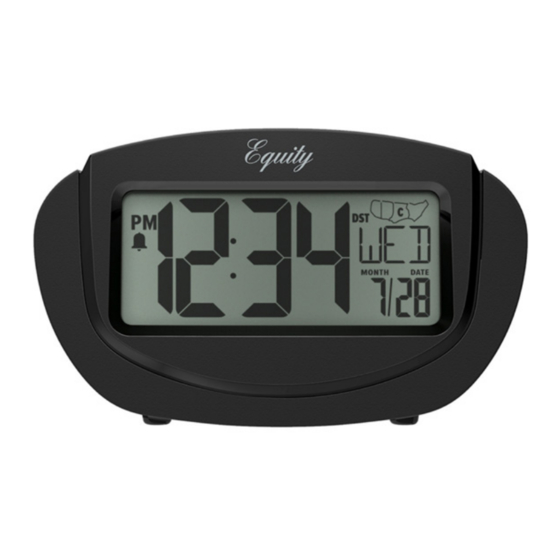
1-INCH INSTA-SET
A L A R M CLO CK
MODEL: 31022V2
DC: 110921
POWER UP
1. Open the Battery Cover located on the bottom of the clock.
2. Insert 2 "AAA" Batteries (not included) according to polarity.
3. Replace Battery Cover.
INSTA-SET TIM E
After inserting batteries, the clock will automatically set the time and date according
the Pacific Standard Time Zone. Simply select your time zone for correct time.
1. Hold TIME ZONE button. The Time Zone Indicator (P, M, C, or E) will flash.
2. Press TIME ZONE button to select your time zone.
P = Pacific Standard Time
M = Mountain Standard Time
C = Central Standard Time
E = Eastern Standard Time
3. Hold the TIME ZONE button, or wait 10 seconds to return to your normal
time display.
DAYL IG H T SAVIN G TIME (DST) SE TT I N G
1. If you live in an area that observes Daylight Saving Time, make sure to have the
DST ON/OFF Switch set to the ON position. The clock will automatically adjust
your time on the dates needed.
2. If your area does not observe Daylight Saving Time, keep the DST ON/OFF
Switch in the OFF position.
Note: The DST Indicator will appear on the LCD when the DST ON/OFF Switch is in
the ON position.
AL ARM TIM E SETTIN G & OPERAT I O N
Hold down the
button until the display changes.
1. Press the HOUR button to set your alarm hour.
Note: The PM Indicator will appear when you advance to PM time.
2. Press the MINUTE button to set your alarm minutes.
3. When the correct alarm time is shown on the display, press the
4. Move the ALARM ON/OFF switch to the ON position to turn the alarm on.
Note: The Alarm Indicator
will appear when the alarm is on.
Page 2
5. To silence the alarm for 24 hours, press any button except SNOOZE/LIGHT, and
the alarm indicator
will continue to show and the alarm will sound the next day.
6. To permanently turn off a sounding alarm, move the ALARM ON/OFF switch to
the OFF position.
S N OOZE
When alarm sounds, press the SNOOZE/LIGHT button to silence alarm for
5 minutes. Snooze function can be repeated many times if desired.
O N- DE MA N D B AC K LI G H T
Press the SNOOZE/LIGHT button to activate the display backlight. The backlight
will stay on for 7 seconds each time it is pressed.
MA N UA L T I ME & CA L EN DA R S E TTI NG
1. Hold SET button until the display changes. The Time will flash. Press the HOUR
button to set your hour. Note: The PM Indicator will appear when you advance to
PM time.
2. Press the MIN button to set your minutes. Press the SET button to confirm.
4. The Year digits will flash. Press the YEAR button to set your year. Press the SET
button to confirm.
5. The Month and Date digits will flash. Press the MONTH Button to set your month.
6. Press the DATE button to set your date. Press the SET button to confirm and exit.
12 H O U R O R 2 4 H O U R TI M E
Press the TIME ZONE (12H/24H) button to change from 12-hour to 24-hour time
format.
P OW ER REQ U I RE ME NTS & DI M EN S I O N S
Requires: 2 "AAA" batteries (not included)
Dimensions: 3.93" L x 2.75" W x 2.36" H
button.
9.98 cm L x 6.99 cm W x 5.99 cm H
Page 3
Advertisement
Table of Contents

Related Manuals for Equity 31022V2


Summary of Contents for Equity 31022V2
- Page 1 3. When the correct alarm time is shown on the display, press the button. MODEL: 31022V2 4. Move the ALARM ON/OFF switch to the ON position to turn the alarm on. 9.98 cm L x 6.99 cm W x 5.99 cm H Note: The Alarm Indicator will appear when the alarm is on.
- Page 2 Ask questions, watch detailed setup videos, and provide feedback on our La Crosse Equity provides a 2-year limited warranty on this product from the date of consumer purchase against defects batteries may be over-discharged due to a difference of voltage or capacity. This can result in venting, leakage, for material and workmanship.
Need help?
Do you have a question about the 31022V2 and is the answer not in the manual?
Questions and answers