Advertisement
Available languages
Available languages
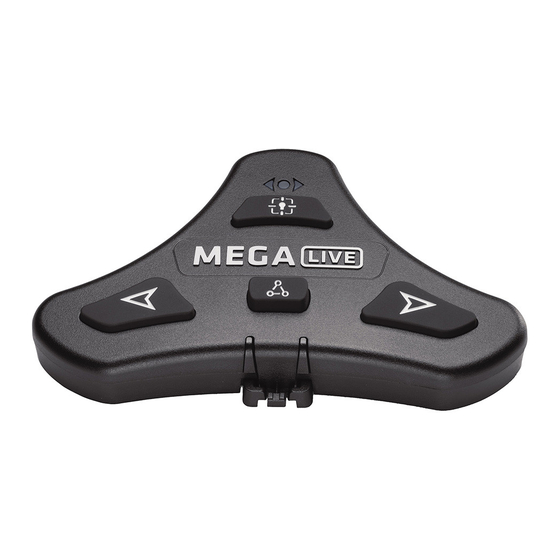
MEGA LIVE TARGETLOCK FOOT PEDAL Installation Guide
Overview
Following are instructions for the installation of this accessory. Before you start installation, we encourage you to read these instructions
carefully in order to get the full benefit from your Humminbird® accessory.
Supplies: In addition to the hardware included with your accessory, you will need the following supplies: a pencil or similar marking tool and
a drill with a #2 Phillips driving bit.
Technical Support: Contact Humminbird Technical Support through our Help Center at https:// humminbird-help.johnsonoutdoors.com/hc/en-us.
1
| Installation Preparation
Before mounting your MEGA Live Imaging TargetLock foot pedal, please give consideration to the following:
∆ Examine your boat to ensure that you will not drill into any obstructions and that the hardware will be accessible for assembly.
∆ Make sure the area under the mounting location is flat, clear to drill holes and that the installation hardware will not damage existing
components below the mounting surface. It may be necessary to shim or modify the mounting surface under the mounting location
to create a flat area for the foot pedal to be mounted.
∆ Mount the foot pedal in an area that has a clear line of communication with your Humminbird control head.
∆ Mount the foot pedal in an area where it will not become a tripping hazard.
2
| Install the Foot Pedal
1. Once you have selected a mounting location for your foot pedal, remove the foot pedal from the
base by squeezing the tabs on both sides of the foot pedal and pulling the pedal and base apart.
2. Position the base at the selected location and mark the mounting holes with a pencil or similar
marking tool.
NOTE: The base has three mounting holes that are used to secure it to the boat. The bottom side of the
base has three pads around the mounting holes. These pads should be placed facing down when the
base is installed.
3. Place one of the three (3) provided #8 screws in each of the mounting holes of the base. Make sure
the mounting holes still line up with the marked locations and then use a drill with a #2 Phillips
driving bit to secure the base to the deck of the boat. Do not overtighten.
4. Once the base is installed, reattach the foot pedal to the base. Make sure the tabs on the pedal click into place and that the pedal is
fully seated on the deck of the boat.
Securing the Base to the Deck
532966-1_A
Separating the Foot Pedal and Base
1
Advertisement
Table of Contents

Related Manuals for Humminbird MEGA LIVE


Summary of Contents for Humminbird MEGA LIVE
- Page 1 flat area for the foot pedal to be mounted. ∆ Mount the foot pedal in an area that has a clear line of communication with your Humminbird control head. ∆ Mount the foot pedal in an area where it will not become a tripping hazard.
- Page 2 When the software update is complete, the pairing process will need to be repeated. NOTE: You can check the MEGA Live Device List to confirm that the foot pedal is paired. Press the MENU key twice to open the Main Menu.
- Page 3 | Préparation de l’Installation Avant de monter votre pédale MEGA Live Imaging TargetLock, veuillez tenir compte de ce qui suit : ∆ Examinez votre bateau pour vous assurer de ne pas percer dans les obstructions et que la quincaillerie sera accessible pour l’assemblage.
- Page 4 à jour la pédale. Une fois la mise à jour du logiciel terminée, le processus de jumelage devra être répété. REMARQUE : Vous pouvez consulter la liste des appareils MEGA Live pour confirmer que la pédale est couplée. Appuyez deux fois sur la touche MENU.
Need help?
Do you have a question about the MEGA LIVE and is the answer not in the manual?
Questions and answers