Advertisement
Quick Links
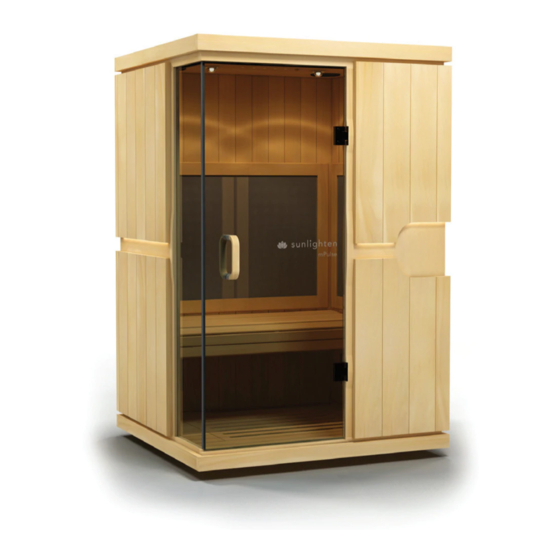
mPulse
Power Box Installation Guide
®
We're very excited you received your replacement power box and are eager to get your unit
back up to optimal operation! This power box is designed with customer installation in mind
and this guide will help you through that process while avoiding any potential pitfalls.
Labeling
The wiring connections of your power box are labeled with stickers of particular shapes and
colors to help you classify them.
Near Infrared (NIR)
Heat
Sensor (NTC)
Left Wall
Back Wall
Front Wall
Right Wall
Each wall is assigned a different shape. Walls are labeled with the viewpoint of facing the
back wall inside the sauna. Colors correspond with different levels of power distributed to
parts of the unit - power feeds, blue sensor or NTC feeds, and green near infrared feeds.
INSTALLATION
Step 1
Unplug the unit from the power source or flip the breaker for the dedicated circuit to the sauna. You
may find the power box area more easily accessible if you also remove the bench. What follows can
be done without bench removal, but is more efficient and comfortable with the added space.
Advertisement

Related Manuals for Sunlighten mPulse


Summary of Contents for Sunlighten mPulse
- Page 1 Power Box Installation Guide ® We’re very excited you received your replacement power box and are eager to get your unit back up to optimal operation! This power box is designed with customer installation in mind and this guide will help you through that process while avoiding any potential pitfalls.
- Page 2 Power Box Installation Guide mPulse Power Box Installation Guide Step 4 Disconnect the power cord on the left edge of the power box. NOTE: The power cord is also anchored by a Phillips screw to the wood inside the base, immediately to the left of the power box.
- Page 3 Disconnect the sensor connector (labeled R) from the corresponding connector F11. Depending upon which mPulse sauna you have, you’ll find this wire in one of the following configurations: in Aspire, the F19 will split from the back wall to the left and right walls. In Believe and Conquer, it will split from the right wall to the left wall.
- Page 4 Please see the diagram on the next page for which connections to pair as a reference. If you have any questions, you can contact us in the following ways: Phone: 1-877-292-0020 Live Chat on our website or view FAQs: www.sunlighten.com/customer-service DM on social: facebook.com/SunlightenSaunas or instagram.com/sunlightensaunas/...
Need help?
Do you have a question about the mPulse and is the answer not in the manual?
Questions and answers