Table of Contents
Advertisement
Quick Links
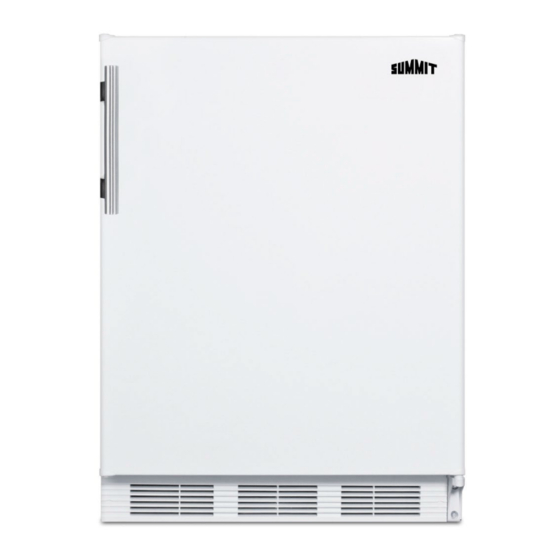
AUTO-DEFROST ALL-REFRIGERATORS
FF61W Series
BAR611WH Series
FF708BLSS Series
ALL SAFETY RULES AND OPERATING INSTRUCTIONS
Write Model and Serial Numbers here:
Model _________________________
Serial No. ______________________
Models:
Instruction Manual
BEFORE USE, PLEASE READ AND FOLLOW
FF7BK Series
FF63BK Series
BAR631BK Series
FF6BK2SS Series
Felix Storch, Inc.
An ISO 9001:2015 registered
company
770 Garrison Ave
Bronx, New York 10474
www.summitappliance.com
Advertisement
Table of Contents

Subscribe to Our Youtube Channel
Summary of Contents for Summit Appliance FF7BK Series
- Page 1 AUTO-DEFROST ALL-REFRIGERATORS Models: FF7BK Series FF61W Series FF63BK Series BAR611WH Series BAR631BK Series FF708BLSS Series FF6BK2SS Series Instruction Manual BEFORE USE, PLEASE READ AND FOLLOW ALL SAFETY RULES AND OPERATING INSTRUCTIONS Felix Storch, Inc. Write Model and Serial Numbers here:...
-
Page 2: Important Safeguards
IMPORTANT SAFEGUARDS Your safety and the safety of others are very important. Before the refrigerator is used, it must be properly positioned and installed as described in this manual, so read the manual carefully. To reduce the risk of fire, electrical shock or injury when using the appliance, follow basic precautions, including the following: Plug into a grounded 3-prong outlet. - Page 3 To ensure proper ventilation for your appliance, the front of the unit must be completely unobstructed. Choose a well-ventilated area with temperatures above 60 F (16 C) and ° ° below 90 F (32 C). This unit must be installed in an area protected from the elements, °...
-
Page 4: Table Of Contents
Table of Contents Important Safeguards ..................2 - 3 Location of Parts .....................4 Technical Information .....................5 Installation Instructions ..................6 - 8 Before Using Your Appliance ................6 Installing the Refrigerator ..................6 Electrical Connection / Extension Cord ..............7 Reversing the Door Swing / Door Handle Installation .........8 Operating Your Refrigerator ...................9 Temperature Control Defrosting Your Appliance... -
Page 5: Technical Information
Technical Information FF61W FF63BK BAR611WH Model Numbers BAR631BK FF6BK2SS FF708BLSS FF7BK Capacity 5.5 cu. ft. Electrical Input 115V AC/60Hz Rated Current 0.8A Refrigerant R600a 82.6lbs (FF61/BAR61/FF63/BAR63 models) Unit Weight 76lbs (FF7 models) Installation Free-standing 23.63" x 23.5" x 33.5" * (FF61/BAR61 models) Unit Dimensions (W x D x H) 22.63”... -
Page 6: Installation Instructions
Installation Instructions Before Using Your Appliance: Remove the exterior and interior packing. Before connecting the unit to a power source, let it stand for approximately 2 hours. This will reduce the possibility of a malfunction in the cooling system from handling during transportation. -
Page 7: Electrical Connection / Extension Cord
Electrical Connection: Improper use of the grounded plug can result in the risk of electrical shock. If the power cord is damaged, have it replaced by the manufacturer, its service agent, or similarly qualified persons in order to avoid a hazard. This unit should be properly grounded for your safety. -
Page 8: Reversing The Door Swing / Door Handle Installation
Reversing the Door Swing: NOTE: If your unit’s handle is positioned horizontally, you do not need to change the handle’s placement. NOTE: Some units’ doors may not be user-reversible. If you find the direction of opening the door of the appliance inconvenient, you can change it. -
Page 9: Operating Your Refrigerator
Operating Your Refrigerator Temperature Control: Your appliance’s evaporator system is out of sight behind the interior rear wall. The interior temperature is controlled with a thermostat knob located inside the unit, towards the upper right-hand corner. Turn the knob clockwise from the STOP (0) position toward the higher numbers for colder temperatures. -
Page 10: Care And Maintenance
Care and Maintenance Cleaning Your Appliance: Unplug the appliance, turn the thermostat to STOP (0) and remove all contents, including shelves and crisper. Wash the inside surfaces with a solution of lukewarm water and vinegar. Wipe dry with a clean, soft cloth. Wash the shelves and crisper with a mild detergent solution, then rinse and dry thoroughly. - Page 11 Troubleshooting When using this appliance, you may come across some problems that in many cases result from improper handling and can easily be eliminated. TROUBLESHOOTING GUIDE The appliance fails to operate after being connected to the power source. Check whether the power supply is active, and that the thermostat is not set to the STOP (0) position.
-
Page 12: Limited Warranty
Limited Warranty ONE-YEAR LIMITED WARRANTY Within the 48 contiguous United States, for one year from the date of purchase, when this appliance is operated and maintained according to instructions attached to or furnished with the product, warrantor will pay for factory-specified parts and repair labor to correct defects in materials or workmanship. Service must be provided by a designated service company.


Need help?
Do you have a question about the FF7BK Series and is the answer not in the manual?
Questions and answers