Table of Contents
Advertisement
Quick Links
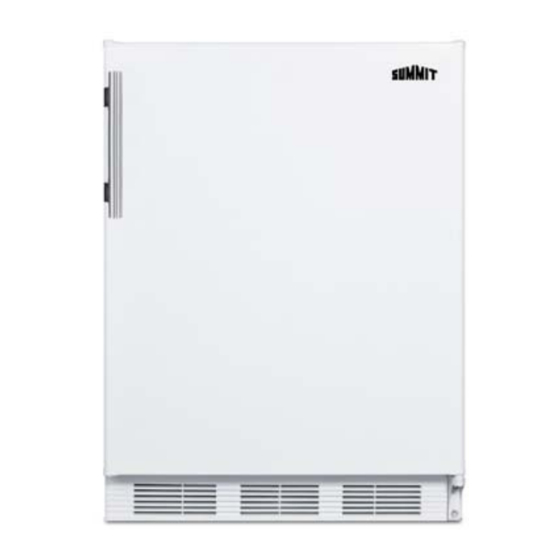
BUILT-IN HOUSEHOLD
REFRIGERATOR-FREEZERS
Models
CM411L
CT661BI
CT663BBI
Instruction Manual
BEFORE USE, PLEASE READ AND FOLLOW
ALL SAFETY RULES AND OPERATING INSTRUCTIONS
FELIX STORCH, INC.
Write the Serial Number here:
770 Garrison Avenue
_________________________
Bronx, NY10474
www.summitappliance.com
Advertisement
Table of Contents

Subscribe to Our Youtube Channel
Summary of Contents for Summit Appliance CT661BI
- Page 1 BUILT-IN HOUSEHOLD REFRIGERATOR-FREEZERS Models CM411L CT661BI CT663BBI Instruction Manual BEFORE USE, PLEASE READ AND FOLLOW ALL SAFETY RULES AND OPERATING INSTRUCTIONS FELIX STORCH, INC. Write the Serial Number here: 770 Garrison Avenue _________________________ Bronx, NY10474 www.summitappliance.com...
-
Page 2: Important Safeguards
IMPORTANT SAFEGUARDS Your safety and the safety of others are very important. Before the appliance is used, it must be properly positioned and installed as described in this manual, so read the manual carefully. To reduce the risk of fire, electrical shock or injury when using the appliance, follow basic precautions, including the following: •... - Page 3 Risk of child entrapment! Child entrapment and suffocation are not problems of the past. Junked or abandoned refrigerators and freezers are still dangerous, even if they will “just sit in the garage a few days.” • Before you throw away your old refrigerator or freezer: Take off the doors. Leave the shelves or drawers in place so that children may not easily climb inside.
-
Page 4: Table Of Contents
Table of Contents Important Safeguards ....................1 - 2 Location of Parts ......................... 3 Technical Information ......................4 Installation Instructions ....................4 - 7 Before Using Your Appliance ..................4 Installing the Refrigerator-Freezer ................4 - 5 Electrical Connection / Extension Cord ................5 Reversing the Door Swing / Switching the Door Handle .......... -
Page 5: Technical Information
To level the unit, adjust the two leveling legs at the front. • Models CT661BI and CT663BBI can be installed either free-standing, recessed or built into an enclosure. When installing as a free-standing unit, allow at least 2” (51mm) of space at the sides, top and rear of the unit to allow for proper air circulation to cool the compressor and condenser. -
Page 6: Electrical Connection / Extension Cord
• Locate the unit away from direct sunlight and sources of heat (oven, heater, radiator, etc.). Direct sunlight may affect the acrylic coating and heat sources may increase electrical consumption. Extremely cold ambient temperatures may also affect the unit's performance. •... -
Page 7: Reversing The Door Swing / Switching The Door Handle
Reversing the Door Swing: If you find the direction of opening the door of the appliance inconvenient, you can change it. Holes on the opposite side have already been prepared at the factory. This appliance can be opened from either the right side or the left. By default, the door hinge is on the right side. -
Page 8: Changing Direction Of Door Opening On Low Temperature Compartment
Changing the Direction of Door Opening on the Low Temperature Compartment: • Unscrew the blocking element and the hinge of the low temperature compartment and take off the door. • Plug the holes with plastic caps provided. • Turn the door 180° and replace it on the opposite side of the low temperature compartment. -
Page 9: Defrosting Your Appliance
NOTES: 1. For best storage, be sure not to over-pack and assure the freezer door closes fully. 2. The glass shelves are adjustable. These shelves stop short an inch before the back wall, which is essential for air flow and the proper operation of the automatic defrost system. -
Page 10: Care And Maintenance
Care and Maintenance Cleaning Your Appliance: Unplug the appliance, turn the thermostat to STOP (0) and remove all contents, including shelves, drip tray and crisper. Wash the inside surfaces with a solution of lukewarm water and vinegar. Wipe dry with a clean, soft cloth. Wash the shelves, drip tray and crisper with a mild detergent solution, then rinse and dry thoroughly. - Page 11 Troubleshooting When using this appliance, you may come across some problems that in many cases result from improper handling and can easily be eliminated. TROUBLESHOOTING GUIDE The appliance fails to operate after being connected to the power source. • Check whether the power supply is active and that the thermostat is not set to the STOP (0) position.
-
Page 12: Limited Warranty
Limited Warranty ONE-YEAR LIMITED WARRANTY Within the 48 contiguous United States, for one year from the date of purchase, when this appliance is operated and maintained according to instructions attached to or furnished with the product, warrantor will pay for factory-specified parts and repair labor to correct defects in materials or workmanship. Service must be provided by a designated service company.


Need help?
Do you have a question about the CT661BI and is the answer not in the manual?
Questions and answers