Advertisement
Quick Links
Advertisement

Related Manuals for AKCP Thermal Map


Summary of Contents for AKCP Thermal Map
- Page 1 Thermal Map & Rack Map Manual Copyright © 2018, AKCP...
- Page 2 Thermal Map Sensor & Rack Map Manual Table of Contents Introduction ........................3 Thermal Map Installation ....................4 Web Interface configuration & Rack Map Setup ..............7 Rack Map Setup ........................ 10 - 2 -...
-
Page 3: Introduction
Very Important note: The Thermal Map sensors are only compatible with the SP+ (SP2+ and SPX+), SEC+ base units and will not work on the securityProbe, DCU, CCU or sensorProbe family of base units. They also will not work on the version of the AKCP Pro Server prior to version v13.0 - 3 -... -
Page 4: Thermal Map Installation
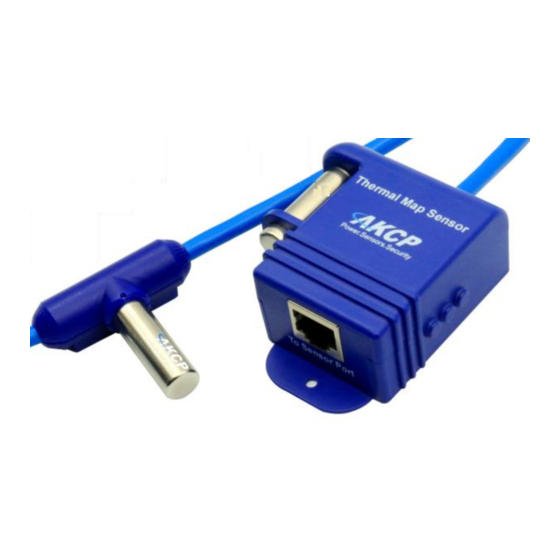
Thermal Map Sensor & Rack Map Manual Thermal Map Installation Thermal Maps are easy to install, come pre wired and ready to mount with magnetic, cable ties or ultra high bond adhesive tape to hold them in position in your cabinet. - Page 5 Thermal Map Sensor & Rack Map Manual Installation Example (front & rear of cabinet) - 5 -...
- Page 6 Thermal Map Sensor & Rack Map Manual Extendable up to a maximum of 18 meters of cable run length, you can monitor multiple cabinets from a single IP address. Up to 12 thermal maps can be connected to a single SPX+.
-
Page 7: Web Interface Configuration & Rack Map Setup
In this example above we are using the SPX+. This will appear the same on the SP2+ and SEC+. On the Summary / Monitoring page you can see the connected Thermal Map as multiple sensors. For example from the Temperature/Humidity sensor you can easily identify which port it is plugged in to on the unit (you can also freely rename the sensors afterwards). - Page 8 3 for the rear. The Differential Temp sensors monitor & display the measurements of the front to rear temperature differential. More will be explained below on this. To manage a sensor in the Thermal Map, click on the image for the list of all sensors and click on one that you wish to configure.
- Page 9 Please refer to the SP2+ Introduction Manual for detailed configuration of the Temperature/Humidity sensors. Note: the Temperature Search option is not available for the Thermal Map sensor; it is used by the Daisy-Chain Temperature Sensor (DCT). Rack Map View and Temperature Differential The sensorProbe+ and AKCP Pro Server display the thermal maps inagraphical “RackMap”...
-
Page 10: Rack Map Setup
As shown in the screen shot below navigate back to the Monitoring page in the SP+ units web UI. Then click on the “Workspace” link shown in the screen shot above. As you can now see in the screen shot above there is the AKCP, WORKSPACE & MAPS options. - 10 -... - Page 11 Thermal Map Sensor & Rack Map Manual After clicking on the MAPS option you will see the “Add Rack Map” button. Click on this to add your new Rack Map. After clicking on the “Add Rack Map” you can then label or name your new Rack Map as shown in the screen shot above.
- Page 12 Thermal Map Sensor & Rack Map Manual You can also simply drag and drop your new Rack Map to your Workspace as well as shown in the screen shot above. - 12 -...
- Page 13 Now to add the Thermal Map sensors to your new Rack Map. First click on the AKCP column which will display the Thermal Map that is connected to the SP+ unit and then simply drag and drop one of the Thermal Map sensors onto the new Rack Map. In a few seconds the temperatures and graphics will be displayed as shown in the screen shot above.
- Page 14 Thermal Map Sensor & Rack Map Manual To navagate back to the main Summery page you can click on the back arrow button shown in the screen shot above. Please contact support@akcp.com if you have any further technical questions or problems...
Need help?
Do you have a question about the Thermal Map and is the answer not in the manual?
Questions and answers