Table of Contents
Advertisement
Quick Links
Important safety instructions:
Please read carefully all instructions before assembly.
For your safety and ease, assembly by two or more adults is recommended.
Keep instructions for future use.
Pre-assembly:
Do not discard any content until assembly is complete to avoid accidentally discarding small parts or hardware.
Take out all parts and hardware from box.
Parts List
Description
Item
Chair Back
P1
P2
Seat Frame
Left Front Leg
P3
Right Front Leg
P4
Side Stretchers
P5
Front Stretcher
P6
Hardware List
Description
Item
H1
Bolts M6 x 1-1/2''
H2
Bolts M6 x 2-3/8''
H3
Bolts M6 x 3''
H4
Lock Washers 6
Flat Washers 6
H5
H6
Allen Key
H7
Screws M4 x 1-1/4"
DISCLAIMER:
WHEN PROPERLY ASSEMBLED, THIS ITEM IS SAFE FOR INTENDED USE. SELLER IS NOT LIABLE FOR
ANY DAMAGES RESULTING FROM ITEM BEING IMPROPERLY ASSEMBLED AFTER PURCHASE.
Assembly Procedures:
*Assemble the Chair on a flat, soft surface such as a carpet or cloth to prevent scratching the finish.
ASSEMBLY INSTRUCTIONS
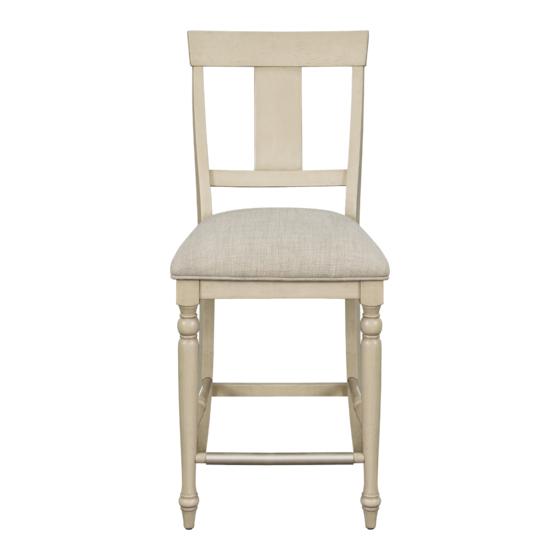
Description: FIONA COUNTER STOOL
QTY
1
1
1
1
2
1
QTY
2
4
4
10
10
1
6
Page 1 of 3
Advertisement
Table of Contents

Related Manuals for Martha Stewart FIONA COUNTER STOOL


Summary of Contents for Martha Stewart FIONA COUNTER STOOL
- Page 1 ASSEMBLY INSTRUCTIONS Description: FIONA COUNTER STOOL Important safety instructions: Please read carefully all instructions before assembly. For your safety and ease, assembly by two or more adults is recommended. Keep instructions for future use. Pre-assembly: Do not discard any content until assembly is complete to avoid accidentally discarding small parts or hardware.
- Page 2 Step 1: Attach the Seat Frame (P2) to the Chair Back (P1) as shown below. Bolts 1/4'' x 1-1/2'' (H1)x2 Bolts 1/4'' x 3'' (H3)x4 (H4)x6 Lock Washers 1/4'' (H5)x6 Flat Washers 1/4'' (H6)x1 Allen Key Page 2 of 3...
- Page 3 Step 2: Attach the Front Leg (P3 & P4) to the Seat Frame (P2) as shown below and do not tighten bolts. Attach the Side Stretchers (P5) & Front Stretcher (P6) to the Legs (P3 & P4) as shown below, at first tighten all screws and then tighten all bolts.
Need help?
Do you have a question about the FIONA COUNTER STOOL and is the answer not in the manual?
Questions and answers