Digiever DS-1200 Series Quick Installation Manual
Hide thumbs
Also See for DS-1200 Series:
- Quick installation manual (16 pages) ,
- User manual (407 pages)

Related Manuals for Digiever DS-1200 Series


Summary of Contents for Digiever DS-1200 Series
- Page 1 Network Video Recorder Quick Installation Guide DS-1200 Series 1.2.0.6 Information in this document is subject to change without notice. © Copyright 2023, DIGIEVER Corporation. All rights reserved.
-
Page 2: Table Of Contents
Package Contents ....................... 5 Hardware Description ....................6 Power on and connecting .................... 9 Connection to DIGIEVER NVR ..................9 Quick Configuration ....................13 Appendix LED Indicators at Front Panel ..................14 LED Indicators at Rear Panel ...................15... - Page 3 Quick Installation Guide Thank you for choosing DIGIEVER NVR Network Video Recorder. The following quick guide will lead you to complete the installation and configuration of the NVR. Please read the following description carefully. Safety Precautions The following safety precautions will increase the life of the NVR. Follow all precautions and instructions.
-
Page 4: Pre-Installation Notice
Pre-installation Notice Please make sure the following items are prepared for installing DIGIEVER NVR DS-1200 Series. Network connection Configuration of network cameras Compatibility of network cameras Computer for configuring DIGIEVER NVR 1-2 hard disks ... - Page 5 CD-ROM Drive It is necessary to read the operating instructions in the provided CD-ROM. Adobe Reader It is necessary to read the operating instructions in the provided CD-ROM. The audio function will not work if a sound card is not installed in the PC. Audio may be interrupted depending on network traffic.
-
Page 6: Package Contents
Package Contents NVR (Network Video Recorder) Power Cord Power Adapter RJ45 Network Cable Product CD Screws for use with 2.5” HDD... -
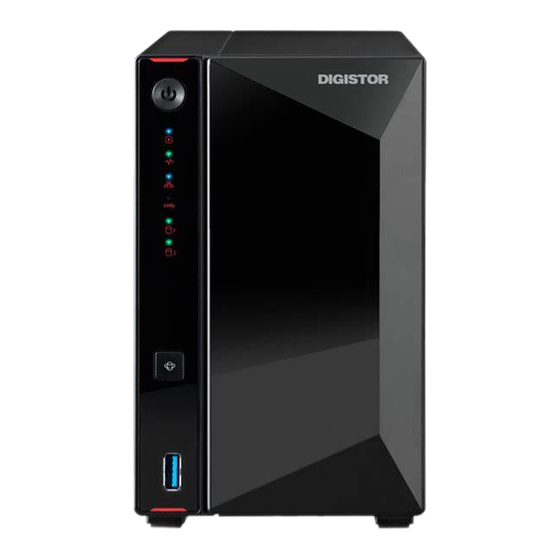
Page 7: Hardware Description
Hardware Description Front View Rear View Front Cover Power button Power LED indicator System Status LED Indicator Network LED Indicator USB LED indicator HDD LED Indicator One-Touch Backup button 1 x USB 3.2 Gen 1x1 (for auto video backup) HDD1 HDD2 2 x USB 3.2 Gen 1x1... - Page 8 Hard Disk Installation Please follow the steps as illustrated below to install the hard disk: Remove the front panel as shown in the image below ① ② Using the latch, gently pull the disk tray out of the disk bay. ③...
- Page 9 (2) 2.5-inch hard disks and SSD hard disks: Please remove the two rails on both sides of the hard drive tray. Align the hard drive with the 4 holes labeled 2.5" with the SATA connector facing outward. While maintaining a grip on the hard drive and tray, turn the tray upside down and secure the drive with four included M3 screws as demonstrated below.
-
Page 10: Power On And Connecting
Please wait for minutes until NVR beeps another time. The installation of NVR is complete right now. Connection to DIGIEVER NVR Please insert the product CD-ROM on a PC to install NVR Search and NVR Decoder. Finally, you can start Quick Configuration on a web page. - Page 11 Follow the instructions to install and the NVR Search will run automatically. ② Install NVR Decoder Click “Install NVR Decoder” and follow the instructions to setup.
- Page 12 IP address or change it in this page. However, it’s recommended setting different IP address of DIGIEVER NVR if there is more than one DIGIEVER NVR in the same LAN.
- Page 13 2. Enter a user name and password Log in the NVR with the default administrator account (user name: admin, password: admin). 3. Download and install NVR-Client.exe, a software application, to execute liveview monitoring and video playback.
-
Page 14: Quick Configuration
Once 5-step Quick Configuration are completed, you can click “Start Liveview” to start monitoring. For further details of Quick Configuration, please refer to the user manual. When the live view is displayed, you have successfully installed the DIGIEVER NVR. Congratulations! -
Page 15: Appendix
Appendix LED Indicators at Front Panel LED Color & Indicate Status Power Off Blue Power On Power Blue blinking Waking from sleep mode Orange NVR is in sleep mode because UPS battery is too low. System is off or in sleep mode when UPS battery is too low System Green blinking... -
Page 16: Led Indicators At Rear Panel
LED Indicators at Rear Panel LED Position LED/State Indicate No connection Speed Orange 1000 Mbps/100Mbps connection (Top LED) Green 2500Mbps connection LAN link is not established Link/Activity Green LAN Link is established (Bottom LED) Green LAN activity is occurring Note: Once users press reset button, configuration of Camera Setting, Recording Settings, Event &...
Need help?
Do you have a question about the DS-1200 Series and is the answer not in the manual?
Questions and answers