Advertisement
Getting started
Installing / removing the belt clip

- To install the belt clip, align the pin with the hole in the backside. Gently push until it clicks into position.
- To remove the belt clip from the unit, push the belt clip (a), while pulling the clip away from the unit (b).
Battery installation
- Remove the belt clip.
- Pull the battery cover tab (c) and gently remove the battery cover.
- Install the rechargeable battery pack following the polarity as shown.
The metal contacts should face outwards from the radio to connect on the battery door. Or install 3 'AAA' alkaline or rechargeable batteries following the polarity as shown.
![]()
- Re-install the battery cover and belt clip.

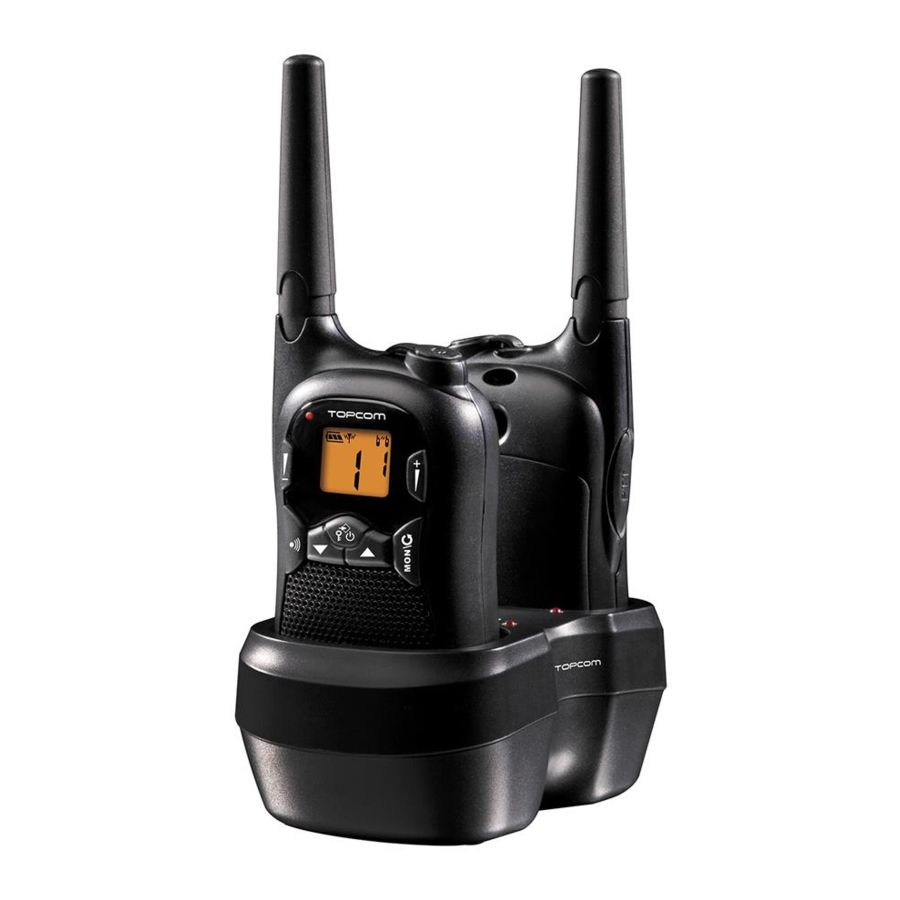
Charging batteries
When NiMh battery packs are installed, the desktop charger provides dropin charging convenience.
- Put the desktop charger on a flat surface.
- Plug the supplied adapter into the electric socket. Pay attention to the mentioned voltage and compare this with the indications of the power supply. Connect the low tension plug at the end of the cable with the connectorat the backside of the desktop charger.
- Put the PMR in the charger as indicated.

- The charging LED will turn on if it's properly inserted and charging.

It will take about 12 to 14 hours to fully charge the batteries. There is no indication on the display when the batteries are being charged.
 The device can also operate with 3 x AAA NiMh batteries or with 3 x AAA Alkaline batteries. 3 x AAA Alkaline batteries cannot be charged with the charger.
Battery charge level
The battery charge level is indicated by the number of squares present inside the battery icon on the LCD display.
 | Battery full |
 | Battery 2/3 charged |
 | Battery 1/3 charged |
 | Battery empty |
When the battery charge level is low, a beep will be heard.
Description

- Earpiece connector
- LCD display
- Volume up button
![]()
- Monitor / scan button MON /
![]()
- Up button
![]()
- Microphone
- Optional power supply connector
- Speaker
- Menu / on-off / unlock button
![]() /
/ ![]()
- Down button
![]()
- Call button
![]()
- Push to talk button PTT
- Volume down button
![]()
- Power / transmission LED
- Antenna


 /
/ 


LCD display information

- Antenna icon
- Key lock icon
- Scan icon
- Roger beep icon
- CTCSS code
- VOX indication
- Channel number
- Battery charge level indication
Using the Device
If the segments and icons of the displays are shown in light grey in this user guide, it indicates that they are blinking and/or selectable.
Turning the unit on/off
To turn on:
- Press and hold the
![]() -button
-button ![]() for 3 seconds. The unit will "beep" and the LCD display will display the current channel. To switch off:
for 3 seconds. The unit will "beep" and the LCD display will display the current channel. To switch off: - Press and hold the
![]() -button
-button ![]() for 3 seconds. The unit will "beep" and the LCD display will turn blank.
for 3 seconds. The unit will "beep" and the LCD display will turn blank.
 -button
  for 3 seconds. The unit will "beep" and the LCD display will display the current channel. To switch off:
Adjusting Speaker volume
There are 15 levels of speaker volume
- Press the volume up button
![]()
![]() in stand-by-mode to increase the speaker volume. The volume level is displayed.
in stand-by-mode to increase the speaker volume. The volume level is displayed. - Press the volume down button
![]()
![]() to decrease the speaker volume.
to decrease the speaker volume.

 in stand-by-mode to increase the speaker volume. The volume level is displayed.
 to decrease the speaker volume.
Receiving a signal
The unit is continuously in the receive mode when the unit is switched on and not transmitting..
In order for other people to receive your transmission, they must also be on the same channel and have set the same CTCSS code.
Transmitting a signal
- Press and hold the PTT-button
![]() to transmit. The TX LED will be on.
to transmit. The TX LED will be on. - Hold the unit in a vertical position with the microphone 10 cm from the mouth and speak into the microphone.
- Release the PTT-button
![]() when you want to stop transmitting.
when you want to stop transmitting.
To check the channel activity use the monitor function. The maximum transmitting time is limited to 1 minute. Release and press PTT-button  to restart transmitting.
Changing channels
- Press the
![]() -button
-button ![]() or
or ![]() -button
-button ![]() to change the channel.
to change the channel.
 -button
  or
or  -button
  to change the channel.
The instruction of Power supplies and Battery
Power Supplied.: DSC-6PFA-12 FEU 090020
Input: 100-240VAC 50/60Hz 200mA,
Output:: 9VDC, 200mA, switching mode adaptor
Manufacturer: Dee Van Enterprise Co., Ltd
Battery: LEXEL-LH060-3A44C3BT (3.6V 600 mAh NiMh)

Risk of explosion if battery is replaced by an incorrect type.
Disposed of used batteries according to the instructions.
Plug-in jack port on PMR unit can't be used for any purpose
Documents / ResourcesDownload manual
Here you can download full pdf version of manual, it may contain additional safety instructions, warranty information, FCC rules, etc.
Download Topcom Twintalker 5010 / RC-6402 - Walkie-Talkie Quick Guide
Advertisement


Need help?
Do you have a question about the Twintalker 5010 / RC-6402 and is the answer not in the manual?
Questions and answers