Table of Contents
Advertisement
Advertisement
Table of Contents

Subscribe to Our Youtube Channel
Summary of Contents for My Geko Gear Orbit 535
- Page 1 Orbit 535 User Manual...
- Page 2 I. Package Contents DVR*1 Magnetic Bracket*1 Car Charger*1 User Manual*1 SD Card*1 SD Card Reader*1 Card Case*1 Extra 3M*1 II. Camera Introduction...
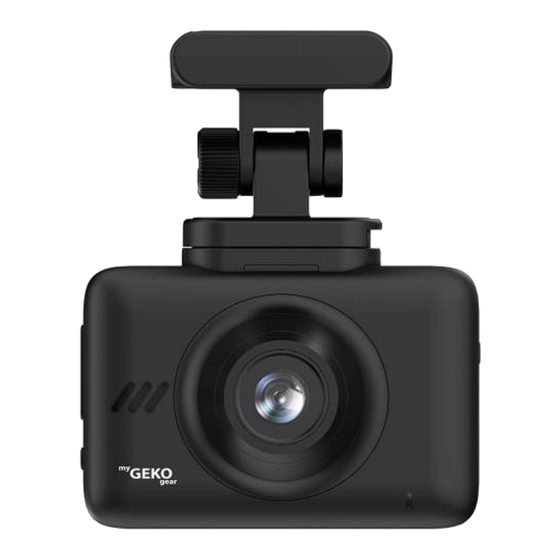
- Page 3 13. 3M Adhesive Windshield Pad Dash Cam Installation 2. Attach the Orbit 535 to the magnetic mounting bracket. Pay attention to the tab (see picture below) and install the camera onto the windshield with this tab facing the rear of the car.
-
Page 4: Recording Settings
3. Remove the protective film from the adhesive sticker and affix the mount onto the desired location on the windshield. Again, make sure the tab is facing the rear of the car. 4. Connect the power cord to the Mini-USB port of the Orbit 535 and the cigarette lighter end to the power port. - Page 5 Notice: While accessing the MENU or when recording is PAUSED, the camera will auto-resume recording if no activity is detected for 10 seconds. File Locked G-Sensor Recording Record Audio Video Mode Recording Time time Resolution Loop Recording Motion Detection Speed Water Mark Signal Date Time...
- Page 6 1. [Resolution]: Select the video resolution. [4K, 2K, 1080P] (Default: 4K) 2. [Record Audio]: Enable or disable audio recording. [Off/On] (Default: On) 3. [G-Sensor]: Set the G-Sensor sensitivity for automatic recording emergency lock. [Off/Low/Medium/High] (Default: Low) 4. [Loop Recording]: Select the maximum duration of individual recordings. [Off/1 Minute/3 Minutes/5 Minutes] (Default: 3 Minutes) 5.
-
Page 7: Photo Mode
capacity to store recordings locked by the G-Sensor. The remaining 70% of the SD card is used to store normal loop recorded video files. When locked files exceed 30% of the memory card’s capacity, locked videos will begin to loop record over the oldest locked files, deleting old recordings one at a time, in favor of creating new recordings. - Page 8 Delete: Delete videos/photos. [Delete Current/Delete All] Protect: Lock/Unlock videos/photos. [Lock Current/Unlock Current/Lock All/Unlock All] 4. [Setup] Menu (Wrench Icon) While recording is PAUSED, short press the M button to enter menu page 1, then press the M button again to enter menu page 2, the [Setup Menu]. Use the UP/DOWN buttons to navigate and the OK button to confirm your selections.
- Page 9 2. Open the Settings Menu on your smartphone and make sure Wi-Fi is enabled. 3. Open the Wi-Fi Connections Menu on your smartphone and tap the Wi-Fi SSID of the “Orbit 535” to connect. The password is: 12345678. 4. After the connection is successful, launch the RoadCam app to control the Orbit 535.
-
Page 10: Indicator Lights
included in the package. If you purchase a third-party GPS module, please take note of the following requirements: a. 2.5mm TRRS connector b. The diameter of the collar must be less than 4mm. (See below) 7.Indicator Lights Red light: On – Power On; Off – Power Off Blue light: Off –... - Page 11 1. Camera is not recording • Format the TF card through the machine • Format the SD card in a PC/Mac to the FAT32 file system • Replace with a new memory card 2. Memory Error • Format the SD card 3.
-
Page 12: Warranty
10. Please use the Orbit 535 dash cam for its intended purpose. Do not use it in an illegal manner, or in a way that may physically damage the device or create a hazard to the safe operation of the vehicle or its occupants. - Page 13 *IMPORTANT: Proof of original purchase is required for warranty service.


Need help?
Do you have a question about the Orbit 535 and is the answer not in the manual?
Questions and answers