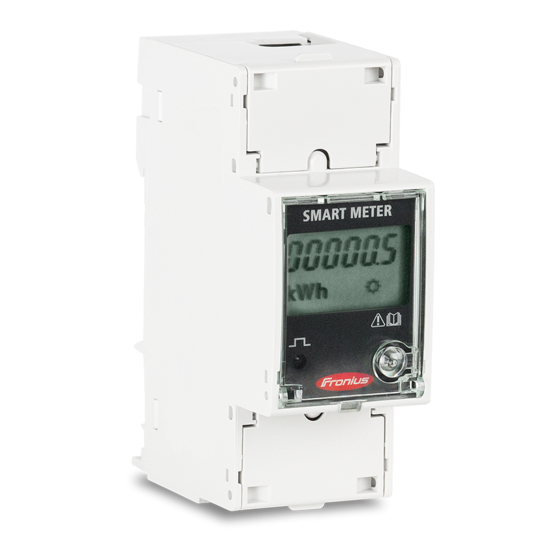
Fronius 63A-1 Quick Start Manual
Smart meter
Hide thumbs
Also See for 63A-1:
- Operating instructions manual (32 pages) ,
- Quick manual (20 pages) ,
- Quick start manual (8 pages)
Summary of Contents for Fronius 63A-1
- Page 1 Quick guide: How to do install a Fronius Smart Meter* *Single phase or 3-phase Energy Meter 43,0001,1477 Fronius Smart Meter 63A-1 43,0001,1473 Fronius Smart Meter 63A-3 1/10 (c) Fronius Australia Pty. Ltd, 2015...
- Page 2 Fronius reserves all rights, in particular rights of reproduction, distribution and translation. No part of this work may be reproduced in any way without the written consent of Fronius. It must not be saved, edited, reproduced or distributed using any electrical or electronic system.
- Page 3 / Important! The Fronius Smart Meter cannot be used in combination with the Fronius Datamanager Version 1. / The Fronius Datamanager V2 needs to have a software version of V3.3.6-13 or greater. (For details how to upgrade the firmware see chapter 1.3 Software update of Fronius Datamanager).
- Page 4 / Open a web browser and go to http://192.168.250.181 http://datamanager/ Alternatively you can use Fronius SolarWeb App for tablet or smart phone and go to ‘Settings’ and click ‘PV Inverter Homepage’ / Select Firmware update The Datamanager web interface (PV Inverter Homepage) Go to ‘Firmware update’’...
- Page 5 Select ‘Update via LAN’ if the update file is stored locally on the computer*. Start the update procedure. / Start the download Read through the information and click ‘Yes’ / The software will automatically download 5/10 (c) Fronius Australia Pty. Ltd, 2015...
- Page 6 / To finish the update klick OK For more detailed information on how to upgrade the firmware for Fronius Datamanager V2 please see the Operating Instructions on the Fronius website under Solar Energy / Products / System monitoring / Datalogging /Fronius Datamanager 2.0 or click:...
- Page 7 2 INSTALLATION AND SETUP OF THE FRONIUS SMART METER 2.1 Schematics and Wiring Diagram 3 shows the system configuration ModBus RTU / RS485 Fronius inverter with Datamanager V2 Fronius Smart Meter (Diagram 3) Please note: / Wiring between meter and inverter should use CAT5 or CAT6 cable (LAN cable)
- Page 8 ** It is important to connect the Neutral. (Diagram 5) Wiring detail for Single Phase Smart Meter 63A/1PH*** and Fronius Datamanager V2 * The 120 Ohm terminating resistor comes with the meter *** Please note that the connections 33, 34, 35 on the...
- Page 9 2.2 Activate the meter on the Fronius Datamanager web interface The dynamic power reduction can be set on the web interface of the Fronius Datamanager as shown below. / On the Datamanager web interface select Settings Go to ‘Settings’. / Before it is possible to enter the METER settings a service password is required. If no service password has...
- Page 10 Save the setting by clicking the tick! For further explanations on feed-in path and consumption path see chapter 1.2 Where to put the Fronius Smart Meter / The meter is activated once you get the following message. Click OK!


Need help?
Do you have a question about the 63A-1 and is the answer not in the manual?
Questions and answers