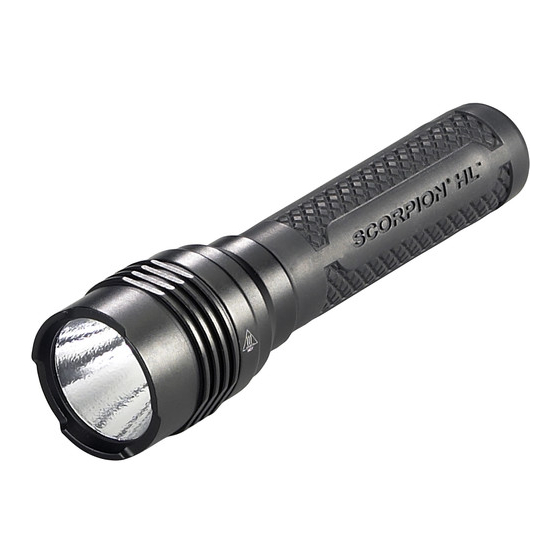
StreamLight SCORPION Service Manual
Hide thumbs
Also See for SCORPION:
- Operating instructions (2 pages) ,
- Operating instructions (2 pages) ,
- Operating instructions (2 pages)
Table of Contents
Advertisement
SERVICE MANUAL
SCORPION
™
This Streamlight service manual is provided "AS IS" and for informational
purposes only.
STREAMLIGHT MAKES NO WARRANTY OF ANY KIND REGARDING THE
INFORMATION CONTAINED IN THIS SERVICE MANUAL. FURTHERMORE,
WE DISCLAIM ALL WARRANTIES AND CONDITIONS WITH REGARD TO
THIS INFORMATION, INCLUDING ALL IMPLIED WARRANTIES AND
CONDITIONS OF MERCHANTABILITY, AND FITNESS FOR A PARTICULAR
PURPOSE.
WE ARE NOT LIABLE FOR ANY SPECIAL, INDIRECT OR
CONSEQUENTIAL DAMAGES OR ANY DAMAGES WHATSOEVER, WHETHER
IN AN ACTION OF CONTRACT, NEGLIGENCE OR OTHER TORTIOUS
ACTION, ARISING OUT OF OR IN CONNECTION WITH INFORMATION
AVAILABLE FROM THIS SERVICE MANUAL.
STREAMLIGHT TAKES NO RESPONSIBILITY FOR THE INFORMATION, OR
WHATEVER YOU DO WITH THE INFORMATION. It may not necessarily be
correct, accurate, safe, effective or reliable, and it may not apply to your
specific situation. It is subject to change at any time without notice and
Streamlight reserves the right to make changes and corrections at any
time without notice.
Any modifications you make to your Streamlight
product are AT YOUR OWN RISK.
You should consult the product's
operating instructions or a Streamlight authorized service center with any
questions or when selecting and using parts for your Streamlight product.
For products using lithium CR123A cells: WARNING: FIRE, EXPLOSION,
BURN HAZARD - USE ONLY STREAMLIGHT, PANASONIC, SANYO, OR
ENERGIZER CR123A OR DURACELL 123. DO NOT MIX BRANDS OR OLD
AND NEW BATTERIES.
To the maximum permitted by applicable law, in no event will Streamlight,
its affiliates, owners, directors, or officers, be liable for any special,
incidental, indirect, consequential or punitive damages, costs or expenses
whatsoever, including legal fees, arising from or in any way related to the
use of or inability to use the service manual, even if Streamlight or an
authorized representative of Streamlight has been informed, is aware or
should have been aware of the possibility of such damages.
Information
contained
herein
shall
be
deemed
provided
in
the
Commonwealth of Pennsylvania and shall be subject to Pennsylvania law
and jurisdiction.
This disclaimer and the information contained in this service manual is the
proprietary intellectual property of Streamlight, Inc. No part of this service
manual may be reproduced without Streamlight's written authorization.
(c) Streamlight, Inc. All Rights Reserved.
PART No. 990523
February 2007
Advertisement
Table of Contents

Summary of Contents for StreamLight SCORPION
- Page 1 Streamlight or an authorized representative of Streamlight has been informed, is aware or should have been aware of the possibility of such damages.
-
Page 2: Table Of Contents
TABLE OF CONTENTS PREFACE..................2 COMPONENT LIST AND CUTAWAY DRAWING......3 TROUBLESHOOTING DIAGRAM..........4 GENERAL NOTES................ 5 ELECTRICAL TEST OF THE SWITCH ASSEMBLY....6 EXTRACTING THE SWITCH ASSEMBLY........7 SLEEVE REMOVAL/REPLACEMENT (W/O SERVICE KIT) INSERTING THE SWITCH ASSEMBLY........9 SERVICING THE LAMP HOLDER ASSEMBLY......10 REPLACING THE LENS.............. -
Page 3: Preface
This manual is dated (see front cover). Additions, deletions and changes to this manual will display a later date. A set of special tools is required for complete servicing and is available as Streamlight Repair Kit, Part No. 990499. The Service Kit Includes :... -
Page 6: General Notes
GENERAL NOTES The lithium batteries should be replaced when troubleshooting the Scorpion. Remove the batteries from the flashlight by unscrewing the head from the body. The Scorpion uses a high output xenon bi-pin light bulb. DO NOT TOUCH A HOT BULB. Allow the bulb to cool before handling. -
Page 7: Electrical Test Of The Switch Assembly
ELECTRICAL TEST OF THE SWITCH ASSEMBLY 1. Unscrew the head of the flashlight from the barrel. 2. Place a multimeter into the continuity position. 3. Place one meter lead into the barrel and make contact with the spring terminal at the base of the switch (see illustration). -
Page 8: Extracting The Switch Assembly
EXTRACTING THE SWITCH ASSEMBLY 1. Unscrew the head from the flashlight barrel. 2. Remove the rubber barrel sleeve: (See page 8 If no Service Kit is available.) a. Screw the threaded end of the barrel into the barrel holder/sleeve tool (P/N:850166). b. -
Page 9: Sleeve Removal/Replacement (W/O Service Kit) -8
CAUTION: KEEP FINGERS FROM BETWEEN THE HANDLES OF THE PLIERS. b. Apply downward pressure to the barrel with your free hand. c. The switch will slide upwards and free from the barrel. Discard the switch. SLEEVE REMOVAL/REPLACEMENT (No Kit) Remove the head from the barrel of the flashlight. Remove the batteries. Remove the old sleeve by cutting it with a sharp knife. -
Page 10: Inserting The Switch Assembly
INSERTING THE SWITCH ASSEMBLY 1. Grasp the barrel with one hand and place it threaded end down onto a solid surface. 2. Obtain a new switch assembly (P/N: 850018) and inspect it to make sure that the positive contact spring is present (see illustration at right and note on page 5). -
Page 11: Servicing The Lamp Holder Assembly
THE LAMP HOLDER ASSEMBLY 1. Remove the head from the barrel. 2. Place the head assembly lens down onto a flat surface. 3. Grasp the white lamp holder assembly and remove it from the head. 4. The bulb can be checked while it is still in the lamp holder. a. -
Page 12: Replacing The Lens
3. Grasp the head and hold it so that the lens is facing upwards. 4. Hold the Scorpion lens removal tool (P/N:850168) in the other hand and rest the base of the tool on a solid surface (the tool can also be paced in a fixed vise).


Need help?
Do you have a question about the SCORPION and is the answer not in the manual?
Questions and answers