Advertisement
Quick Links
Advertisement

Subscribe to Our Youtube Channel
Related Manuals for DIGITAL YACHT PilotLink2


Summary of Contents for DIGITAL YACHT PilotLink2
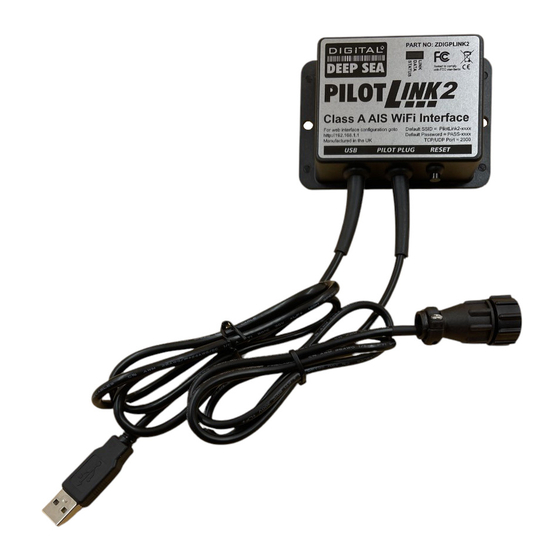
- Page 1 PILOTLINK2 CLASS A AIS WIRELESS INTERFACE Version 1.00R...
-
Page 2: Before You Start
PilotLink2 web interface that can be displayed and configured using the web browser on your mobile device. PilotLink2 is designed to be easy to install, so that Pilots can quickly take it from vessel to vessel, just plugging in to the ship’s Class A Transponder and powering it from a USB socket or power pack. -
Page 3: Installation
Best location for Wi-Fi reception i.e. not inside a metal enclosure Installation Step 1 - Cabling • Connect the PilotLink2’s Pilot Plug cable to the Pilot socket of the Class A transponder • Route the USB cable to a USB power source, but do not plug in Installation Step 2 –... - Page 4 Installation Step 3 – Powering the PilotLink • Any USB type A socket can be used to power the PilotLink2 which consumes less than 100mA • Plug the USB cable in to the USB socket and the three LEDs should start to illuminate or flash.
-
Page 5: Normal Operation
Using the PilotLink2 ’s Web Interface Any device, wirelessly connected to the PilotLink2 , can access its web interface by typing http://192.168.1.1 http://pilotlink2.local in to its browser’s address bar. This will take you to the Pilotlink2’s homepage as shown in Figure 1. - Page 6 Figure 1 From the home page you can view the Dynamic, Static and Voyage data from the Class A transponder, by clicking the AIS Status button. When you first enter this page you will only see the latest Dynamic Data (Fig 2). Figure 2 Within 6 minutes the Static and Voyage data will be displayed (Fig 3).
- Page 7 Figure 3 This is the Class A AIS Transponder’s “Own Data” that the PilotLink2 is decoding from the NMEA 0183 VDO Sentences that the transponder is outputting on its Pilot Plug socket. If the data is not being received or there are problems with the data, it is possible to display or log the raw NMEA 0183 data being output by the Class A transponder, by clicking on the View Data button on the home page.
- Page 8 Figure 4 At the bottom of this page are three buttons, Pause to freeze the scrolling data, Start/Stop logging the data and to Download the logged data to your wireless device. The last Settings button on the home page takes you to the settings page (Fig 5). Figure 5...
- Page 9 If the wireless network you are joining uses fixed IP addresses, you can also set the PilotLink2 to use a fixed IP address by turning off the AUTO IP (DHCP) switch and typing in the IP address and Netmask you need. Unless you are experienced in computer networking, we do not recommend changing these settings.
- Page 10 Now in the Settings page you can see the wireless network and password boxes outlined in Green, to indicate that the connection has been successful. The IP address shown is the address that the PilotLink2 has on the new network (Fig 7). Figure 7...
- Page 11 Figure 8 Finally, at the bottom of the Settings page is the Firmware Update section, for updating the unit (if necessary) and also the product serial number and current firmware version.
Need help?
Do you have a question about the PilotLink2 and is the answer not in the manual?
Questions and answers