Advertisement
1. Introduction
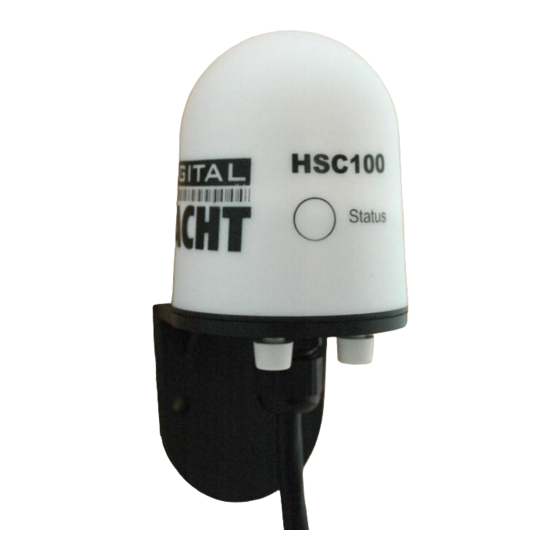
Congratulations on the purchase of your HSC100 Compass Sensor. It is recommended that your compass sensor is
installed by a professional installer.
Before operating the unit you should also familiarise yourself again with the user manual of the
equipment that you are connecting the HSC100 to. Pay particular attention to the Compass Interfacing
section and any settings that need to be configured for correct operation.
2. Before you start
The HSC100 is a smart "all in one" Compass solution for small boats. Simply connect the HSC100 to a 12v or 24v DC
supply and it will immediately start calculating the heading of the boat and outputting this data in NMEA 0183 format
(4,800 baud) or Furuno AD-10 format. The HSC100 outputs compass data at a frequency of ten times a second making it
ideal for smooth radar overlay on chart plotters, 'course-up' Radar input or for driving an autopilot. It is housed in a water-
resistant enclosure so it can be mounted outside in steel hulled boats.
Carefully consider how you wish to connect the HSC100 to your existing navigation system before you start installing
cables. To display the Compass data you will need:
Suitable dedicated chart plotter or radar that can read and display Compass data via NMEA0183
Or a suitable PC Navigation software running on a PC with Microsoft Windows XP
®
Vista
/Windows 7
®
with a free RS232 serial port or a free USB port and USB to serial port adaptor.
Installation & Quick Start Guide
HSC100 Compass Sensor
®
/Windows 2000
QUICK START HSC100-01-VR1
®
or Windows
Advertisement
Table of Contents

Related Manuals for DIGITAL YACHT HSC100


Summary of Contents for DIGITAL YACHT HSC100
- Page 1 2. Before you start The HSC100 is a smart “all in one” Compass solution for small boats. Simply connect the HSC100 to a 12v or 24v DC supply and it will immediately start calculating the heading of the boat and outputting this data in NMEA 0183 format (4,800 baud) or Furuno AD-10 format.
- Page 2 The HSC100 should be connected to the boat’s DC supply via a 1 Amp fuse. The unit requires 8V to 30V DC supply voltage. Typical supply current during operation is approx. 25mA. Note that the operation of the LED adds another 10mA and that during auto-calibration the consumption can be as high as 60mA.
- Page 3 The string 0872 represents the heading 87° 20’ so that the precision is to 1/6 of a degree. At the same time the HSC100 would be also sending the NMEA data to a precision of 1/10 of a degree.
- Page 4 1 second. This will cancel the calibration and leave the unit in an un-calibrated state. If the calibration completes successfully, the HSC100 Status LED should change from being on continuously to short flashes.
Need help?
Do you have a question about the HSC100 and is the answer not in the manual?
Questions and answers