Advertisement
Quick Links
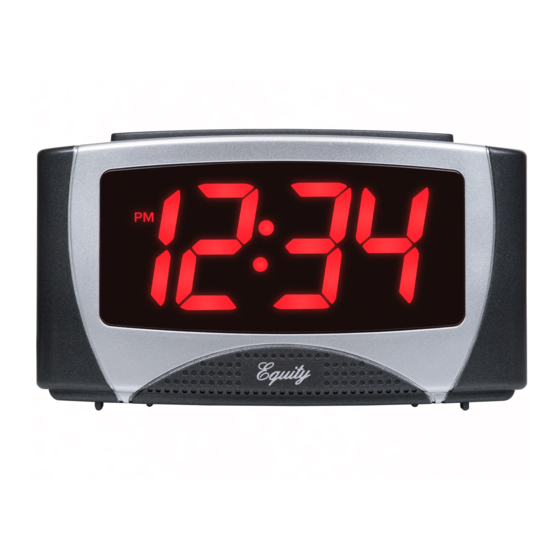
1.2-INCH LED
A L A R M C LO CK
B UTTON FUNCTI ON S
1. HR: Press to set the hour
1
3
2
2. MIN: Press to set the minutes
3. SNOOZE: Press to activate
snooze for 8 minutes
4. Set Select Switch:
TIME: Select to set Hour/Minutes
ALARM: Select to set Alarm Time
LOCK: Lock to buttons to avoid
changes
5. ALARM ON/OFF: Turn alarm on
or off
7
6. DC5V Jack: Power connection
4
5
7. Backup Battery Compartment
6
MODEL: 30029-USB
DC: 022123
P OWE R UP
1. Insert the included 5-Volt USB Power Cord into a power brick or other
USB powering device (not included), and then into the back of the
clock. Optional: Install 2 "AAA" batteries (not included) to backup time
and alarm settings.
2. The time display will flash 12:00, an indication to set the time.
T I M E S E T T I NG
1. Slide the Set Select Switch to the TIME position.
2. Use the HR button to set your hour and the MIN button set your
minutes.
Note: The PM Indicator will appear when you advance to PM time.
3. When the correct time is shown, slide the Set Select Switch back to the
LOCK position.
A L A R M TI M E S E TT I N G & O P ER AT I O N
1. Slide the Set, Select, Switch to ALARM. Press the HR Button to set your
hour. Note: The PM Indicator will appear when you advance to PM
time.
2. Press the MIN button to set your minutes.
3. When the correct time is shown on the display, slide the Set, Select,
Switch to LOCK.
4. Slide the ALARM ON/OFF Switch to ON to active the alarm.
ACT I VAT E / D E AC T I VAT E & S N O OZ E A LARMS
• Slide the ALARM ON/OFF Switch to ON to active the alarm. The alarm
icon will show.
• Slide the ALARM ON/OFF Switch to OFF to deactive the alarm. The
alarm icon will disappear.
• Press the SNOOZE button to silence a sounding alarm for 8 minutes.
This can be repeated.
Page 2
BATTERY BAC KU P
• Insert 2 "AAA" battery (sold separately) into the Battery Compartment on
the back of the clock. This will keep your time and alarm settings saved
until power is restored.
• The LED display will not light-up and the alarm will not sound at the
preset alarm time until power is restored.
Note: If there is no battery installed and the power is interrupted, the
display will flash 12:00 and the time and/or alarm will need to be set again.
POW ER R EQU IR EMENTS & DIMEN SIO NS
Power: 5.0V USB Power Cord (Included) & USB Power Brick (not Included)
Battery Backup: Optional 2 "AAA" Batteries (not Included)
Page 3
Advertisement

Related Manuals for Equity 30029-USB


Summary of Contents for Equity 30029-USB
- Page 1 • Slide the ALARM ON/OFF Switch to OFF to deactive the alarm. The 7. Backup Battery Compartment alarm icon will disappear. • Press the SNOOZE button to silence a sounding alarm for 8 minutes. This can be repeated. MODEL: 30029-USB DC: 022123 Page 2 Page 3...
- Page 2 Equity’s option, without charge. This warranty does not cover built-in installation such as a bookcase or cabinet that may impede the flow of air through the instructions, may cause harmful interference to radio communications.
Need help?
Do you have a question about the 30029-USB and is the answer not in the manual?
Questions and answers