Fisher & Paykel DD60SHTI7 Installation Manual
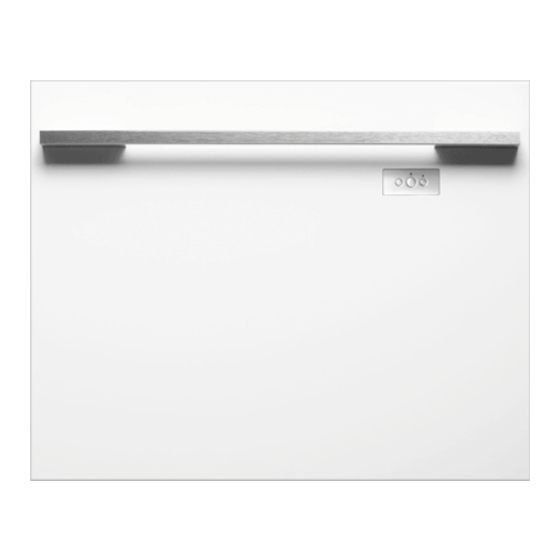
Integrated models with remote only - installing the front panel
Hide thumbs
Also See for DD60SHTI7:
- User manual (64 pages) ,
- Installation instructions manual (23 pages) ,
- Quick start manual (2 pages)
Advertisement
Integrated models with remote only - Installing the front panel
Details how to install the front panel for integrated model with remote only.
Electrical Shock Hazard
• Before continuing, ensure that the product is disconnected from the power supply.
• Failure to follow this warning may result in electrical shock, injury or fire.
https://producthelp.fisherpaykel.com/eu/Clean/DishDrawer%E2%84%A2/Integrated_Single/DD60SHTI7/Installation_Guide_D...
1. Remove bracket from product
WARNING!
Updated: Sat, 08 Apr 2023 02:44:38 GMT
Powered by
1
Advertisement
Table of Contents

Related Manuals for Fisher & Paykel DD60SHTI7


Summary of Contents for Fisher & Paykel DD60SHTI7
- Page 1 Electrical Shock Hazard • Before continuing, ensure that the product is disconnected from the power supply. • Failure to follow this warning may result in electrical shock, injury or fire. https://producthelp.fisherpaykel.com/eu/Clean/DishDrawer%E2%84%A2/Integrated_Single/DD60SHTI7/Installation_Guide_D… Updated: Sat, 08 Apr 2023 02:44:38 GMT Powered by...
- Page 2 2. Attach panel to panel bracket There must be at least 3 screws used each side Align bottom of panel with bottom of bracket https://producthelp.fisherpaykel.com/eu/Clean/DishDrawer%E2%84%A2/Integrated_Single/DD60SHTI7/Installation_Guide_D… Updated: Sat, 08 Apr 2023 02:44:38 GMT Powered by...
- Page 3 • Any custom metal component (e.g. handle) that extends past the rubber seal must be earthed too. • Failure to follow these warnings may result in electrical shock, injury or fire. https://producthelp.fisherpaykel.com/eu/Clean/DishDrawer%E2%84%A2/Integrated_Single/DD60SHTI7/Installation_Guide_D… Updated: Sat, 08 Apr 2023 02:44:38 GMT Powered by...
- Page 4 With the front panel fitted, insert an appropriately sized Philips screwdriver into the hole above the door pin and rotate the panel up or down to align the gaps in your cabinetry. Repeat on the other side if necessary. https://producthelp.fisherpaykel.com/eu/Clean/DishDrawer%E2%84%A2/Integrated_Single/DD60SHTI7/Installation_Guide_D… Updated: Sat, 08 Apr 2023 02:44:38 GMT...
- Page 5 The panel has a maximum travel of 2 mm up or down. Ensure that you maintain a minimum of 2 mm ventilation gap below the pane https://producthelp.fisherpaykel.com/eu/Clean/DishDrawer%E2%84%A2/Integrated_Single/DD60SHTI7/Installation_Guide_D… Updated: Sat, 08 Apr 2023 02:44:38 GMT Powered by...
Need help?
Do you have a question about the DD60SHTI7 and is the answer not in the manual?
Questions and answers