Advertisement
Table of Contents
- 1 Unpack Your EXTENSION KIT and Examine All Parts
- 2 STEP 1 Remove Suspension Ball
- 3 STEP 2 Fit Extension Bracket and Rod
- 4 STEP 3 Assemble Extension Parts to Extension Rod
- 5 STEP 4 Fix Canopy Screw to Hanger Bracket
- 6 STEP 5 Position the Motor Assembly in Hanger Bracket
- 7 STEP 6 Attach Canopy and Decoration Ring
- 8 STEP 7 Install Receiver into Extension Bracket
- Download this manual
Ceiling Extension Instruction
!
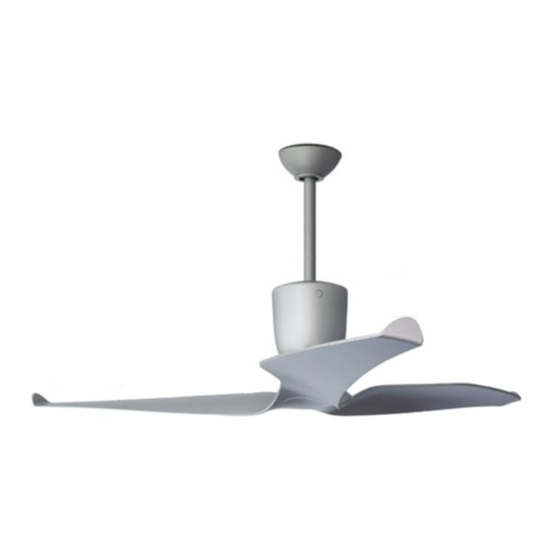
Unpack your EXTENSION KIT and examine all parts, you should have the following:
PLEASE NOTE: A small colour variation between the Fan and the retrofit Extension Parts is part
of standard manufacturing tolerances and consequently will need to be accepted by the user.
IMPORTANT - Use this Ceiling Extension Instruction in
combination with the Aeratron User Manual by Inserting
after STEP 2 of the User Manual supplied with the Fan.
EXTENSION CANOPY
DECORATION RING
CANOPY SCREW X2
EXTENSION COVER
EXTENSION ROD
EXTENSION BRACKET
BRACKET SCREW X2
SAFETY CLIP X2
1
Advertisement
Table of Contents

Related Manuals for AerAtron Ceiling Extension


Summary of Contents for AerAtron Ceiling Extension
- Page 1 Ceiling Extension Instruction IMPORTANT - Use this Ceiling Extension Instruction in combination with the Aeratron User Manual by Inserting after STEP 2 of the User Manual supplied with the Fan. Unpack your EXTENSION KIT and examine all parts, you should have the following:...
- Page 2 Remove Suspension Ball STEP 1 Remove Suspension Push Suspension Ball down Remove suspension Bolt Ball Screw and Suspension Ball from Motor Shaft Fit Extension Bracket and Rod STEP 2 Insert Safety Clips Fit Extension Bracket to Fit Extension Rod to into Bracket Screws motor Shaft.
- Page 3 Assemble Extension parts to Extension Rod STEP 3 Suspension Bolt Suspension Ball Suspension Ball screw Extension Canopy Canopy Screws Decorating Ring (holes facing canopy) Insert the Suspension Bolt. Extension Cover Raise the Suspension Ball to cover the Suspension Bolt and tighten the Suspension Ball Screw.
- Page 4 Position the Motor Assembly in Hanger Bracket STEP 5 Connect Mains Power Connector to Fan Motor Extension plug. Ensure that lug on Hanger Bracket is engaged in slot in suspension Ball Attach Canopy and Decoration Ring STEP 6 Push Canopy up and rotate clockwise on Line up large holes in Decoration existing Canopy Screw.
- Page 5 IMPORTANT - Continue at STEP 5 (Connecting the Reciever) of the User Manual supplied with the fan to complete the installation. For General Information & Warranty issues refer to the Aeratron™ User Manual available at www.aeratron.io Thank you. Your Aeratron team.
Need help?
Do you have a question about the Ceiling Extension and is the answer not in the manual?
Questions and answers