Sign In
Upload
Download
Table of Contents
Contents
Add to my manuals
Delete from my manuals
Share
URL of this page:
HTML Link:
Bookmark this page
Add
Manual will be automatically added to "My Manuals"
Print this page
×
Bookmark added
×
Added to my manuals
Manuals
Brands
AerAtron Manuals
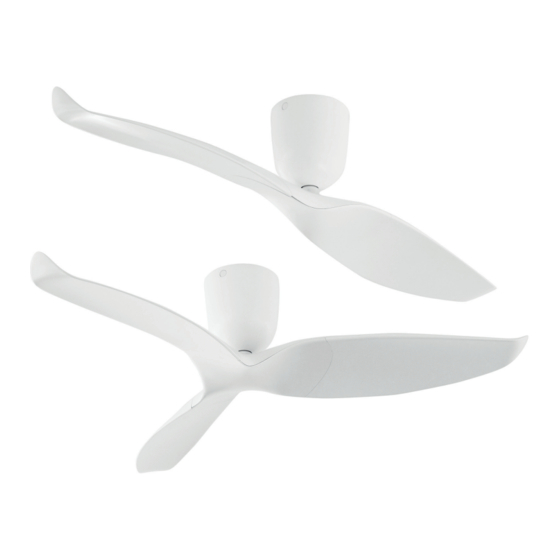
Fan
AE+2 Series
Instruction manual
AerAtron AE+2 Series Instruction Manual
Hide thumbs
1
2
3
Table Of Contents
4
5
6
7
8
9
10
11
12
13
14
15
16
17
18
page
of
18
Go
/
18
Contents
Table of Contents
Troubleshooting
Bookmarks
Table of Contents
Important Information
Table of Contents
Contents
Unpacking Your Fan
Installing Your Fan
STEP1 Mounting the Hanger Bracket to Ceiling
STEP 2 Connecting Mains Power to Terminal Block
STEP 3 Inserting Fan Motor into Hanger Bracket
STEP 4 Installing Receiver into Hanger Bracket
STEP 5 Connecting Receiver
STEP 6 Pairing the Remote Control
STEP 7 Attaching the Fan Motor Housing
STEP 8 Assembling the Fan Blades
STEP 9 Attaching the Fan Blades
Option a - LED Light Kit
Option B - Ceiling Extension Kit
Option C - Raked Ceiling Kit
Technical Specification
Care and Cleaning
Troubleshooting
If the Fan Is Noisy
If the Fan Rotates but Does Not Create Much Airflow
General Information
Normal Wear and Tear
Warranty Details
Advertisement
Quick Links
1
Step 6 Pairing the Remote Control
2
Troubleshooting
Download this manual
INSTRUCTION MANUAL
AE+2 & AE+3
Table of
Contents
Previous
Page
Next
Page
1
2
3
4
5
Advertisement
Table of Contents
Need help?
Do you have a question about the AE+2 Series and is the answer not in the manual?
Ask a question
Questions and answers
Related Manuals for AerAtron AE+2 Series
Fan AerAtron AE3 User Manual
(22 pages)
Fan AerAtron AE2 User Manual
(22 pages)
Fan AerAtron AE2+ Series User Manual & Installation Manual
(18 pages)
Fan AerAtron AE3+ Series User Manual & Installation Manual
(18 pages)
Fan AerAtron AE3+50 User Manual & Installation Manual
(18 pages)
Fan AerAtron AE3+60 User Manual & Installation Manual
(18 pages)
Fan AerAtron AE+3 Series Instruction Manual
(18 pages)
Fan AerAtron E502 User Manual & Technical Specifications
(20 pages)
Fan AerAtron Ceiling Extension Instructions
(5 pages)
Fan Aeratron FR3 Series User Manual & Installation Manual
(18 pages)
Fan AerAtron FR3 User Manual & Installation Manual
(18 pages)
This manual is also suitable for:
Ae+3 series
Ae+2 43
Ae+2 50
Ae+2 60
Ae+3 43
Ae+3 50
...
Show all
Ae+3 60
Table of Contents
Print
Rename the bookmark
Delete bookmark?
Delete from my manuals?
Login
Sign In
OR
Sign in with Facebook
Sign in with Google
Upload manual
Upload from disk
Upload from URL


Need help?
Do you have a question about the AE+2 Series and is the answer not in the manual?
Questions and answers