Table of Contents
Advertisement
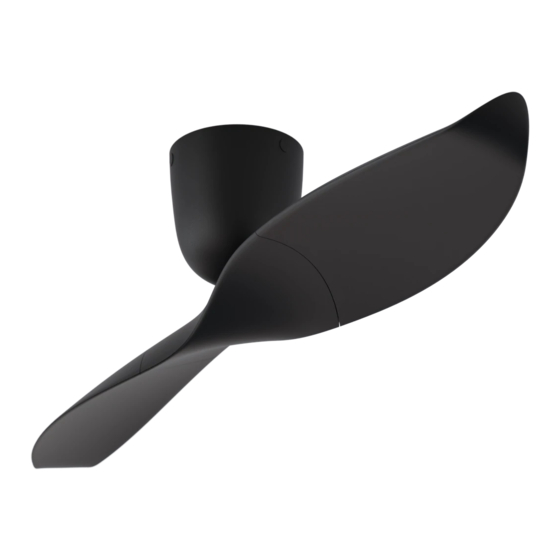
USER MANUAL & INSTALLATION GUIDE
AE2+ & AE3+ CEILING FAN
available in: 43"/1092mm 50"/1270mm 60"/1524mm
LED Light Kit & Ceiling Extension Kit are optional for all Aeratron™ models
ATTENTION ELECTRICIANS
An isolation switch per fan is highly recommended.
WARNING: If unusual oscillating movement is observed, immediately
stop using the ceiling fan and contact the national distributer/retailer.
Advertisement
Table of Contents

Related Manuals for AerAtron AE2+ Series


Summary of Contents for AerAtron AE2+ Series
- Page 1 USER MANUAL & INSTALLATION GUIDE AE2+ & AE3+ CEILING FAN available in: 43”/1092mm 50”/1270mm 60”/1524mm LED Light Kit & Ceiling Extension Kit are optional for all Aeratron™ models ATTENTION ELECTRICIANS An isolation switch per fan is highly recommended. WARNING: If unusual oscillating movement is observed, immediately...
-
Page 2: Important Information
Important information - Please read before attempting installation This fan must be installed by a licensed and qualified electrician according to local authority regulations. 1. Please read these instructions carefully, be mindful of all warnings and safety information shown throughout this manual. Should you have any questions please call your local agent. 2. -
Page 3: Table Of Contents
Normal Wear and Tear........................14 Ceiling Fan Warranty ..........................14 Transfer of Warranty ........................... 15 The following is NOT covered by warranty..................15 Aeratron ceiling fan warranty details ...................... 16 IMPORTANT For any problems found during fan installation please contact the national distributor/retailer and... -
Page 4: Unpacking Your Fan
Unpacking your fan Unpack your fan and examine all parts, you should have the following: CEILING SPACER x 2 TIMBER SCREWS X 2 HANGER BRACKET MACHINE SCREWS X 2 WASHER X 2 WASHER X 2 MOTOR ASSEMBLY HUB SCREWS X 10 PIVOT LOCK X1 CONTROL RECEIVER AAA BATTERIES x2... -
Page 5: Installing Your Fan
Mounting Hanger Bracket to Ceiling STEP 1 Before commencing installation, turn off electricity supply at the main power box. Disconnect power by removing fuse or turning off circuit breaker. OPTION B: OPTION A: Embedded Ceiling Joist Mounting Box Install hanger bracket to ceiling joist or Mounting Box embedded in concrete using the screws and washer provided. -
Page 6: Step 3 Inserting Fan Motor Into Hanger Bracket
Inserting Fan Motor into Hanger Bracket STEP 3 Ensure that lug on Hanger Bracket is engaged in slot in suspension Ball Installing Receiver into Hanger Bracket STEP 4 Slide Remote Control Receiver into Hanger Bracket from the opposite side of the Terminal block in the orientation as shown above. -
Page 7: Step 5 Connecting Receiver
Connecting the Receiver STEP 5 Connect the 2 PIN & 3 PIN connector 4PIN Receiver to Comms (optional USE ONLY IF INSTRUCTED) between DC Motor and Receiver. Aerial Connect the 3PIN connector between Mains Power and Reciever. 2PIN 3PIN 3PIN Receiver to Motor 2PIN Receiver to Light... -
Page 8: Step 6 Pairing The Remote Control / Controlling The Fan
Pairing the Remote Control STEP 6 Pairing is always required during setup. Note: “LEARN” switch on receiver. Pairing a Single Fan per remote control: LEARN MODE 1. Insert batteries 2. On Receiver: switch the “LEARN” switch to “ON” 3. Switch on the main power to activate the receiver, indicated by (one beep) 4. -
Page 9: Step 7 Attaching The Fan Motor Housing
Attaching the Fan Motor Housing STEP 7 CLICK! Align the 3 tabs with the 3 holes on the Housing and move upwards. Push tabs inwards slightly before sliding upwards until you hear a click as the tabs lock. Assembling the Fan Blades STEP 8 Constantly handle fan with care at all times to avoid damaging the fan/surface... -
Page 10: Step 9 Attaching The Fan Blades
Assembling the Fan Blades cont. STEP 8 Light Hub Lower (OPTIONAL) Insert the Hub Lower (or optional Light Hub Fasten the the Hub Lower from the top side Lower) into the recess. With care, turn the fan using the 3 Hub Screws. over. -
Page 11: Option A - Led Light Kit
LED Light Kit OPTION A Line up the 2 pins on the LED light with the 2 Holes in the Ceramic Holder and gently push the LED Light up till the LED LIGHT Safety clip is engaged. Re-check the correct assembly by gently pulling on the Light to make sure the LED is tight. -
Page 12: Option C - Raked Ceiling Kit
Raked Ceiling Kit OPTION C “a” “B” “a” Angle “C” Clearance “B” Extension Rod Length Accessories Required 17° - 33° 200mm min. 115mm Rod (4 Included 17/32” 600mm Rod (23 Not Included 5/8” 900mm Rod (35 Not Included 7/16”... -
Page 13: Technical Specification
Technical Specifications 172mm (6 49/64” 180mm (7”) 275mm 10 ( 53/64” 43” 1092mm / 50” 1260mm / 60” 1524mm Dimensions for Model: AE2+43” & AE3+43” AE2+50” & AE3+50” AE2+60” & AE3+60” Fan Weight: AE2+43” = 4.9Kg (10.8lbs) AE3+43” = 5.5Kg (12.1lbs) AE2+50”... -
Page 14: Care And Cleaning
Care and Cleaning Regular cleaning of the Aeratron Ceiling fan blades and fan motor housing is the only maintenance needed. Due to the self-balancing design, a large build up of dust on blades may create an imbalance in extreme cases only, causing the blades to wobble during use. -
Page 15: General Information
Labour and product delivery costs are borne by Aeratron Pty Ltd or the retailer during this 3 year period. The cost of obtaining or using special access equipment (scissor lifts, scaffolding etc.) is specifically excluded, and it is the responsibility of the owner to provide such equipment and have it safely installed and operated. -
Page 16: Transfer Of Warranty
- If the product is found to be free of defects or the product is not functioning properly as a result of faulty installation or lack of maintenance then Aeratron or its service agent reserve the right to charge a service fee to rectify the reported problem. -
Page 17: Aeratron Ceiling Fan Warranty Details
Please Note: When calling for warranty you will require the following information; date of purchase; model and colour of the fan. The installing electrician’s details may also be required. Aeratron ceiling fan warranty details Please File with your Purchase Receipt... - Page 18 WHEN FORM IS FUNCTION. As much as we would like to take full credit for the design of your Aeratron fan, we need to admit, we weren’t the first to think of it. The profile of the Aeratron blade and the winglet at its end reduce turbulence, providing more airflow with less energy, silently.
Need help?
Do you have a question about the AE2+ Series and is the answer not in the manual?
Questions and answers