Advertisement
Quick Links
Advertisement

Related Manuals for Nautiraid NOOK


Summary of Contents for Nautiraid NOOK
- Page 1 NOOK Instruction book...
- Page 2 You have just purchased a NOOK Nautiraid! Congratulations ! By following these assembly instructions, you will assemble your NOOK without difficulty, you will live a unique experience and appreciate the technical construction of a NAUTIRAID kayak. Your NOOK’s bag contains : 1-Front half frame.
- Page 3 • Start to unfold the front half frame • Turn the first crossrib 90° (below) and secure its position with the little straps.
- Page 4 • Take the front half frame extension (red marks) and connect it to the front half frame. • Take the keel bar and insert it with a few degrees of angle (besides). Once in place a metal stopper holds the two pieces in place (blue arrow).
- Page 5 Connect the deck top stringers and turn the metal locker to block them together • • Set up the 2nd and 3rd crossrib.
- Page 6 • Secure the two removable front deck stringers with their pins. The front frame is assembled, install the footrest with the 2 wing nuts. • Proceed the same assembly instructions for the rear frame •...
- Page 7 • CAUTION!!! it is very important to leave the crossrib n° 5 on the rear frame OPEN to facilitate the assembly. It will come into place once the frame is installed in the skin. Be sure to leave it open as shown in the following photo, in order to respect the direction of rotation of the crossrib.
- Page 8 • Do the same for the rear leaving crossrib no. 5 open • Push the lever down to make the Apply tension to the keel bar. put the • tension. Turn the locker 90° to secure the keel into the lever. lever (below).
- Page 9 • Release the gunwhales once connected. Do the same for the stringers (below). • Put the back crossrib in its place. Swing it around, taking care to position the gunwhales and stringers in their notches. Secure the crossrib with the small straps, port and starboard.
- Page 10 • Then install the last cross rib, No. 4 (or masik), always taking care to position each stick in its notch as below. • Secure your masik with the wooden wedge. • Install the 2 pieces of wood by sliding them behind the stainless steel hooks...
- Page 11 • Install the floor in the bottom of your kayak and secure it with the stainless steel bracket. Present the coaming and pass the two screws through the eyelets in the skin and deck • rods. Start at the front of the coaming with the screw that fits into an insert using the Allen key provided.
- Page 12 Your NOOK is ready to go! Disassembling the kayak: proceed in the reverse order of assembly, • scrupulously respecting the order of handling: Remove the seat and the floor. Remove the cockpit rim from the back to the front. Remove the masik (crossrib n°4) Remove les épontilles...
-
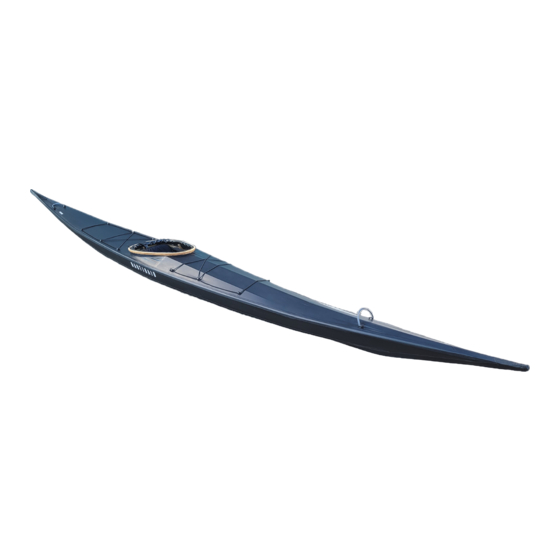
Page 13: Technical Specifications
Storage bag : with handles and adjustable shoulder strap Bag size : 155 x 46 x 15 cm / 5’10’’ x 18’’ x 6’’ The NAUTIRAID team wishes you great adventures with your NOOK. - Page 14 Parc des Coëvrons ouest 53480 VAIGES Tél. : 02 43 90 20 26 info@nautiraid.com...
Need help?
Do you have a question about the NOOK and is the answer not in the manual?
Questions and answers