Advertisement
Quick Links
Advertisement

Related Manuals for Nautiraid GRAND NARAK 550


Summary of Contents for Nautiraid GRAND NARAK 550
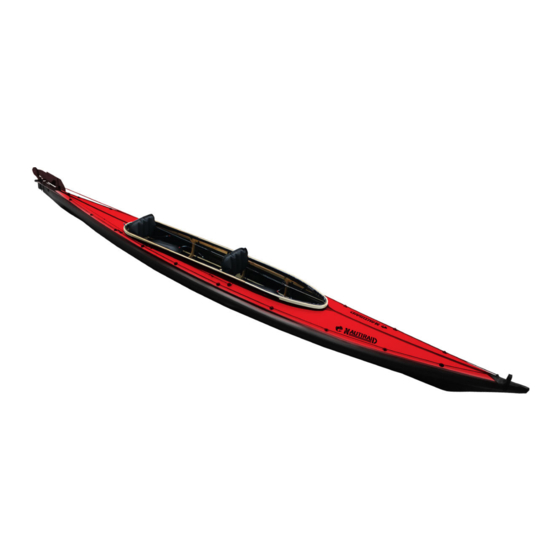
- Page 1 GRAND NARAK 550 Instruction Book...
- Page 2 • Get the parts out of the bag on a flat surface The parts inside your bags are : 1- skin. 2- central crossribs (crossrib n°4, 5 et 6). 3- cockpit rim (4 parts). 4- front half frame. 5- rear half frame. 6- crossrib n°7. 7- crossrib n°3. 8- floorboards 9- keel extension bar front and rear.
- Page 3 • Turn the first crossrib 90° (below) and secure its position with the little straps. • Do the same for the second crossrib.
- Page 4 • Slide it with a few degrees of angle. A • Take the front keel extension metal locker holds it in place. bar (red marks) to connect it with the front frame. • Take the crossrib n°3 (up, red marks). open up the locker to secure it on the bolt head on the keel bar.
- Page 5 • Slide the front half frame into the skin. • The frame has to be centered in the skin : the eyelet at the top has to be aligned with the frame top screw head. Once in tension, the screw head will be below the eyelet. •...
- Page 6 • Put the keel into tension : insert • Push the lever towards the ground. the end of the keel bar into the Once in place, turn the latch to secure lever axle. the lever. • Take the two parts of the gunwaleand bent them until you can...
- Page 7 FLOORBOARDS • Get the floorboards in place : the red marks go at the front and the blue marks at the rear. • lift the two floorboards by the middle of the boat and lay them down. Be careful they are correctly aligned on the keel.
- Page 8 CENTRAL CROSSRIBS • Put in place the n°5 crossrib which goes at the centre of the boat. N)5 doesn’t have any marks, while n°4 has red marks ans n°6 has blue marks. Like the previous crossribs, secure the locker on the bolt head on the keel (red arrow).
- Page 9 COCKPIT RIM • Be sure that all eight bolt heads are passing through the eyelets. • Put in place the front half hoop. The three metallic holes will go on the bolt heads. • Then connect the side bars (red marks towards the front).
- Page 10 • To get the cockpit wtaretight, insert the sem into the slot of the cockpit rim. Start from the rear. SEATS • Attach the rear tying the straps around the crossrib. • There are a low and and high seat. The highe one goes at the front.
- Page 11 • Disassembly of the kayak : do the other way round. Deflate the stabilairs. Get the cockpit rim off, then the floorboards. Disassemble the the three half center crossrib. Release the central tension, pulling on the lever. Grab the gunwales and disconnect them. Do the same for the stringers.
- Page 12 Parc des Coëvrons ouest 53480 VAIGES Tél. : 02 43 90 20 26 info@nautiraid.com...
Need help?
Do you have a question about the GRAND NARAK 550 and is the answer not in the manual?
Questions and answers