Advertisement
Quick Links
Advertisement

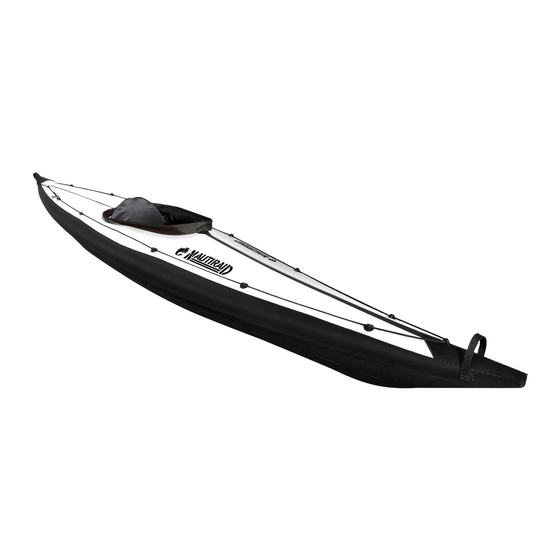
Summary of Contents for Nautiraid NARAK CROSS 405
- Page 1 NARAK CROSS 405 Instruction Book...
- Page 2 • Get your parts out of the bag and display them on a flat and clean surface. Your Narak Cross bag contents : 1- skin. 2- stern part. 3- aluminum tubes. 4- inflatable seat. 5- bow part. 6- crossribs. 7- footrest.
- Page 3 • Start by assembling all the tubes • Find the keel tube (without ends) • Align all the red marks on the other tubes. • This way at the other end you identify two long tubes (upper tubes) and two short ones (lower tubes)
- Page 4 • Take the bow part and slide it into • Do the same for the rear the keel tube (red marks) • Clip crossribs n° 4, 3 and 2 on the keel tube. All the tape marks should be on the same side and below, red for the front, blue for the rear. Don’t assemble crossrib n°1.
- Page 5 • Go to the rear of the boat. Take the two longer tubes and connect them to the top nipples, by sliding the blue caps. (red caps go at the bow) • Clip the n°4 crossrib to the top tubes (below) then, do the same for crossribs n°3 and 2.
- Page 6 • Connect te bow part to the top tubes. • Now you can clip crossrib n°1 which goes into the bow notch below. • Start again from the rear to connect the lower tubes to the frame.
- Page 7 • Finish the frame assembly with the two little central deck tubes, connected to the bow and stern part (red at the front, blue at the rear). • Your frame is assembled.
- Page 8 FOOTREST TUNING When assembling for the first time your kayak, you have to adjust the footrest, connected to the seat. The footrest will be clipped on the keel tube Put it in place between crossrib n°1 and 2. Inflate the seat and put it in the Tie the seat straps at the rear around kayak.
- Page 9 Do the same at the front with the nar- Connect the footrest to the seat with row straps. the large stra Seat into the kayak and adjust the straps to the legth of your legs.
- Page 10 ASSEMBLY FOLLOWING • Get the frame into the skin. • Be careful that the frame has to be • Push the frame in the skin to the perfectly centered in the skin : the max. top tube has to be aligned with the black triangle on deck.
- Page 11 • At the rear, push the stern towards the ground to get the frame in the skin. The «shark tooth» (red arrow) has to be released off the stern part (pull the pin). • Attach the lateral straps below the cockpit rim. the two straps have to go over the top tube (red arrow), then one of them go around the lower tube, thenthey are attached together.
- Page 12 • Tie the last remaining strap (below the cockpit), which goes over the tubes. • Prepare for tensioning the frame : put the «shark tooth» in its gauge, get the cord out and the lever.
- Page 13 • Push at the same time with your foot on the shark tooth and pull with your arm on the cord. The pin will automatically block the tooth in place when it’s OK. • Zip the rear deck and put the velcros together.
- Page 14 REAR END • Fold the zip end along the stern. • Fold the first part of the cover. • Fold the second part of the cover. • Attach the velcro strap. • Put in place the seat (see footrest tuning pages) •...
- Page 15 • Disassembly of the kayak : do the other way round. Deflate the stabilairs. Unzip the rear deck. Untie the three straps (sides and rear of the cockpit) that tie the skin to the frame. At the stern, pull on the pin that block the «shark tooth».
- Page 16 Parc des Coëvrons ouest 53480 VAIGES Tél. : 02 43 90 20 26 info@nautiraid.com...


Need help?
Do you have a question about the NARAK CROSS 405 and is the answer not in the manual?
Questions and answers