
Related Manuals for VTech BM3350N


Summary of Contents for VTech BM3350N
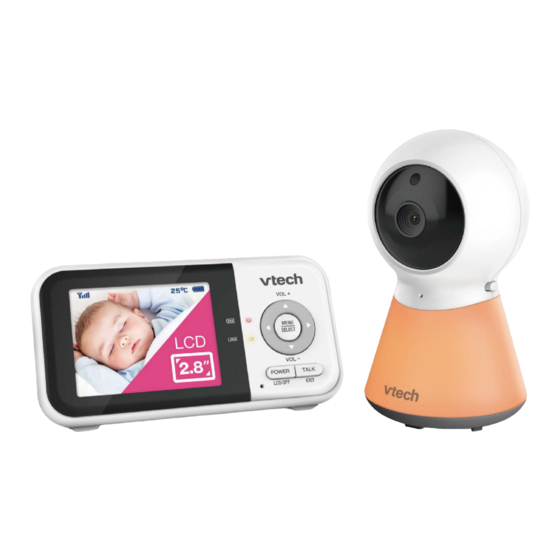
- Page 1 BM3350N BM3350N-2 Full Colour Video Monitor User Guide This guide contains important information. Please keep it for future reference.
-
Page 2: Table Of Contents
Index Important safety instructions Install and Setup What's in the box? What's in the box? Connect and charge the baby monitorConnect Position the baby monitorand Charge the Baby Monitor Wallmount (optional) Position the Baby Monitor Wallmount (optional) Parent unit/Baby unit OverviewParent unit/Baby unit Overview Operation Parent unit iconsParent unit icons Night vision... -
Page 3: Important Safety Instructions
15. Do not place this product on an unstable table, shelf, stand Electromagnetic fields (EMF) or other unstable surfaces. This VTech product complies with all standards regarding 16. This product should not be placed in any area where electromagnetic fields (EMF). If handled properly and proper ventilation is not provided. -
Page 4: Install And Setup
Install and Setup What’s in the box - BM3350N | BM3350N-2 BM3350N Parent Unit Parent Unit Parent Unit adapter BM3350N Baby Unit Baby Unit Baby Unit adapter Wall mount Anchor Documentation Quick start guide... - Page 5 Connect and charge the baby monitor - BM3350N | BM3350N-2 The rechargeable battery in the parent unit is built-in. Use only the power adapters supplied with this product. Make sure the baby monitor is not connected to a switch-controlled electric outlet.
- Page 6 Position the baby monitor - BM3350N | BM3350N-2 Keep the baby unit out of the reach of your baby. Never place or mount the baby unit inside the baby’s crib or playpen. The default volume of your parent unit is level 3, and the maximum volume is level 5. If you experience high-...
- Page 7 Wall-Mount (Optional) - BM3350N | BM3350N-2 Check for reception strength and camera angle before drilling the holes. The types of screws and anchors you need depend on the composition of the wall. You may need to purchase the screws and anchors separately to mount your camera units.
- Page 8 4. Place the camera unit on the wall mount bracket, and then slide it forward until it locks into place. Align the holes on the wall mount bracket with the screws on the wall, and slide the wall mount bracket down until it locks into place.
- Page 9 Parent unit Overview - BM3350N | BM3350N-2 Battery LED light 3-level sound indicator light • Arrow keys • VOL+ / VOL- MENU/SELECT LINK LED light • On when the parent unit is linked to the baby unit. • Flashes when the link to the baby unit is lost.
- Page 10 Baby unit Overview - BM3350N | BM3350N-2 Light sensor Camera Gloss lens Microphone Night light On/Off switch On/Off LED light • On when the baby unit is turned on and is paired to the parent unit. • Flashes when the baby unit is not being viewed; or when the link to the parent unit is lost.
-
Page 11: Operation
Operation Parent unit icons - BM3350N | BM3350N-2 Status icons Connection status • displays when strong signal strength is detected between the baby unit and the parent unit. • displays when moderate or low signal strength is detected between the baby unit and the parent unit. -
Page 12: Zoom
Main menu icons Main Sub-menu menu Volume Volume • Adjust the Parent unit’s speaker volume. Settings Brightness • Adjust the parent unit’s LCD screen brightness level. Screen off timer • The parent unit display will dim to conserve energy after your chosen amount of time of inactivity. - Page 13 Night light colour • Select one of the eight night light colours. Night light On/Off • Turn on/off the night light. Monitoring Mode (For BM3350N-2 only) Single-cam mode • View the video from your selected baby unit’s camera. Patrol mode •...
- Page 14 Warning icons and messages The battery is empty and needs to be recharged. Battery low at Parent Unit Operation is in progress. The temperature detected by the baby unit is higher than the desired temperature alert range. Temperature too high The temperature detected by the baby unit is lower than the desired temperature alert range.
- Page 15 Night vision - BM3350N | BM3350N-2 The baby unit has infrared LEDs that allow you to see your baby clearly at night or in a dark room. When the baby unit being viewed detects low light levels, the infrared LEDs are switched on automatically. The images from the baby unit are in black and white, and appears on the screen.
- Page 16 or to zoom in or zoom out, then press SELECT to confirm your selection. Adjust parent unit speaker volume - BM3350N | BM3350N-2 You can adjust the parent unit speaker volume on the parent unit. Press VOL+ / VOL- to adjust your parent unit speaker volume.
-
Page 17: Turn Off The Screen Temporarily
Turn off the screen temporarily - BM3350N | BM3350N-2 You can turn off the LCD screen temporarily in order to save some energy. Press POWER/LCD OFF to switch off the screen. You can still hear sound from the selected baby unit. Press any keys on the parent unit to turn on the screen again. -
Page 18: Monitoring Mode
Every time the parent unit is turned on, it displays a baby unit in Single CAM mode. If there are two baby units in your system, you can also monitor your baby in Patrol. (For BM3350N-2 only) The screen displays image of a single baby unit in full screen. -
Page 19: Play Lullabies
Play lullabies - BM3350N | BM3350N-2 The video monitor has 4 lullabies to comfort your baby. You can play lullabies on the baby unit by controlling remotely with the parent unit. 1. Press MENU when the parent unit is idle. 2. Press or ... - Page 20 Configure and Settings Night light - BM3350N | BM3350N-2 You video baby monitor comes with the night light feature that helps soothing your baby. To turn on or off the adaptive night light feature: 1. Press when the parent unit is idle.
- Page 21 to highlight , then press Turn on or off dim mode - BM3350N | BM3350N-2 The dim mode is to help you save the parent unit power. Your parent unit display will dim automatically after 10 minutes of inactivity, in which there is neither key pressed nor alert received from the baby unit.
- Page 22 Monitor the temperature - BM3350N | BM3350N-2 Your baby unit monitors the temperature of your baby’s room with its built-in temperature sensor. If the detected temperature is out of the preset temperature range, the parent unit will display an alert message.
- Page 23 Adjust LCD brightness - BM3350N | BM3350N-2 You can change the brightness of the parent unit screen from Level 1 to Level 5. The LCD brightness is preset to Level 3. To adjust LCD brightness: 1. Press when the parent unit is idle.
- Page 24 Adjust sound detection sensitivity - BM3350N | BM3350N-2 You can turn on Sound activation and adjust the VOX sensitivity to detect sounds and turn on the parent unit while its screen is switched off or dimmed. When the baby unit detects sounds that exceed certain levels, the parent unit screen will turn on and the baby unit starts transmitting the sounds to the parent unit, and you can see and hear your baby.
-
Page 25: Lcd
Technical information Frequency control Crystal controlled PLL synthesizer Transmit frequency Baby unit: 2405 - 2475 MHz Parent unit: 2405 - 2475 MHz Channels 2.8” Colour LCD (QVGA 320x240 pixel) Nominal effective range Actual operating range may vary according to environmental conditions at the time of use. Power requirements Parent unit: 3.6V 2600mAh, 9.36Wh Li-ion battery Baby unit power adapter: Output: 5V DC @ 600mA... -
Page 26: Customer Service And Product Warranty
Voluntary Product Enquiry In addition to your Statutory Rights and subject to the conditions below, VTech warrants that this product will be free from any defect in materials or workmanship under conditions of normal use for a period of 24 months from date of purchase. -
Page 27: Disposal Of Batteries And Product
Disposal of batteries and product The crossed-out wheelie bin symbols on products and batteries, or on their respective packaging, indicates they must not be disposed of in domestic waste as they contain substances that can be damaging to the environment and human health. The chemical symbols Hg, Cd or Pb, where marked, indicate that the battery contains more than the specified value of mercury (Hg), cadmium (Cd) or lead (Pn) set out in Battery Directive (2006/66/EC).
Need help?
Do you have a question about the BM3350N and is the answer not in the manual?
Questions and answers