Table of Contents
Advertisement
Quick Links
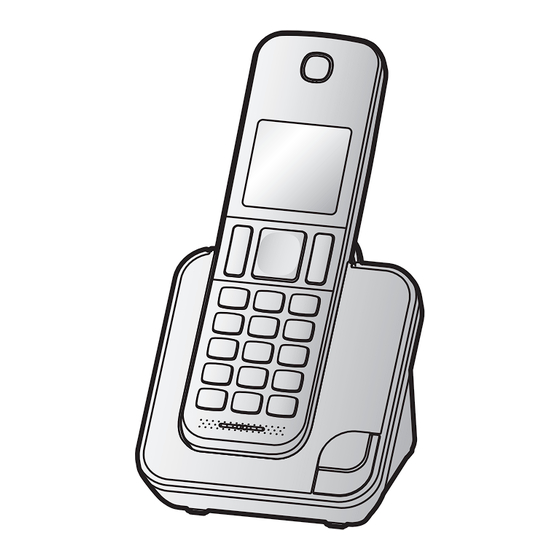
Model shown is KX-TGD310.
Before initial use, see "Getting Started"
on page 10.
Thank you for purchasing a Panasonic product.
Please read these operating instructions before using the unit and save them for
future reference.
Operating Instructions
Model No.
Digital Cordless Answering System
Model No.
Digital Cordless Phone
KX-TGD310BX
KX-TGD312BX
KX-TGD310UE
KX-TGD312UE
KX-TGD320BX
KX-TGD322BX
KX-TGD320UE
KX-TGD322UE
Advertisement
Table of Contents


Need help?
Do you have a question about the KX-TGD312BX and is the answer not in the manual?
Questions and answers