
Related Manuals for Cookology SFO57SS


Summary of Contents for Cookology SFO57SS
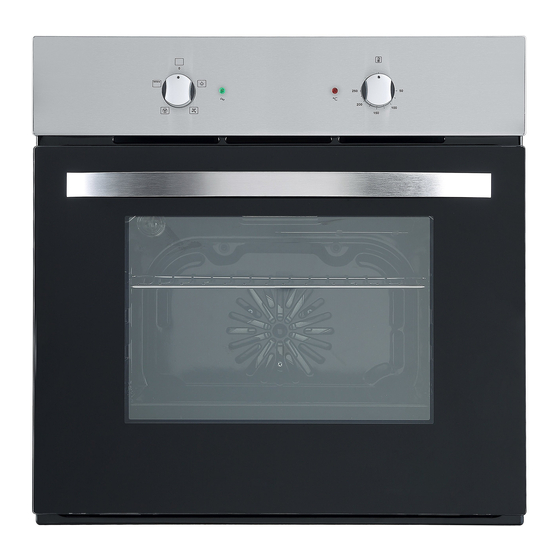
- Page 1 Cookology SFO57SS Fan Oven in Stainless Steel Cookology SFO57BK Fan Oven in Full Black Glass Instruction manual...
-
Page 2: Table Of Contents
TABLE OF CONTENTS Important safety information…………………………………………………….3-8 Installation………………………………………………………………………...9-11 Prior to start up of the appliance……………………………………………….12-14 Selecting a cooking function and temperature……………………………….14-18 Troubleshooting…………………………………………………………………..18 Maintenance and cleaning………………………………………………………18-21 Environmental note……………………………………………………………….22-23 Transportation………………………………………………………………. ……23... -
Page 3: Important Safety Information
IMPORTANT SAFETY INSTRUCTIONS This User Instruction Manual contains important information, including safety & installation points, which will enable you to get the most out of your appliance. Please keep it in a safe place so that it is easily available for future reference; for you or any person not familiar with the operation of the appliance. - Page 4 Never store or use corrosive chemicals, vapors, flammables or nonfood products in or near oven. It is specifically designed for use when heating or cooking food. The use of corrosive chemicals in heating or cleaning will damage the appliance and could result in injury ...
- Page 5 This appliance is designed for domestic household use and can be built into a standard kitchen cabinet or housing unit. IMPORTANT: The adjacent furniture or housing and all materials used in the installation must be able to withstand a minimum temperature of 85°C above the ambient temperature of the room it is located in, whilst in use.
- Page 6 Do not place pans or baking trays directly on the base of the oven cavity, even if aluminum foil is placed below them. Do not allow cable or plug to come into contact with the heating areas of appliance.
- Page 7 Do not place objects with open flames, e.g. candles, on top of or beside the appliance. WARNING: Ensure that the appliance is switched off before replacing the lamp to avoid the possibility of electric shock. The fixed wiring for applicant shall have an all-pole disconnection device. Safety: ...
- Page 8 Connect the incoming positive, neutral and earth cables to the terminals of the switched fused connection unit. Ensure connections are tight. The spur outlet must still be accessible even when your oven is located in its housing to enable the appliance to be disconnected from the mains supply. Cleaning ...
-
Page 9: Installation
INSTALLATION Electrical connection Before connecting the appliance, make sure that the supply voltage marked on the Rating Plate corresponds with your mains supply voltage. WARNING: THIS APPLIANCE MUST BE EARTHED. A suitable disconnection switch is to be incorporated in the permanent wiring. The switch is to be of approved type and positioned in accordance with local wiring and electrical rules and specifications. - Page 10 Care must be taken to ensure that the temperature of the mains supply cable does not exceed 50°C. If the mains supply cable is damaged, then it must be replaced by an appropriate replacement which can be obtained from Spares Department. Installing the oven into the kitchen cabinet ...
- Page 11 Ensure that the oven has been securely fixed into the housing unit. The fixing of the oven into the housing is made by using four screws. These should be screwed through the oven cabinet and into the housing unit. Ventilation requirements (Figure shows the ventilation and cut-out requirements for the installation of the appliance into a tall housing unit).
-
Page 12: Prior To Start Up Of The Appliance
PRIOR TO START UP OF THE APPLIANCE Once this simple operation has been carried out the oven is ready to use for cooking. This appliance is exclusively for domestic use. Use the oven to cook food only. ... - Page 13 Standard accessories: 1 x Oven pan 1 x Oven rack Specifications 4 functions Oven capacity: 54 liters Thermostatically controlled grill Cooling fan Cooling fan A tangential cooling fan is fitted inside of this appliance, to make the internal temperature of the oven stable and the external surface temperature lower.
-
Page 14: Selecting A Cooking Function And Temperature
Oven programmer display 1. function select 2. power indicator light 3. oven operating light 4. knob for temperature control SELECTING A COOKING FUNCTION AND TEMPERATURE When your appliance is connected to your mains supply for the first time, the power indicator light will come on, after selecting the cooking function and setting a temperature, the operating light will come on and the oven will start working. - Page 15 OVEN LIGHT: Separate light control which allows the light to be switched on, even when the oven is not in use. DEFROST: The fan runs without heat to reduce the defrosting time of frozen foods. The time required to defrost the food will depend on the room temperature, the quantity and type of food.
- Page 16 off throughout the cooking time. You should not place food inside the cavity, until the correct cooking temperature has been reached. Cooking guidelines Please refer to the information given on food packaging for guidance on cooking temperatures and times. Once familiar with the performance of your appliance, temperatures and times can be varied to suit personal preference.
- Page 17 The oven light will remain on during cooking. Warnings o Keep the oven door closed when using any of the grill functions. o Do not use aluminium foil to cover the grill pan or heat items wrapped in aluminium foil under the grill. The high reflectivity of the foil could potentially damage the grill element.
-
Page 18: Troubleshooting
Warning: Accessible parts may become hot during use. Young children should be kept well away when in use. Do not use harsh abrasive cleaners or metal scrapers to clean the oven door glass as this can scratch the surface, which may result in the oven glass shattering. - Page 19 Never clean the oven surfaces by steam cleaning. The oven cavity should only be cleaned with warm soapy water, using either a sponge or soft cloth. No abrasive cleaners should be used. Any stains that may appear on the bottom of the oven will have originated from food splashes or spilt food, these splashes occur during the cooking process.
- Page 20 Set all control knobs to the position “0”and disconnect the mains plug, unscrew and wash the lamp cover and then wipe it dry. Unscrew the light bulb from the socket, replace the bulb with a new one-a high temperature bulb(300℃)with the following parameters: -voltage230V -power 25W...
- Page 21 If the door drops accidently or hinges shut up suddenly, do not push your hand in hinges. Call your after-sales department. Removal of the internal glass panel Unscrew and unfasten the bracket latch that is in the corner at the top of the door .Next take out the glass from the second blocking mechanism and remove.
-
Page 22: Environmental Note
ENVIRONMENTAL NOTE Note: Before discarding an old appliance, switch off and disconnect it from the power supply. Cut off and render any plug useless. Cut the cable off directly behind the appliance to prevent misuse. This should be undertaken by a competent person. This appliance is marked according to the European directive 2002/96/EC on Waste electrical and Electronic Equipment (WEEE). By ensuring this product is disposed of correctly, you will help prevent potential negative consequences for the environment and human health, which could otherwise be caused by inappropriate waste handling of this product. -
Page 23: Transportation
environment. TRANSPORTATION Keep the original carton of the product and use this packaging if the item needs to be transported. Follow the transport signs on the carton. Tape cardboard or paper onto the inside face of the glass as it will be prone to damage from the trays.
Need help?
Do you have a question about the SFO57SS and is the answer not in the manual?
Questions and answers