Advertisement
Quick Links
Advertisement

Subscribe to Our Youtube Channel
Related Manuals for COMHOMA H7335-KD


Summary of Contents for COMHOMA H7335-KD
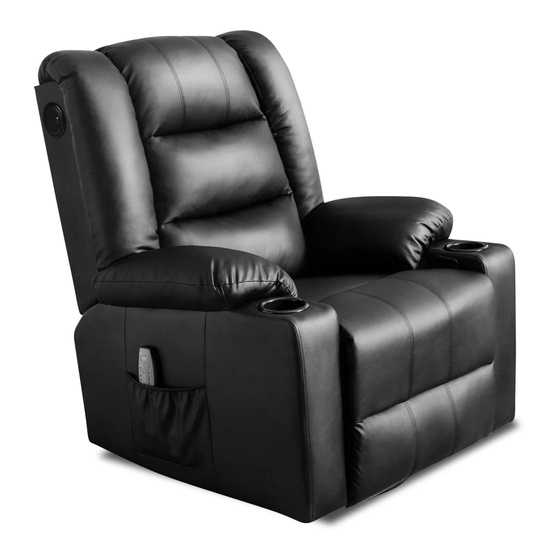
- Page 1 RECLINER CHAIR H7335-KD...
- Page 2 ➊...
- Page 3 The backrest & seat cover you received has been vacuum-packed. Open the plastic bag, take out the backrest / seat cover, let it breathe to the normal state. �� �� �� Iron Frame Decorative Sleeve R&L *2pcs �� Seat Base*1pc ��...
- Page 4 �� �� �� Metal Frame *4pcs �� Cup Holder *2pcs �� Metal Pipe *14pcs �� Screw M6*125*14pcs �� Screw M6*20*8pcs �� M6 Wrench *1pc Please check and ensure all the things are in the package. Please contact us if something is not included. We will reply within 24 hours and try our best to solve it.
- Page 5 assemble the chair. �� �� �� Carefully unpack and place parts on a clean flat surface. Insert the M6x125 screw into the metal pipe ��, thread the screw out of the metal pipe �� and align �� it with the holes of the two sides of the iron frame R ��, and install the metal pipe ��...
- Page 6 �� �� �� �� Refer to step 2 to install the iron frames L. *NOTE:DO NOT tighten the screws completely until all the screws are fixed in the correct position. �� Cover the iron frame decorative sleeve L �� on the iron frame L. ��...
- Page 7 �� �� Fasten the Velcro of the Iron Frame Decorative Sleeve L ��. �� �� Refer to step 4 and step 5 to install the iron frame Decorative Sleeve R ��. ➏...
- Page 8 �� Cover the iron frame L with the �� Armrest Cover L. *NOTE:After the �� is installed in place, zip up the �� Armrest Cover L as shown. �� �� Cover the iron frame R with the �� Armrest Cover R. *NOTE:After the ��...
- Page 9 �� �� Install the cup holders into the armrests on both sides. �� �� �� Attach the metal frames �� to the armrest L & R with screws M6x20 ��. *NOTE:Place the wide side of the �� metal frames upward for installation. If the position is incorrect, these parts cannot be properly snapped into the seat‘s metal frames.
- Page 10 Pull the handle to raise the footrest separetely. �� Fold the seat cover twice, �� ❶ then align the hook, loop at the bottom of the seat cover ❷ with the hook, loop at the �� seat base �� and join them toghter with glue.
- Page 11 Flip and extend the seat cover to the footrest �� of the seat base , and �� then attach the Velcro ❸ in sequence. ❹ �� Chair Bottom �� ❸ ❹ Flip the hook and loop at the Raise the seat base ❸...
- Page 12 �...
- Page 13 Insert metal frames of parts v (both)to the backrest. Ensure they are put correctly. �...
- Page 14 �� �...
- Page 15 Complete. �...
- Page 16 �...
- Page 17 �...
- Page 18 PULSE,PRESS, WAVE,AUTO,NORMAL You can use massage part to enjoy. (LUMBAR) �...
- Page 19 �...
- Page 20 As most parts of the chair can be moved, handle all items with care when moving. * Only move the recliner when it is in the ‘upright’ or ‘closed’ position. Never attempt to move the recliner when it is in any of the open positions.
- Page 21 ⓴...
Need help?
Do you have a question about the H7335-KD and is the answer not in the manual?
Questions and answers