Biamp Apprimo Touch 8i Quick Start Manual
Hide thumbs
Also See for Apprimo Touch 8i:
- Installation and operation manual (6 pages) ,
- Installation and operation manual (10 pages)
Advertisement
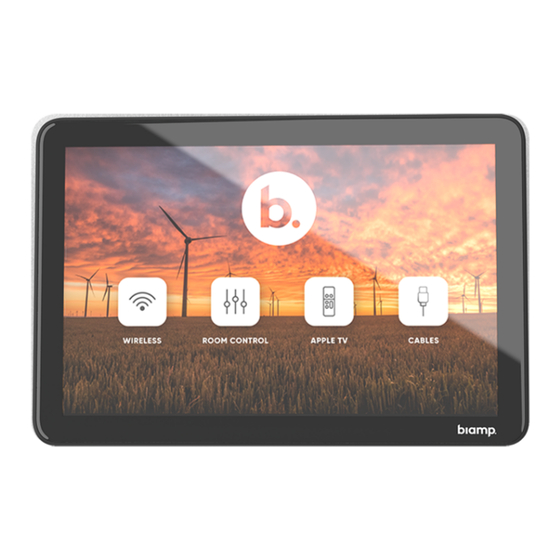
Apprimo Touch 8i - Overview
Details
The Apprimo Touch 8i is an 8" control panel for any room requiring an advanced level of control while still being a stylish
and discreet interface that fits any type of interior design.
FEATURES
• Control up to 20 IP-based devi
•
8" capacitive touch LCD interface
•
Scratch-resistant glass
•
Display brightness can adjust automatically to the ambient light level
•
Customizable user interface to fit customers' control requirements and corporate identity
•
PoE powered (IEEE 802.3at Class 3, 15W) for simple, single CAT5e/CAT6 cable installation
•
Fits standard single gang US, EU, and DK back boxes
CONTENTS
• Apprimo Touch 8i (with table mount attached)
• Reset Pin
• 3m (10ft) Cat5 cable
Copyright 2013-2020 Biamp Systems
http://support.biamp.com/
1
Advertisement
Table of Contents

Related Manuals for Biamp Apprimo Touch 8i


Summary of Contents for Biamp Apprimo Touch 8i
- Page 1 Apprimo Touch 8i - Overview Details The Apprimo Touch 8i is an 8" control panel for any room requiring an advanced level of control while still being a stylish and discreet interface that fits any type of interior design. FEATURES •...
- Page 2 4. Follow on-screen prompts to complete the installation. Wall mounting (optional accessories) Note: The control panel may be mounted to the wall with or without a gang box. Copyright 2013-2020 Biamp Systems http://support.biamp.com/...
- Page 3 4. Remove the mount by sliding it down and then lifting it. 5. Attach the wall plate directly to the wall with screw anchors or screw it to a gang box (most gang box styles are supported). Orient the plate with the arrows pointing up. Copyright 2013-2020 Biamp Systems http://support.biamp.com/...
- Page 4 8. Insert the network cable into the port in the back of the control panel. 9. Mount the panel on the wall plate by hanging it on the top tabs then rotating in and clipping it into the bottom tab. Ensure the tab is fully engaged (see circled views). Copyright 2013-2020 Biamp Systems http://support.biamp.com/...
- Page 5 Touch the control panel to wake it up. It provides a method of interacting with or controlling the room system. To program in Biamp Project Designer software, create a new project and select the Apprimo Touch 8i from the touch panel controllers list. Copyright 2013-2020 Biamp Systems...
- Page 6 Note: The IP address can be found either by automatic LAN lookup in Project Designer, directly on the screen if no project is currently uploaded, or in the setup menu of the Apprimo Touch 8i that can be accessed with the pinhole button.
Need help?
Do you have a question about the Apprimo Touch 8i and is the answer not in the manual?
Questions and answers