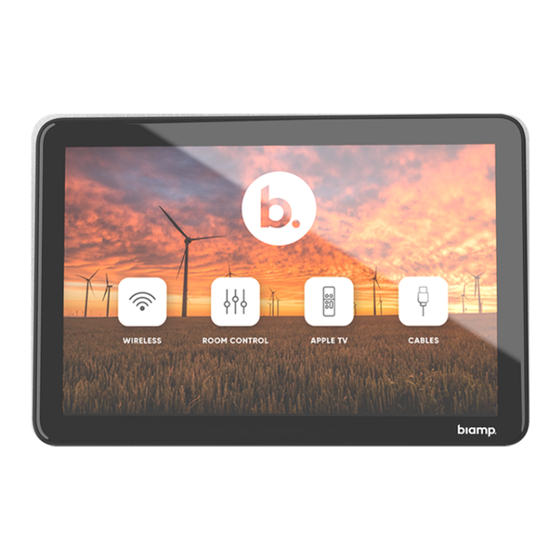
Biamp Apprimo Touch 8i Installation And Operation Manual
Hide thumbs
Also See for Apprimo Touch 8i:
- Installation and operation manual (10 pages) ,
- Quick start manual (6 pages)
Table of Contents
Advertisement
Quick Links
Apprimo
Touch 8i Control Panel
Installation and Operation Guide
Table Mount
PRODUCT DESCRIPTION
The Apprimo Touch 8i is an 8" control panel for any room
that requires a more complex level of control, while still
being a stylish and discreet interface that fits in any type of
interior design.
CONTENTS
Apprimo Touch 8i
(with table mount attached)
Reset Pin
3 m (10 ft) Cat5 cable
Reset Pin
A:
Touch 8 control panel with attached Table Mount
9300 S.W. Gemini Drive Beaverton, OR 97008 USA
Connecting people through extraordinary audiovisual experiences™
Wall Mount (accessory)
FEATURES
• 8" capacitive touch LCD interface
• Scratch-resistant glass
• Display brightness can adjust automatically to the
ambient light level
• Customizable user interface to fit customers' control
requirements and corporate identity
• PoE powered (IEEE 802.3at Class 3, 15W) for simple,
single CAT5e/CAT6 cable installation
Cat5 Cable
W:
www.biamp.com
Advertisement
Table of Contents

Summary of Contents for Biamp Apprimo Touch 8i
- Page 1 Table Mount Wall Mount (accessory) PRODUCT DESCRIPTION FEATURES The Apprimo Touch 8i is an 8" control panel for any room • 8" capacitive touch LCD interface that requires a more complex level of control, while still • Scratch-resistant glass being a stylish and discreet interface that fits in any type of •...
- Page 2 PRODUCT INSTALLATION Table Installation 1. Remove cover from the bottom of the table mount. 2. Insert network cable into port on the back of the control panel. 3. Reattach the cover routing the cable through the notch in the latch and stand. 4.
- Page 3 ACCESSORIES (OPTIONAL) Wall Mount Installation The control panel can be mounted to the wall with or without a gang box. Most gang box styles are supported. 1. The center of the control panel would typically be located between 102 – 165 cm (40" – 65") above the 165 cm finished floor.
- Page 4 ACCESSORIES (OPTIONAL) Wall Mount Installation (continued) Install wall plate 5. Attach wall plate directly to the wall with screw anchors 70 mm (2.75") or screw it to a gang box (most gang box styles are supported). Orient the plate with the arrows pointing up. 140 mm (5.5") Both Flat and Angle wall mounting options are shown below.
- Page 5 ACCESSORIES (OPTIONAL) Wall Mount Installation (continued) 8. Insert network cable into port on the back of the control panel. 9. Mount the panel on the wall plate by hanging it on the top tabs then rotating in and clipping into the bottom tab. Ensure the tab is fully engaged (see circled views).
- Page 6 Note: Inserting the pin in the other hole will initiate a device reboot. Device Reboot Settings CONTACT US Email: support@biamp.com Warranty: biamp.com/legal/warranty-information Web: support.biamp.com Safety & Compliance: biamp.com/compliance 9300 S.W. Gemini Drive Beaverton, OR 97008 USA www.biamp.com...


Need help?
Do you have a question about the Apprimo Touch 8i and is the answer not in the manual?
Questions and answers