SmartWitness AP1 Quick Start Installation Manual
Video telematics camera
Hide thumbs
Also See for AP1:
- User manual (16 pages) ,
- Quick start installation manual (2 pages) ,
- Web configuration tool manual (38 pages)
Table of Contents
Advertisement
Quick Links
QUICK START INSTALLATION GUIDE
FOR AP1 VIDEO TELEMATICS CAMERA
PACKAGE CONTENTS
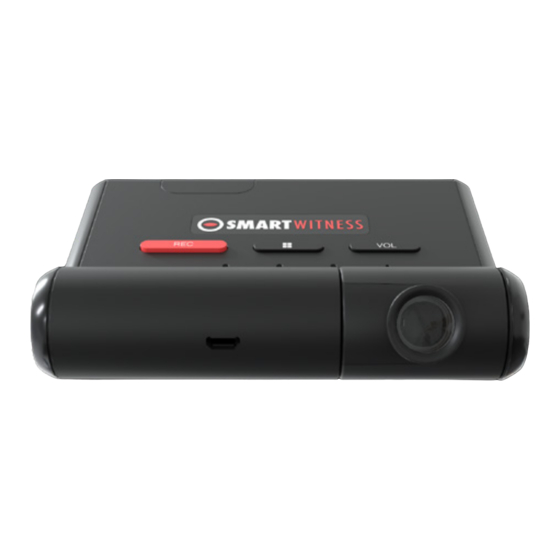
AP1 Camera
Location of AP1 Lens
STEP 1
The AP1 should be installed as high on and
as close to the center of the windshield as
possible (on the passenger side of the center
line of windshield), so the camera lens is
within the top 2" of the wiper zone. Clean the
windshield area with the provided alcohol
wipe, make sure it's dry, and then attach the
AP1 via the 3M
adhesive pads. Press and hold
™
with pressure for 30 seconds.
STEP 4
Turn your vehicle on, and wait for the AP1 to
boot up. You will see LED lights sequence as
follows: blinking red; red and green; green,
green and blue. Then all 3 solid = ready.
Camera
Angle
Locking
Cover
Screw
Tool
Clips
STEP 2
Run the cable alongside the end of
the windshield, and secure with the
included clips.
STEP 5
To enable Wi-Fi, press and hold the Menu button
for 5 seconds. The red LED will flash once per
second to guide you. Once you let go, there will
be a pause of 3 to 5 seconds, then the red LED
will blink rapidly to indicate that Wi-Fi is enabled.
Optional
Y-Split Cable
Cable
STEP 3
Connect the cable to your vehicle's OBD II port.
The Y-split cable shown is optional.
STEP 6
Select the AP1 Wi-Fi name. It will start with
AP1****. Once selected, you will be prompted
to enter a password (last 8 digits of the IMEI
number as found on the AP1's label).
(Continued on back)
Optional
Y-Split
Cable
Advertisement
Table of Contents

Related Manuals for SmartWitness AP1


Summary of Contents for SmartWitness AP1
- Page 1 STEP 4 STEP 5 STEP 6 Turn your vehicle on, and wait for the AP1 to To enable Wi-Fi, press and hold the Menu button Select the AP1 Wi-Fi name. It will start with boot up. You will see LED lights sequence as for 5 seconds.
- Page 2 FOR AP1 VIDEO TELEMATICS CAMERA STEP 7 STEP 8 STEP 9 Open the AP1 Calibration app, and tap the Tap the Download Settings From Camera Tap the Adjust Settings/Preferences button Connect to Camera button. If your device button. The “Download request was to open the Settings page.
Need help?
Do you have a question about the AP1 and is the answer not in the manual?
Questions and answers