Braun BC15-DCF Projection Clock Manual
- User instructions and guarantee (21 pages) ,
- Quick setup manual (2 pages)
Advertisement
- 1 Battery precautions
- 2 Getting started
- 3 Function keys
- 4 Product description
- 5 Display symbols
- 6 RC signal strength indicator
- 7 Setting the time
- 8 Setting the alarm
- 9 Using the alarm and snooze function
- 10 Battery replacement
- 11 Choosing the backlight brightness
- 12 Using the projection function
- 13 Important
- 14 Guarantee
- 15 Braun helpline
- 16 EU Declaration of Conformity
- 17 Documents / Resources
Battery precautions
- Do not use rechargeable batteries.
- Use only alkaline AA batteries of the same or equivalent type.
- Insert batteries with the correct polarity.
- Keep batteries away from children.
- Dispose of exhausted batteries according to local legal requirements. Do not dispose them by throwing away with normal household rubbish.
- Avoid short circuiting the contacts in the battery compartment and battery terminals.
- Remove batteries from the unit if it will not be used for long period of time.
- Exhausted batteries should be removed from the battery compartment to prevent over-discharge, which can cause leakage and may cause damage to the clock.
Getting started
Option A: Battery operated
- Remove the battery door.
- Insert 3xAA size new batteries as indicated in the battery compartment, and press the "reset" key to reset the clock. The display will turn on after a few seconds.
- After 6 seconds, the Clock will automatically start scanning for the radio controlled time signal.
- Close the battery door.
Option B: Adaptor operated
- Plug the adaptor into the DC jack at the back of the clock, and press the 'reset' key to reset the clock. The display will turn on after a few seconds.
- After 6 seconds, the Clock will automatically start scanning for the radio controlled time signal.
Radio controlled operation DCF version
(Germany & European countries)
This Braun digital alarm clock is set and controlled automatically by DCF radio signal. The DCF radio time code signal is broadcast from Frankfurt, Germany. The coverage of the DCF signal is the whole of Germany. The time code signal can be received up to 1500km from Frankfurt. This covers most of Central and Western Europe.
Function keys
TIME SETTING / NEUTRAL / ALARM SETTING switch
- Slide the switch to the TIME SETTING position to set the clock time.
- Slide the switch to the ALARM SETTING position to set the alarm time.
- Slide the switch to the NEUTRAL position to exit the setting mode and return to normal display.
+ Key
- When the setting switch is in the NEUTRAL position, press the + key to change between 12 and 24 hour display format.
- In TIME SETTING or ALARM SETTING mode press to increase the setting value. Press and hold to speed up the setting.
- Key
- In TIME SETTING or ALARM SETTING mode press to decrease the setting value. Press and hold to speed up the setting.
ALARM ON / OFF slider
- Shift the ALARM ON / OFF slider up to enable the alarm.
- Shift the ALARM ON / OFF slider down to disable the alarm.
SNOOZE / LIGHT touch button
- Tap to turn on the backlight for 10 seconds.
- Tap to stop the alarm and activate the 5 minute snooze function.
RESET key
- Press by using a pin to reset all values to default. In case of a malfunction, the unit has to be reset.
RCC key
- Press to receive the RC signal in order to test the reception.
- Press and hold the RCC key for over 3 seconds until "OFF" is displayed to disable the automatic RC function.
PROJECTION key
- Press to rotate the projection image by 90 degrees increments.
BRIGHTNESS key
- Press to choose between 4 different backlight settings: NO BACKLIGHT, WEAK BACKLIGHT, MEDIUM BACKLIGHT and STRONG BACKLIGHT.
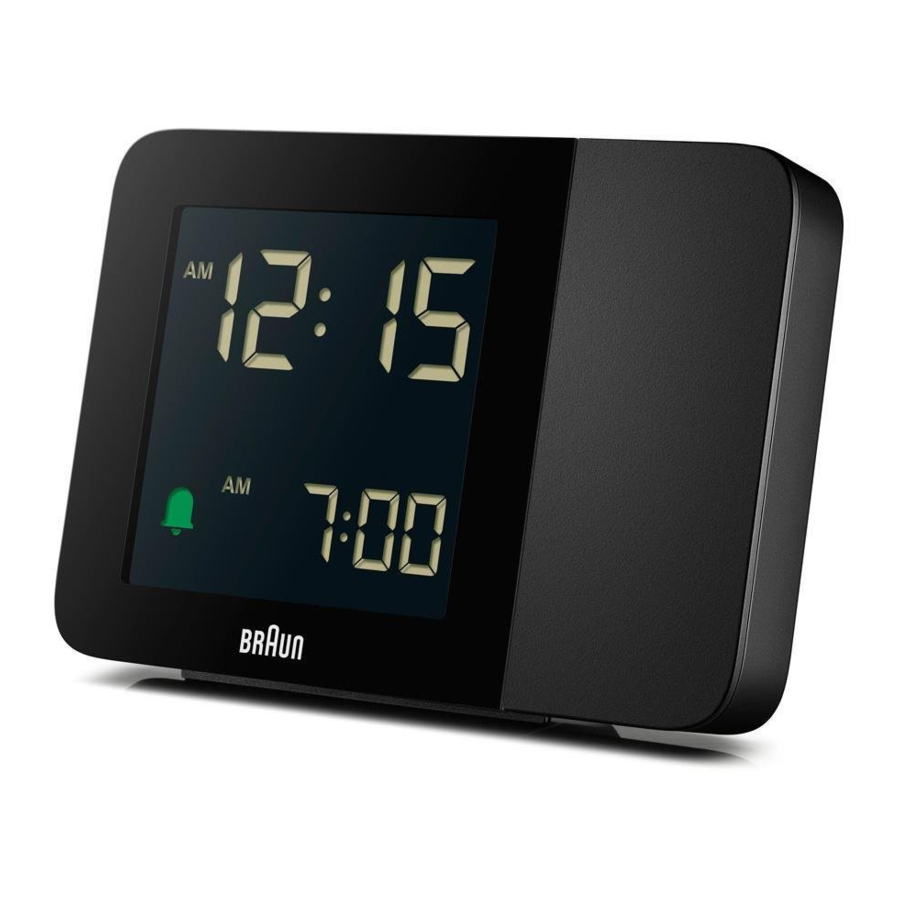
Product description


- LCD display
- Projection arm
- Time set
- Alarm set
- ALARM ON/OFF slider
- Projection key (ON/OFF and rotate)
- + key
- Key
- RESET key
- RCC key
- DC Jack
- Battery compartment
- Brightness key
- SNOOZE / LIGHT touch-bar
- Projector
Display symbols

- Time
- Low battery indicator
- Alarm icon
- DST
- RC signal strength indicator
- Alarm time
RC signal strength indicator
 No signal
 Weak signal
 Strong signal
The signal indicator displays signal strength in 3 levels. Wave segment flashing means the time signals are being received. Press and hold the RCC key for over 3 seconds until "OFF" is displayed to disable the automatic RC function.
Note: You may use the RCC key to receive the time signal manually. The receive mode stops automatically after 6 minutes.
Setting the time
- Slide the TIME SETTING / NEUTRAL / ALARM SETTING switch to the TIME SETTING position.
- Press the '+' or '-' key to set the desired value. Press and hold the '+' or '-' key to speed up the setting.
- Slide the TIME SETTING / NEUTRAL / ALARM SETTING switch to the NEUTRAL position to return the normal display and save the settings.
Setting the alarm
- Slide the TIME SETTING / NEUTRAL / ALARM SETTING switch to the ALARM SETTING position.
- Press the '+' or '-' key to set the desired value. Press and hold the '+' or '-' key to speed up the setting.
- Slide the TIME SETTING / NEUTRAL / ALARM SETTING switch to the NEUTRAL position to return the normal display and save the settings.
Using the alarm and snooze function
- Enable the alarm by shifting the ALARM ON / OFF slider up (so the green detail is visible). The bell icon will appear on the LCD display.
- Tap the SNOOZE / LIGHT touch button to stop the alarm and activate the snooze function. When the snooze function is activated, the bell icon will flash.
- To disable the alarm and snooze function, shift the ALARM ON / OFF slider down. The bell icon will disappear.
Note: When the snooze function is activated, the alarm will automatically start again after 5 minutes. The snooze function will not stop unless the ALARM ON / OFF SLIDER is shifted down.
Battery replacement
When the LCD display becomes dim or the battery icon flashes, replace with 3 new AA size batteries at once.
Choosing the backlight brightness
Press the 'display brightness' button to choose between the four backlight brightness options. If the DC adaptor is used, the backlight can remain on permanently. If no DC adaptor is used the backlight will automatically turn off after 10 seconds.
Using the projection function
- When the batteries are used to power the clock, the projection will be ON for 10 seconds after press 'SNOOZE / LIGHT' touch-bar.
- When the DC adaptor is used to power the clock, the continuous projection feature can be enabled. Press and hold the Projection button for 3 seconds to disable the continuous projection feature. It can be enabled by pressing the Projection button again.
- The projection arm can be tilted 180 degrees for user customisation of the projection image on a dark wall or ceiling within 1-4 metres.
- The projection can be rotated in 90 degree increments by pressing the 'projection' button.
Note: The projection function may not work correctly at distances of less than 1 metre.
Important

For best reception performance, please read the following instructions.
- We strongly recommend you start your clock at night. Allow the clock to receive the signal automatically overnight.
- Place the unit away from interfering sources such as TV set, computers, microwaves, etc.
- Avoid placing the unit on or next to metal surfaces.
- Avoid closed areas such as airports, basements, cement office buildings or factories.
Note: Exposure to an electrostatic environment may cause the clock to reset. In this event please follow the instructions as described in this manual to set the clock again.
Guarantee
2 year guarantee against material and workmanship defects (except battery). The guarantee is valid in those countries where the alarm clock is officially being sold.
Broken or cracked lens screens are not covered under the Guarantee.
Braun helpline

Should you have a problem with your product, please check your local service centre at:
www.braun-clocks.com
www.braun-watches.com
or contact +44 208 208 1833


This product is covered by the Waste Electrical and Electronic Equipment (WEEE) directive. It should not be discarded with normal household waste but taken to your local collection centre for recycling.
EU Declaration of Conformity
We ZEON LIMITED UK, manufacturer of Braun Watches & Clocks under licence from the Procter & Gamble Company hereby declare that model BC15-DCF conforms to Directive 2014/53/EU. The full text of the EU Declaration of Conformity can be viewed on our website at www.braun-clocks.com
Frequency band: 77.5KHz
Transmit power: 0 dBm
Certain trademarks used under license from The Procter & Gamble Company or its affiliates.

Documents / Resources
References
![www.braun-clocks.com]() Braun-Clocks: Braun Shop online | Buy Braun Clocks & Watches
Braun-Clocks: Braun Shop online | Buy Braun Clocks & Watches![www.braun-watches.com]() Emit Collection | Buy Online Watches & Accessories Store
Emit Collection | Buy Online Watches & Accessories Store

Download manual
Here you can download full pdf version of manual, it may contain additional safety instructions, warranty information, FCC rules, etc.
Advertisement


Need help?
Do you have a question about the BC15-DCF and is the answer not in the manual?
Questions and answers