Table of Contents
Advertisement
Quick Links
Advertisement
Table of Contents

Related Manuals for Electrolux KEAF7200L


Summary of Contents for Electrolux KEAF7200L
- Page 1 EN User Manual | Dishwasher KEAF7200L...
-
Page 2: Table Of Contents
WE’RE THINKING OF YOU Thank you for purchasing an Electrolux appliance. You’ve chosen a product that brings with it decades of professional experience and innovation. Ingenious and stylish, it has been designed with you in mind. So whenever you use it, you can be safe in the knowledge that you’ll get great results every time. -
Page 3: Safety Information
SAFETY INFORMATION Before the installation and use of the appliance, carefully read the supplied instructions. The manufacturer is not responsible for any injuries or damage that are the result of incorrect installation or usage. Always keep the instructions in a safe and accessible location for future reference. -
Page 4: Safety Instructions
similar accommodation where such use does not exceed (average) domestic usage levels. • Do not change the specification of this appliance. • The operating water pressure (minimum and maximum) must be between 0.5 (0.05) / 10 (1) bar (MPa) • Follow the maximum number of 13 place settings. •... - Page 5 • Warning: this appliance is designed to be installed / connected to a grounding connection in the building. • Make sure that the parameters on the rating plate are compatible with the electrical ratings of the mains power supply. • Always use a correctly installed shockproof socket.
-
Page 6: Installation
Authorized Service Centre to replace it with www.youtube.com/electrolux the new one. www.youtube.com/aeg How to install your AEG/Electrolux 60 cm Sliding Door Dishwasher 3.2 Safety caps If the furniture panel is not installed, open the appliance door carefully to avoid the risk of injury. - Page 7 5 mm ENGLISH...
-
Page 8: Product Description
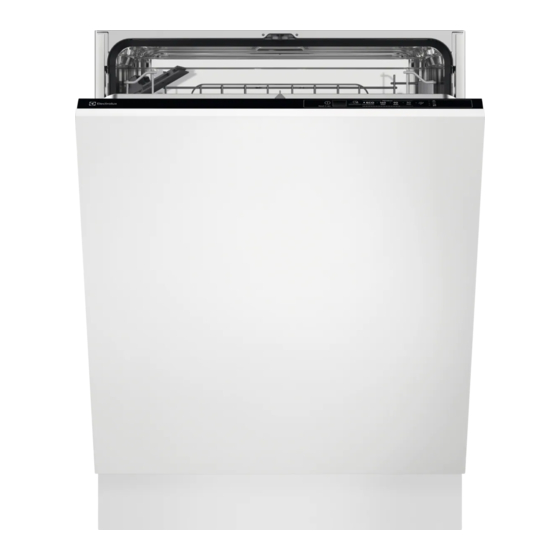
4. PRODUCT DESCRIPTION Upper spray arm Cutlery basket Lower spray arm Lower basket Filters Upper basket Rating plate Salt container The graphic is a general overview. For Air vent more details, refer to other chapters or documents provided with the appliance. Rinse aid dispenser Detergent dispenser 5. -
Page 9: Programmes
Indicators Delay button Programme button 5.1 Indicators Indicator Description Drying phase indicator. It is on when you select a programme with the drying phase. It flash‐ es when the drying phase operates. Salt indicator. It is on when the salt container needs refilling. It is always off while the pro‐ gramme operates. -
Page 10: Settings
Programme Dishwasher load Degree of soil Programme phases • Prewash This programme offers the most efficient use of water and energy consumption for crockery and cutlery with normal soil. This is the standard programme for test institutes. This programme is used to assess compliance with the Ecodesign Comission Regulation (EU) 2019/2022. - Page 11 The saved settings remain valid until you flashes and the indicators change them again. 7.2 The water softener How to set the programme selection mode The water softener removes minerals from the water supply, which would have a The appliance is in programme selection negative effect on the washing results and on mode when the programme indicator the appliance.
- Page 12 Regeneration process when it occurs at any point at the beginning For the correct water softener operation, the or in the middle of a programme. resin of the softener device needs to be regenerated regularly. This process is automatic and is the part of the normal All the consumption values mentioned in dishwasher operation.
- Page 13 7.5 AirDry How to deactivate the rinse aid empty notification AirDry improves the drying results with less energy consumption. During the drying Make sure the appliance is in user mode. phase, the door opens automatically and remains ajar. 1. Press the programme button immediately. The indicator starts to flash.
-
Page 14: Before First Use
4. Press the on/off button to confirm the setting. 8. BEFORE FIRST USE 1. Make sure that the current level of the water softener agrees with the hardness of the water supply. If not, adjust the level of the water softener. 2. -
Page 15: Daily Use
8.3 How to fill the rinse aid CAUTION! dispenser Only use rinse aid designed specifically for dishwashers. 1. Press the release button (D) to open the lid (C). 2. Fill the dispenser (A) until the rinse aid reaches the marking ''MAX''. 3. -
Page 16: Hints And Tips
9.2 Setting and starting a programme Do not try to close the appliance door within 2 minutes after AirDry Starting a programme automatically opens it as this may cause damage to the appliance. 1. Keep the appliance door ajar. If, afterwards, the door is closed for at 2. - Page 17 • Load the dishwasher to its full capacity to that you use tablets with long save water and energy. For best cleaning programmes. results, arrange items in the baskets as • Always use the correct quantity of instructed in the user manual and do not detergent.
-
Page 18: Care And Cleaning
• Do not wash in the appliance items that • The spray arms are not clogged. can absorb water (sponges, household • There is enough salt and rinse aid (unless cloths). you use multi-tablets). • Put hollow items (cups, glasses and pans) •... - Page 19 • Do not use abrasive products, abrasive cleaning pads or solvents. 11.4 Cleaning the filters The filter system is made of 3 parts. 5. Make sure that there are no residues of food or soil in or around the edge of the sump.
- Page 20 3. To install the spray arm back, press it CAUTION! downwards. An incorrect position of the filters can cause bad washing results and damage to the appliance. 11.5 Cleaning the lower spray arm We recommend to clean the lower spray arm regularly to prevent soil from clogging the holes.
-
Page 21: Troubleshooting
12. TROUBLESHOOTING Refer to the below table for information on WARNING! possible problems. Improper repair of the appliance may With some problems, the dedicated indicator pose a danger to the safety of the user. flashes intermittently to indicate a malfunction Any repairs must be performed by and the alarm code. - Page 22 Problem and alarm code Possible cause and solution Malfunction of the wash pump or the drain • Switch the appliance off and on. pump. • The indicator flashes 5 times intermit‐ tently. • Acoustic signal sounds 5 times intermittent‐ The temperature of the water inside the appli‐ •...
- Page 23 Problem and alarm code Possible cause and solution The appliance trips the circuit-beaker. • The amperage is insufficient to supply simultaneously all the appliances in use. Check the socket amperage and the capacity of the meter or turn off one of the appliances in use.
- Page 24 Problem Possible cause and solution The dishes are wet. • For the best drying performance activate the function AirDry. • The programme does not have a drying phase or has a drying phase with low temperature. • The rinse aid dispenser is empty. •...
-
Page 25: Technical Information
13. TECHNICAL INFORMATION Dimensions Width / height / depth (mm) 596 / 818 - 898 / 550 Voltage (V) 220 - 240 Electrical connection Frequency (Hz) Water supply pressure Min. / max. bar (MPa) 0.5 (0.05) / 10 (1) Water supply min. - Page 28 156801463-A-072023...
Need help?
Do you have a question about the KEAF7200L and is the answer not in the manual?
Questions and answers