Sign In
Upload
Download
Table of Contents
Contents
Add to my manuals
Delete from my manuals
Share
URL of this page:
HTML Link:
Bookmark this page
Add
Manual will be automatically added to "My Manuals"
Print this page
×
Bookmark added
×
Added to my manuals
Manuals
Brands
cytiva Manuals
Industrial Equipment
Media Wand
Operating instructions manual
cytiva Media Wand Operating Instructions Manual
Hide thumbs
1
Table Of Contents
2
3
4
5
6
7
8
9
10
11
12
13
14
15
16
17
18
19
20
21
22
23
24
25
26
27
28
29
30
31
32
33
34
35
36
37
38
39
40
41
42
43
44
45
46
47
48
49
50
51
52
53
54
55
56
57
58
59
60
61
62
63
64
65
66
67
68
69
70
71
72
73
74
75
76
77
78
79
80
81
82
83
84
85
86
87
88
89
90
91
92
page
of
92
Go
/
92
Contents
Table of Contents
Troubleshooting
Bookmarks
Table of Contents
Table of Contents
Introduction
Important User Information
About this Manual
Abbreviations
Safety Instructions
Safety Precautions
Labels and Symbols
Emergency Procedures
System Description
Media Wand and Media Handling Unit
Control Panel
Media Wand
Installation
Safety Precautions
Site Requirements
Transport
Unpacking
Assembly
Operation
Safety Precautions
Prime the Media Wand and Media Handling Unit
Check the Flow of the Media Handling Unit
Remove Transport Solution from a Resin Container
Adjust Resin Concentration and Prepare a Slurry
Use of Media Wand with Chromaflow Packing Station 100
5.6.1 Connect a Media Wand to a Chromaflow Packing Station 100
Connect a Media Wand to a Chromaflow Packing Station
Prime the Chromaflow Packing Station 100 and Media Wand
Check the Flow of the Chromaflow Packing Station 100
Remove the Transport Solution from a Resin Container
Prepare the Slurry for Use
Procedures after a Run
Maintenance
Safety Precautions
Cleaning before Planned Service
User Maintenance Schedule
Rinse the Media Wand and Media Handling Unit with Water
Clean the Media Wand
Clean the Media Handling Unit
Storage
Troubleshooting
Reference Information
Media Wand Specifications
Media Handling Unit Specifications
Chemical Resistance
Recycling Information
Regulatory Information
Contact Information
European Union and European Economic Area
Great Britain
Other Regulations and Standards
Ordering Information
Health and Safety Declaration Form
Index
Advertisement
Quick Links
1
System Description
2
Media Wand and Media Handling Unit
Download this manual
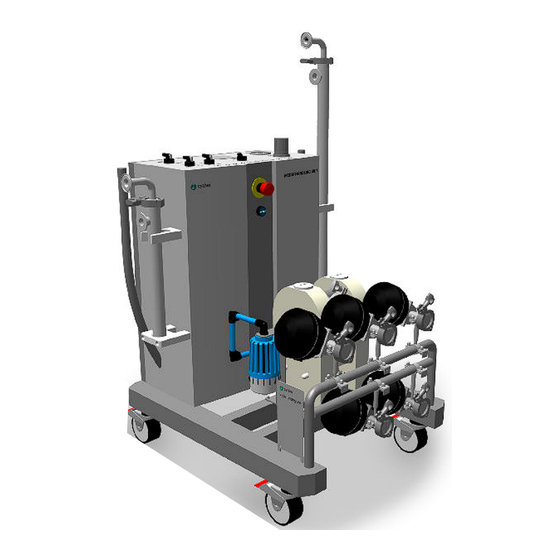
Media Wand™ and Media
Handling Unit
Operating Instructions
Original instructions
cytiva.com
Table of
Contents
Previous
Page
Next
Page
1
2
3
4
5
Advertisement
Table of Contents
Need help?
Do you have a question about the Media Wand and is the answer not in the manual?
Ask a question
Questions and answers
Related Manuals for cytiva Media Wand
Industrial Equipment cytiva Whatman Operating Instructions Manual
Ebutler membrane dispenser (52 pages)
Industrial Equipment cytiva Media Handling Unit Operating Instructions Manual
(92 pages)
Industrial Equipment cytiva AKTA readyflux Operating Instructions Manual
(260 pages)
Industrial Equipment cytiva AKTA go Operating Instructions Manual
(126 pages)
Industrial Equipment cytiva UniFlux10 Operating Instructions Manual
(250 pages)
Industrial Equipment cytiva ReadyToProcess Instructions For Use Manual
(46 pages)
Industrial Equipment cytiva AxiChrom 140 Unpacking Instructions Manual
(6 pages)
Industrial Equipment cytiva Chromaflow 50 Operating Instructions Manual
(98 pages)
This manual is also suitable for:
Media handling unit
Table of Contents
Print
Rename the bookmark
Delete bookmark?
Delete from my manuals?
Login
Sign In
OR
Sign in with Facebook
Sign in with Google
Upload manual
Upload from disk
Upload from URL


Need help?
Do you have a question about the Media Wand and is the answer not in the manual?
Questions and answers