
Related Manuals for Sanipex AQUAECO AQE-ECO-252-252T Series


Summary of Contents for Sanipex AQUAECO AQE-ECO-252-252T Series
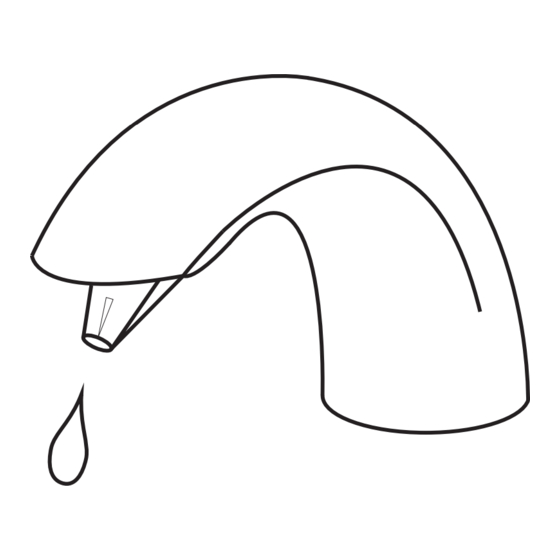
- Page 1 AQUAECO WASHROOM AND PLUMBING SOLUTIONS AQE-ECO-252-252T-XX AQUAECO DECK MOUNTED & DECK MOUNTED TALL TOUCHLESS LIQUID SOAP DISPENSER www.sanipexgroup.com...
- Page 3 IMPORTANT PLEASE READ All products manufactured and supplied by AQUAECO are fit for purpose as long as they are Installed, used correctly, cleaned and receive regular maintenance in accordance with these instructions ... Remove all packaging and check the product for damage or missing parts before commencing with the installation.
-
Page 4: Table Of Contents
Contents Warnings ........................... 1 Specifications ........................1 Before usage ........................2 Name of spare parts ....................2-3 Installation position of dispenser ................. 4 Installation of spout (for soap) ..................5 Installation of controller (host) ..................6 Connection of spare parts .................... 7 Method of refill or replace soap .................. -
Page 5: Before Usage
Before usage 1. Please read this instruction manual carefully and fix the products correctly. 2. We reserve the rights to upgrade products without a notice. 3. Please check whether the following spare parts completed or not. Name of spare parts Spout for soap-type Controller/host for S.S bracket... - Page 6 Soap dispenser (counter-top type) Wall-mounted host Spout-mounted host Spout Cone-shape washer Sensor Nozzle Hex nut Screwed bolt Sensor wire Soap tube S.S bracket AC Adapter Key switch (AC Type) Host for soap Battery Case (DC Type) Sensor plug Soap bottle(1000ml) Power plug Soap outlet Wall-mounted foam soap dispenser...
-
Page 7: Installation Position Of Dispenser
Installation position of the dispenser Position of spout 1. Please ensure that distance (1) Please ensure that distance between between soap spout and ≥120mm soap spout and water faucet is not less than 120mm. water faucet is not less than 120mm to avoid accidental Auto Soap Faucet... -
Page 8: Installation Of Spout (For Soap)
Installation of spout In s ta ll ati on of s p out (on co unte r to p) Type-2 Type-1 Cone-shape washer Bottom gasket Sensor Soap cable Sensor cable tube Soap tube Please pay attention on the Fasten the nut direction of opening of cone- shape washer 1. - Page 9 Installation of spout (wall-mounted) Wall Wall Embedded pipe Embedded pipe 2. Please insert the sensor cable and 1. Please locate and mark the the soap tube into embedded PC pipe mounting location of screws on the wall where embedded the pipe and and lead them out from the bottom then drill appropriate holes and fix of reserved holes and then mount the...
- Page 10 Installation of host of soap dispenser 1. Please locate & mark the proposed location of the host and S.S bracket. 25mm 2. Please drill the proposed holes for S.S bracket. Depth of hole: 25mm. Screw hole Screw Diameter of hole: 3mm (without rubber hole Hanging hole stopper) 7mm (with rubber stopper)
-
Page 11: Connection Of Spare Parts
Connection of spare parts 1. Connect the male end with female end of sensor cable. 2. Connect the soap tube and air tube on corresponding outlets respectively. Soap Soap ou 3. Connect the male end with female end of power cable. Soap Tube Connect the soap tube into the soap outlet of host correctly. -
Page 12: Testing And Usage
Testing and using After completion of installation, please test the product according to the following instructions: 1.Connect with power after filling the soapinto the bottle. 2.Press the key switch until foam spiting from the nozzle. Push! 3.Put your hands under spout in appropriate distance and wait for fixed amount of soap. -
Page 13: Periodic Maintenance
Nozzle • Cleaning the nozzle Please use the soft brush to clean the nozzle. Please open the nozzle by the Allen Sof t brush Wrench if the nozzle is blocked. • Cleaning of soap bottle Twist off ! Please clean the soap bottle by clear water. •... - Page 14 Note:...
- Page 15 Note:...
- Page 16 AQUAECO WASHROOM AND PLUMBING SOLUTIONS www.sanipexgroup.com INE-ECO-252-252T-XX-03-23...
Need help?
Do you have a question about the AQUAECO AQE-ECO-252-252T Series and is the answer not in the manual?
Questions and answers