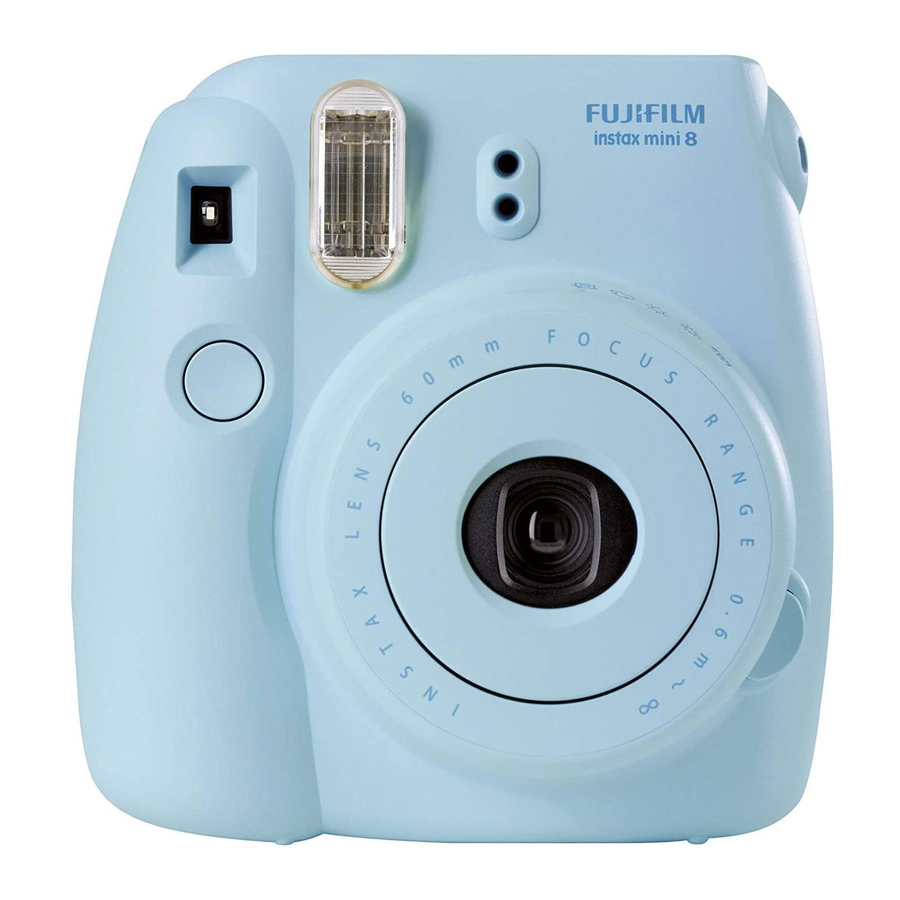
FujiFilm instax mini 8 - Camera Troubleshooting
Also See for instax mini 8:
- Owner's manual (10 pages) ,
- Owner's manual (6 pages) ,
- Owner's manual (2 pages)
Advertisement
Table of Contents
Contents
-
1
TROUBLE SHOOTING
-
1.1
During operation
- 1.1.1 The shutter release won't trip
- 1.1.2 The lamp on the view finder blinks and the shutter release won't trip
- 1.1.3 The film pack won't load into your camera, or won't load into your camera smoothly
- 1.1.4 All lamps on the brightness adjustment dial blink at the same time
- 1.1.5 The red lamp on the view finder lights
- 1.2 Printed pictures
-
1.1
During operation
- 2 Documents / Resources
FujiFilm instax mini 8 - Camera Troubleshooting
TROUBLE SHOOTING
During operation
| Problems | Possible Causes | Solutions |
The shutter release won't trip |
|
|
The lamp on the view finder blinks and the shutter release won't trip |
|
|
The film pack won't load into your camera, or won't load into your camera smoothly |
|
|
All lamps on the brightness adjustment dial blink at the same time |
|
|
The red lamp on the view finder lights |
|
|

 , the lamps on the brightness adjustment dial turn off after replacing the batteries. If the problem
  the lamps on the brightness adjustment dial blink even after replacing the batteries. In this case, turn off the power and remove the batteries immediately, then consult the distributor you purchased the product from or an authorized FUJIFILM repair center.
Printed pictures
| Problems | Possible Causes | Solutions |
The finished print looks over exposed. (White in color) |
|
|
The finished print looks under exposed. (Dark) |
|
|
The picture is out of focus |
|
|
The picture is blurred |
|
|
The subject in the viewfinder has shifted in finished print |
|
|
 direction.
 direction.
Documents / ResourcesDownload manual
Here you can download full pdf version of manual, it may contain additional safety instructions, warranty information, FCC rules, etc.
Advertisement


Need help?
Do you have a question about the instax mini 8 and is the answer not in the manual?
Questions and answers