Table of Contents
Advertisement
Quick Links
Advertisement
Table of Contents

Subscribe to Our Youtube Channel
Summary of Contents for BRP FLINT RADIANT
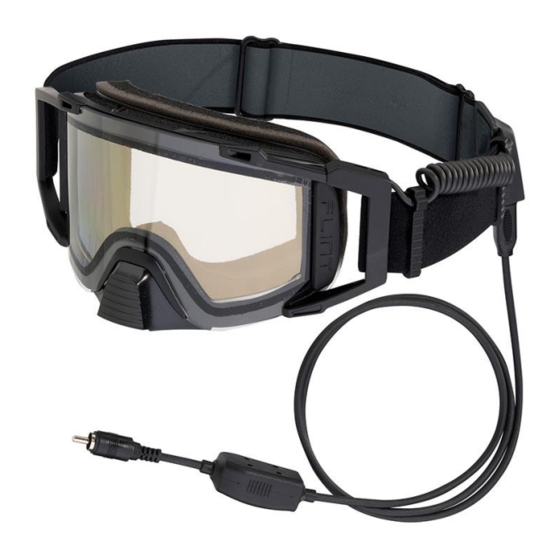
- Page 1 FLINT RADIANT GOGGLES USER GUIDE...
- Page 2 USER GUIDE FLINT RADIANT ENGLISH...
- Page 3 FLINT RADIANT Goggles CONGRATULATIONS! You have made an excellent choice with the BRP FLINT Radiant goggles. If properly cared for, we trust you will enjoy seasons of satisfaction from these specially designed products. You can feel secure in the knowledge that you now own quality goggles that is designed to provide high standards of performance –...
-
Page 4: Table Of Contents
D. TROUBLESHOOTING ..........10 E. ACCESSORIES AND SPARE PARTS ......10 • ACCESSORIES ....................10 • SPARE PARTS ....................11 F. BRP SERVICE ............... 11 • REPAIR SERVICE ................... 11 • WARRANTY ..................... 11 G. HOW TO CONTACT US ..........11... -
Page 5: General Instructions
Indicates a hazardous situation which, if not avoided, could result in death or serious injury. etc.) may affect the performance of the goggles. Please consult an authorized BRP dealer and distributors at any time for help and support on that. NOTICE Address practices not related to personal injury. -
Page 6: The Goggles
• CONNECTION TO VEHICLE 1. BRP strongly recommend that the installation on the vehicle should be made by an authorized BRP dealer so that he can refer to the owner manual of the vehicle and determine the best connection point for hook 2. -
Page 7: Nose Guard
C. INSTALLATION • NOSE GUARD 3. Unhook the cable from the strap. REMOVAL 1. Press down firmly on the bridge of the nose guard with your thumbs while holding the bottom of the goggles. INSTALLATION 4. Open holding bracket to unhook the cable. - Page 8 C. INSTALLATION INSTALLATION RADIANT LENS 7. Pull in the center of the lens to unhook the nose area. 1. Pass the RCA connector under the branch. Cable side first. 2. Slide the lens’ left side in its 8. Pull the cable from under the place.
-
Page 9: Goggles Connection
C. INSTALLATION • GOGGLES CONNECTION 5. Place the cable in the holding bracket and close the holding 1. Take the goggles side of the bracket. power cable. Sides are written on the regulator. 2. Connect the power cable’s goggles side in the RCA connector with the arrow facing up. - Page 10 C. INSTALLATION If your jacket is equipped with cable passes-through, route the power cable (goggles side) and power cable (vehicle side) in your riding coat as shown below: WARNING The goggles use a regulator which becomes HOT when connected. Do not put in direct contact with skin.
-
Page 11: Troubleshooting
RPM (Rotation Per Minutes) just a few STAYS OFF seconds, it should turn ON the LED light indicator. dealers in your area, use the dealer search on the BRP website: www.brp.com If the problem is still not resolved, go to your authorized BRP dealer for detailed inspection. -
Page 12: Spare Parts
For your nearest authorized BRP dealer or for more information on BRP products, please visit our web site: www.brp.com ® ™ and the BRP logo are trademarks of Bombardier Recreational Products inc. or its affiliates. -
Page 13: How To Contact Us
G. HOW TO CONTACT US Europe North America Skaldenstraat 125 565 de la Montagne Street B-9042 Gent Valcourt (Québec) J0E 2L0 Belgium Canada Itterpark 11 Sturtevant, Wisconsin, U.S.A. D-40724 Hilden 10101 Science Drive Germany Sturtevant, Wisconsin 53177 ARTEPARC Bâtiment B U.S.A.
Need help?
Do you have a question about the FLINT RADIANT and is the answer not in the manual?
Questions and answers