Table of Contents
Advertisement
Quick Links
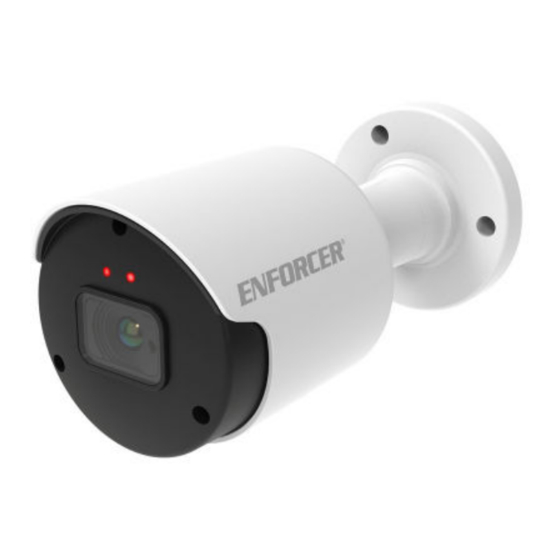
4-in-1 HD 5MP Bullet Cameras
with WDR
Installation Manual
Model
EV-Y1501-A2WWQ
EV-Y1501-AMWWQ
• True Day/Night with ICR Module
• True WDR (Digital Wide Dynamic Range)
• 3D Digital Noise Reduction (3DNR)
• TVI, CVI, AHD, CVBS (Analog)
• Rugged, weatherproof (IP66) construction
• Heavy-duty vandal-resistant design
• Cables concealed in bracket to prevent tampering
For the full On-Screen Display manual,
download from the camera's product
page on www.seco-larm.com.
EV-Y1501-A2WWQ shown
Lens
Resolution
2.8mm
5MP
2.8~12 mm
Voltage
Style
12VDC
Bullet
Color
White
Advertisement
Table of Contents

Subscribe to Our Youtube Channel
Related Manuals for ENFORCER EV-Y1501-A2WWQ


Summary of Contents for ENFORCER EV-Y1501-A2WWQ
- Page 1 4-in-1 HD 5MP Bullet Cameras with WDR Installation Manual EV-Y1501-A2WWQ shown Model Lens Resolution Voltage Style Color EV-Y1501-A2WWQ 2.8mm 12VDC Bullet White EV-Y1501-AMWWQ 2.8~12 mm • True Day/Night with ICR Module • True WDR (Digital Wide Dynamic Range) • 3D Digital Noise Reduction (3DNR) •...
- Page 2 1x Bullet camera 3x Mounting screws 1x Manual 1x Mounting template 1x DC Plug 1x Hex wrench Specifications Model EV-Y1501-A2WWQ EV-Y1501-AMWWQ Housing color White Type Fixed bullet camera Varifocal bullet camera Formats TVI (Default) / CVI / AHD / Analog (CVBS) CMOS "...
- Page 3 4-in-1 HD 5MP Bullet Cameras with WDR Overview (Continued) Mounting arm adjustment screw Camera adjustment screw Mounting base DIP Switch DC Jack Female BNC Zoom and focus compartment Mounting screws connector EV-Y1501-AMWWQ shown above IMPORTANT NOTES: • Do not cut DC jack or BNC connector jack as warranty will be voided. •...
- Page 4 4-in-1 HD 5MP Bullet Cameras with WDR Installation 1. Run a 12VDC power supply wire and a video cable 7. Use a pencil and the included mounting template with a male BNC connector to the wall or ceiling sticker to mark the mounting location. Disconnect where the camera is to be mounted the 12VDC power supply and video cable.
Need help?
Do you have a question about the EV-Y1501-A2WWQ and is the answer not in the manual?
Questions and answers