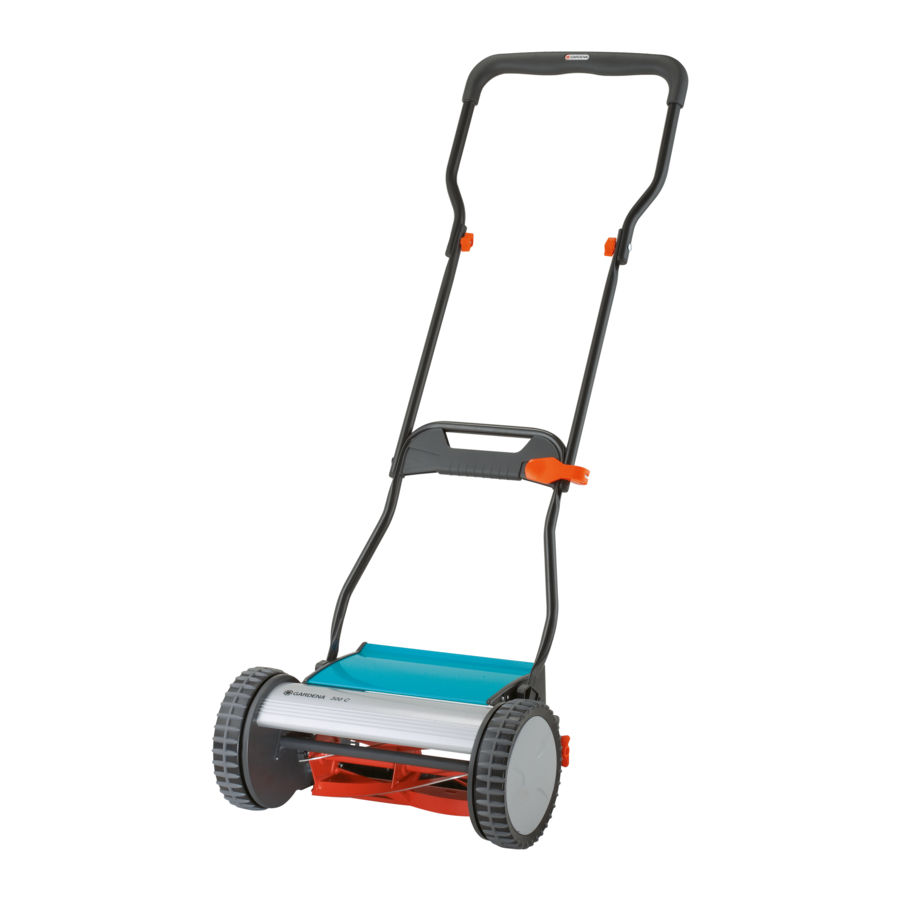
Gardena 300 C, 380 C Cylinder Lawnmower Manual
- Operating instructions manual (8 pages)
Advertisement
 Translation of the original instructions from German.
Please read these operating instructions carefully and observe the notes given. Use these instructions to familiarise yourself with the cylinder lawnmower, its correct use and the notes on safety.
 For safety reasons, children under the age of 16 as well as persons not familiar with these operating instructions should not use this cylinder lawnmower.
- Please keep these operating instructions in a safe place.
Where to Use Your GARDENA Cylinder Lawnmower
Correct use
The GARDENA Cylinder Lawnmower has been designed for cutting lawn and grass areas of private houses.
Compliance with these instructions provided by GARDENA is a prerequisite for using the cylinder lawnmower correctly.
Please note
The cylinder lawnmower may not be used for cutting climbing plants or grass on roofs, due to the danger of bodily harm.
For Your Safety
Checks before each operation
Before use, an inspection is always to be performed In order to determine that all nuts, bolts and working tools are not worn down or damaged. Worn down or damaged blades are to be replaced in sets.
Inspect the surface on which the lawn mower is to be used be-forehand. Stones, pieces of wood and wires as well as other solid matter are to be removed.
Objects, which are contacted by the cutting tools, could be thrown out uncontrollably.
Proper use / Responsibility

Take note that the rotating blade cylinder could cause injuries.
- Never place your hands or feet on or under moving parts.
Do not use the lawnmower while people, especially children, or animals are nearby. The operator is liable for damages.
The safety distance between the blade cylinder and the operator that is created by the guiding spar is to be always maintained.
When mowing embankments and slopes, special care must be taken:
- Make sure you always keep a safe distance and wear shoes with a nonslip sole.
Always cut diagonally to the slope.
Take special care when moving backwards and when pulling the lawn mower. Danger of stumbling!
If the cutting tools or the lawnmower run into an obstruction and/or solid objects, the lawn mower should be properly and thoroughly inspected.
- Only work when visibility is good.
Never leave the lawnmower unattended. If your work is interrupted, store the mower in a safe place.
Assembly


- Insert lower part of bottom upright
![]() into upright holders
into upright holders ![]() up to stop and secure with the screws
up to stop and secure with the screws ![]() .
. - Push connector
![]() from underneath into upper part of bottom upright
from underneath into upper part of bottom upright ![]() .
. - Insert threaded rod
![]() from left through lower parts of central upright
from left through lower parts of central upright ![]() , upper part of bottom upright
, upper part of bottom upright ![]() and connector
and connector ![]() right up to the stop.
right up to the stop. - Slide threaded bearing
![]() into clamping lever
into clamping lever ![]() .
. - Screw clamping lever
![]() onto threaded rod
onto threaded rod ![]() approx. 4 turns.
approx. 4 turns. - Move clamping lever
![]() onto connector
onto connector ![]() and check whether clamping lever
and check whether clamping lever ![]() locks.
locks. - If clamping lever
![]() does not yet lock, screw another turn onto threaded rod
does not yet lock, screw another turn onto threaded rod ![]() . Repeat procedure until clamping lever
. Repeat procedure until clamping lever ![]() locks on connector
locks on connector ![]() .
. - Firmly attach bottom part of top upright upright
![]() to upper parts of central
to upper parts of central ![]() using 2 wing nuts
using 2 wing nuts ![]() .
.
 into upright holders
  up to stop and secure with the screws
  .
. from underneath into upper part of bottom upright
  from left through lower parts of central upright
  , upper part of bottom upright
  into clamping lever
  .
. to upper parts of central
  .
.Operation
Mowing correctly
To produce a well-maintained lawn we recommend cutting the lawn regularly once a week if possible. The lawn becomes thicker if cut frequently.
Relatively long cut grass (>1cm) must be removed so that the lawn does not become yellow and matted.
After relatively long intervals between mowing (e.g.holiday), first of all cut in one direction with the cutting height as high as possible (42 mm), then cut in the crosswise direction at the cutting height required. The blades of grass should not be more than 12 cm long if they are to be cut with a cylinder mower.
If possible only cut the grass when it is dry. If the grass is damp, the cutting pattern will be uneven.
Adjusting the cutting height

The cutting height can be set to any position between 12 mm and 42 mm.
- Stand behind the cylinder mower with one foot on the roller
![]() .
. - Slacken the two locking screws
![]() and set to the height required on the scale
and set to the height required on the scale ![]() .
.
![]()
- Tighten the two locking screws
![]() on both sides to the same height.
on both sides to the same height.
 .
. .
.
The locking screws  must always be set to the same height on both sides.
The mower may only be adjusted to a depth in which the lower blade does not touch the ground when it is uneven.
Putting into Storage
Storage
- Clean cylinder mower before storage (see Maintenance) and store in a dry place.
To save space the cylinder mower can be collapsed by opening up the clamping nuts.
Maintenance
Cleaning the mower

Cutting mechanism can cause injuries!
- Wear suitable work gloves when undertaking maintenance.
Damage to cylinder lawnmower.
- Never clean your cylinder lawnmower with running water, in particular with water under high pressure.
Always keep the lawnmower clean and remove grass deposits. Deposits affect the cutting result as well as discharge of grass clippings. Residual dirt and grass is easily removed immediately after mowing.
- Remove grass deposits with a brush and a cloth.
- Oil the red cutting mechanism lightly with thin oil (e.g. sprayed oil).
Troubleshooting
Cutting tool can cause injuries!
- Wear suitable work gloves when rectifying faults.
| Fault | Possible Cause | Rectification |
| Abnormal Noises | Screws/components loose. |
|
| Foreign bodies on the blade. |
| |
| Notch in the blade. |
| |
| Blades are striking each other too hard. |
| |
| Lawn is not cleanly cut | Blade adjustment incorrect. |
|
| Blade blunt. |
| |
| Grass too long (e.g. after a relatively long absence). |
|
Adjusting the cutting mechanism

The cutting gear of your lawn mower was optimally adjusted before leaving our company. If, after longer use, a clean cut of the grass is no longer possible or the blade roller contacts the lower blade, then the lower blade should be adjusted as follows:
- Unhook upright and clean cylinder mower.
- Check cylinder
![]() and lower blade
and lower blade ![]() for notches and remove these with a grindstone if necessary.
for notches and remove these with a grindstone if necessary. - Unscrew internal hexagon screws
![]() with an internal hexagon wrench (5 mm) anticlockwise until the cylinder
with an internal hexagon wrench (5 mm) anticlockwise until the cylinder ![]() turns freely.
turns freely. - Push the feeler gauge supplied (thin strip of metal)
![]() between one blade
between one blade ![]() on the cylinder and the lower blade
on the cylinder and the lower blade ![]() .
. - Tighten left internal hexagon screw
![]() with an internal hexagon wrench (5 mm) until the feeler gauge
with an internal hexagon wrench (5 mm) until the feeler gauge ![]() is held gently.
is held gently. - Continue turning the cylinder until the blade
![]() , already adjusted on the left side, is exactly above the lower blade
, already adjusted on the left side, is exactly above the lower blade ![]() on the right side.
on the right side. - Tighten the right internal hexagon screw
![]() with an internal hexagon wrench (5 mm) until the feeler gauge
with an internal hexagon wrench (5 mm) until the feeler gauge ![]() is held gently.
is held gently. - Rotate cylinder
![]() . If a banging noise is produced during this, open up the internal hexagon screw
. If a banging noise is produced during this, open up the internal hexagon screw ![]() slightly on the side affected.
slightly on the side affected.
When the cylinder and the lower blade can hardly be heard touching each other, the cutting mechanism has been adjusted correctly. - Cutting test:
Place a strip of paper![]() in such a way on the lower blade
in such a way on the lower blade ![]() that it points towards the spindle of the cylinder
that it points towards the spindle of the cylinder ![]() .
. - Turn cylinder
![]() carefully.
carefully.
If the lower blade is set correctly![]() the paper will be cut off as if with scissors.
the paper will be cut off as if with scissors. - Repeat the cutting test on the other blades
![]() .
.
 and lower blade
  for notches and remove these with a grindstone if necessary.
 with an internal hexagon wrench (5 mm) anticlockwise until the cylinder
  between one blade
  in such a way on the lower blade
 Regrinding/repairs
On safety grounds, only original GARDENA spares may be used.
Please contact GARDENA Service if it is necessary to replace the cutting tool, which will only become blunt after several years use if well-maintained. Repairs to the cylinder mower and the installation of the blades can be undertaken by suitable specialist workshops.
Have the cylinder mower checked over in the autumn if possible so that it is ready for use immediately when the next lawn-mowing season starts.
If you have any problem with your cylinder mower, please contact our Customer Service.
Accessories
| GARDENA Grass collecting bag | Saves raking up the cut grass. | Art. No. 4029 |
Technical Data
| 300C (Art. No. 4021) | 380C (Art. No. 4024) | |
| Cutting width/Cutting height | 30 cm /12 - 42 mm | 38 cm /12 - 42 mm |
| Cutting height adjustment | infinitely variable | infinitely variable |
| Weight | 9.5 kg | 10 kg |
Warranty
GARDENA guarantees this product for 2 years (starting from the date of purchase). This guarantee covers all serious defects of the unit that can be proved to be material or manufacturing faults.
If a fault occurs with your Cylinder Lawn Mower, please return the faulty unit together with a copy of the receipt and a description of the fault, with postage paid to one of the GARDENA Service Centres listed on the back of these operating instructions.

Documents / ResourcesDownload manual
Here you can download full pdf version of manual, it may contain additional safety instructions, warranty information, FCC rules, etc.
Advertisement


Need help?
Do you have a question about the 300 C and is the answer not in the manual?
Questions and answers