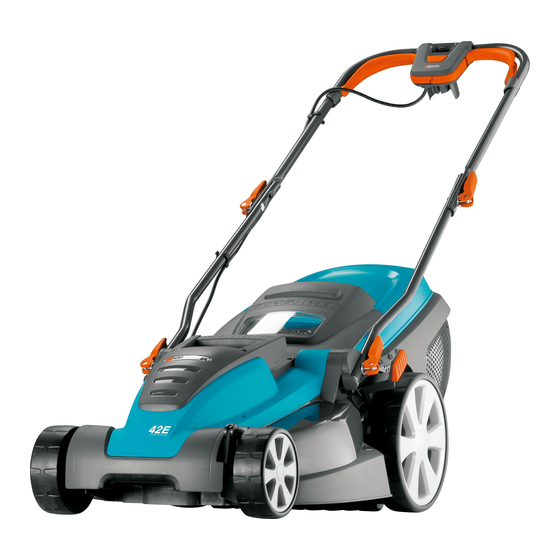
Gardena PowerMax 42 E Operating Instructions Manual
Electric lawnmower
Hide thumbs
Also See for PowerMax 42 E:
- Operating instructions manual (153 pages) ,
- Operating instructions manual (152 pages) ,
- Operating instructions manual (14 pages)
Summary of Contents for Gardena PowerMax 42 E
- Page 1 PowerMax 36 E Art. 4037 PowerMax 42 E Art. 4043 Operating Instructions Electric Lawnmower...
-
Page 2: Carton Contents
IMPORTANT ! Please check the contents of the carton are correct BEFORE assembling your new GARDENA product. IF ANY PARTS ARE MISSING CONTACT:- Husqvarna UK Ltd. Customer Service Department direct - Telephone : 01325 300303 Fax : 01325 302530... - Page 3 Safety General check for signs of wear or damage and repair as necessary. This product is not intended for use by persons (including children) with reduced physical, sensory or Replace worn or damaged blades together with mental capabilities, or lack of experience and their fixings in sets to preserve balance.
-
Page 4: Important Information
Do not switch on the product before removing from the raised position into position 5. Where to Use Your GARDENA PowerMax 36 E/42 E Mower The GARDENA mower is designed for cutting lawns To prevent injury, the mower must not be used for in and around the garden. - Page 5 Assembly of Lower Handles to Lawnmower 1. Pull the lower handle bolt until it locks into position as illustrated in fig C1. 2. Place the Spring over the Bolt (C2) 3. Insert the Pivot Block on to the Bolt (C3) Repeat for the other side.
- Page 6 Assembly of Upper Handles to Lower Handles 1. Insert the Barrel Nut into the Cam Lock as Cam Lock as illustrated in fig E2 illustrated in fig E1. 3. Turn the Cam Lock 3 times clockwise, as 2. Attach the Upper Handle to the Lower Handle illustrated in fig E3.
-
Page 7: Cutting Height Adjustment
Fitting Grassbox to Lawnmower 1. Lift safety flap (H1) 2. Make sure the discharge chute is clean and free from debris (H2) 3. Locate fully assembled grassbox onto 2 location points (H3) at the rear of the deck as illustrated in pic. J 4. -
Page 8: Mulching Plug
Starting and Stopping cont’ 3. To secure, position loop over the hook and pull the cable back through the slot (L3). 4. Connect plug to mains and switch on. The switchbox is provided with a lock-off button (L4) to prevent accidental starting. 5. -
Page 9: Caring For Your Lawnmower
How to Mow Your product can be used to cut grass using the following methods:- 1. Grassbox Fitted:- grass is collected effectively and compacted into the grassbox. (P) 3. Mulch Plug Fitted:- grass cuttings are finely chopped to return nutrients to your lawn (Q). See ʻMulching Plugʼ... -
Page 10: Service Recommendations
Fault Finding Hints Fails to Operate Excessive Vibration 1. Is the correct Starting procedure being followed? 1. Disconnect from the mains electricity supply. See ʻTo Start your Lawnmowerʼ 2. Check that the blade is fitted correctly? 2. Is the Power Turned On? 3. - Page 11 EU Certificate of Conformity The undersigned GARDENA Manufacturing GmbH, Hans-Lorenser-Str. 40, D-89079 Ulm, hereby certifies that, when leaving our factory, the units indicated below are in accordance with the harmonised EU guidelines, EU standards of safety and product specific standards. This certificate becomes void if the units are modified without our approval.
- Page 12 Great Britain Husqvarna UK Ltd Preston Road Aycliffe Industrial Park Newton Aycliffe County Durham DL5 6UP info.gardena@ husqvarna.co.uk Ireland Michael McLoughlin & Sons Hardware Limited Long Mile Road Dublin 12 4037-28.960.01/ 0908 © GARDENA Manufacturing GmbH D-89070 Ulm http: //www.gardena.com 5102008-01...


Need help?
Do you have a question about the PowerMax 42 E and is the answer not in the manual?
Questions and answers