Table of Contents
Advertisement
Quick Links
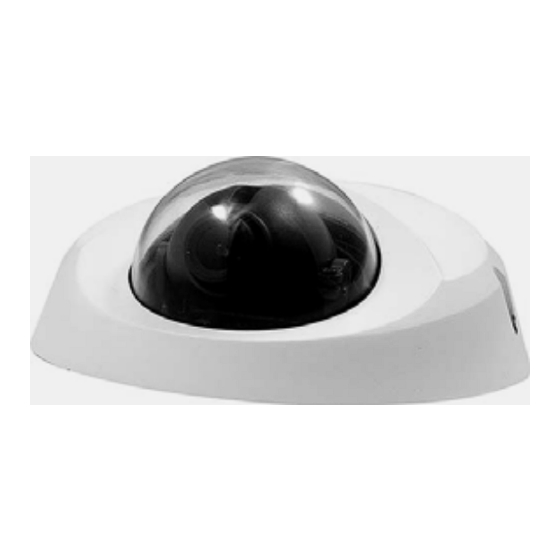
This quick installation guide provides simple instructions for installing and connecting the VPort 15-M12 series of
1.3 megapixel fixed dome IP cameras. For detailed information, refer to the VPort 15-M12's user's manual.
Ethernet Connection with 802.3 af PoE Power Supply
Refer to the figures below for connecting the VPort's Ethernet cable.
M12 D-Coded Connector
•
M12 D-Coded Connection
Connect the IP Camera's Ethernet cable to an M12 waterproof switch, as shown above.
ATTENTION
A PoE waterproof switch/hub must be used.
•
M12 D-Coded Connector's Pin Definition
Before Login
Before logging in to your VPort, make sure that
ActiveX downloading control is allowed by either changing the ActiveX Controls and plug-ins or by setting your
Internet security level to "Default Level," as shown below.
Settings for ActiveX Controls and Plug-ins
Step 1: Start Internet Explorer (IE).
Step 2: Click <Tools> from the browser's menu bar and then click
<Internet Options>.
Step 3: Click the <Security> tab and select "Internet," and then click
<Custom level> to change ActiveX settings.
Step 4: Set "ActiveX Controls and plug-ins" items to <Prompt> or
<Enable>.
Internet Security Level
Step 1: Start Internet Explorer (IE).
Step 2: Select <Tools> from the browser's menu bar and then Click
<Internet Options>.
Step 3: Click the <Security> tab and select "Internet."
Step 4: Click "Default Level" and then click "OK" to apply the new
settings. Close the browser.
VPort 15-M12 series IP Camera Quick Installation Guide
PoE Waterproof Switch
Pin 1: Rx+
Pin 2: Tx+
Pin 3: Rx-
Pin 4: Tx-
VPort 15-M12 Login
The VPort 15-M12's default IP address is 192.168.127.100. To access the VPort for the first time, set the PC's IP
address to 192.168.127.XXX. For example:
IP Address: 192.168.127.1
Subnet Mask: 255.255.255.0
Use the Utility to Search for the Device
•
Run the Moxa Ethernet Switch and Video Server Configurator (edscfgui.exe)
•
Select Broadcast Search under the List Server's menu to search for all VPort devices.
NOTE: The Moxa Ethernet Switch and Video Server Configurator (edscfgui.exe) can be downloaded from
Moxa's support website or copied from the software CD.
Login
•
Double click on the VPort 15-M12 being searched for or type its IP address in the web browser's URL bos
and then press Enter.
Note: It is strongly recommended that the administrator set up an administrators password under System
Configuration
System
Account after accessing the VPort 15-M12's web-based manager. The default
administrator name is admin (this cannot be changed), and there is no default password. Once a password is set,
authentication will be required for all logins.
Installing ActiveX Controls
•
After connecting to the VPort, a request for installing ActiveX Controls will appear just below the URL bar.
•
Right-click on the information bar, and then press "Install ActiveX Control..." to permit the installation of
ActiveX Controls.
•
A security warning message will appear the first time you access the VPort's web-based manager. The
message is related to installing the VPort ActiveX Controls component to your PC or notebook. Click on
Install to install this plug-in, which enables the IE web browser to view video images.
Advertisement
Table of Contents

Subscribe to Our Youtube Channel
Related Manuals for Moxa Technologies VPort 15-M12


Summary of Contents for Moxa Technologies VPort 15-M12
- Page 1 1.3 megapixel fixed dome IP cameras. For detailed information, refer to the VPort 15-M12’s user’s manual. The VPort 15-M12’s default IP address is 192.168.127.100. To access the VPort for the first time, set the PC’s IP Ethernet Connection with 802.3 af PoE Power Supply address to 192.168.127.XXX.
- Page 2 Web-based Manager The main page of the VPort 15-M12 IP user interface: VPort 15-M12 IP Camera Quick Installation Guide System Configuration Click on System Configuration to access the system configuration overview if you need to make changes to the configuration. For detailed information about each configuration, refer to the User’s Manual on the software CD.
Need help?
Do you have a question about the VPort 15-M12 and is the answer not in the manual?
Questions and answers