
Subscribe to Our Youtube Channel
Related Manuals for Moxa Technologies VPort P06HC-1V Series


Summary of Contents for Moxa Technologies VPort P06HC-1V Series
- Page 1 VPort P06HC-1V Series Quick Installation Guide Moxa IP Camera Version 1.0, April 2021 Technical Support Contact Information www.moxa.com/support 2021 Moxa Inc. All rights reserved. P/N: 1802000064010 *1802000064010*...
-
Page 2: Package Checklist
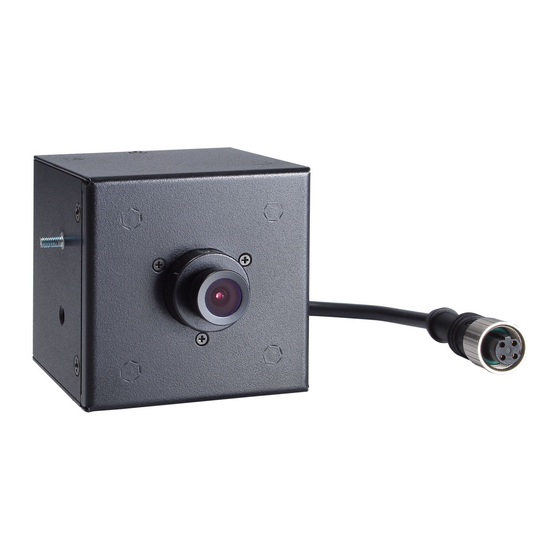
M12 Ethernet port, 1 PoE power input, and a selectable lens. Package Checklist Moxa’s VPort P06HC-1V Series is shipped with the following items. If any of these items are missing or damaged, please contact your customer service representative for assistance. -
Page 3: Product Description
• Complies with all EN 50155 mandatory test items (This product is suitable for rolling stock railway applications, as defined by the EN 50155 standard. For a more detailed statement, click here: www.moxa.com/doc/specs/EN_50155_Compliance.pdf) • 1 10/100BaseT(X) port with M12 D-code connector •... - Page 4 NOTE To connect the VPort P06HC-1V to a network, use an Ethernet cable with D-code M12 connector and an M12 PoE switch or RJ45 PoE switch. M12 male to M12 male cable M12 PoE Switch (e.g., TN-5508-4PoE) M12 male to RJ45 cable RJ45 PoE switch (e.g., EDS-P510) NOTE The power input current of the VPort P06HC-1V is 48 VDC, 0.17...
-
Page 5: Software Installation
Software Installation Step 1: Configure the IP address of the VPort P06HC-1V Series. When the VPort P06HC-1V Series is first powered on, the POST (Power On Self Test) will run for a few moments (about 50 seconds). The network environment determines how the IP address is assigned. - Page 6 VPort’s web-based manager (web server). Non DHCP Server Network Environment If your VPort P06HC-1V Series is connected to a network that does not have a DHCP server, then you will need to configure the IP address manually. The default IP address of the VPort P06HC-1V is 192.168.127.100 and the default subnet mask is 255.255.255.0.
- Page 7 NOTE For Windows XP SP2 or later operating systems, the ActiveX Control component will be blocked for system security reasons. In this case, the VPort’s security warning message window may not appear. You should unlock the ActiveX control blocked function or disable the security configuration to enable the installation of the VPort’s ActiveX Control component.
-
Page 8: Firmware Upgrade
Step 6: Access the VPort’s system configuration. Click on System Configuration to access the overview of the system configuration to change the configuration. Model Name, Server Name, IP Address, MAC Address, and Firmware Version appear on the green bar near the top of the page. Use this information to check the system information and installation. -
Page 9: Wiring Requirements
NOTE Do not turn off the power or disconnect the network during the firmware upgrade process, or the system may not reboot properly if the firmware upgrade process was not completed. Wiring Requirements ATTENTION Safety First! Be sure to disconnect the power cord before installing and/or wiring your Moxa VPort P06HC-1V. -
Page 10: Specifications
Specifications Input Current 0.17 A @ 48 VDC Operating Temperature -40 to 55°C (-40 to 131°F) Storage Temperature -40 to 85°C (-40 to 185°F) NOTE This product is intended to be supplied by a UL Listed Power Adapter or DC Power source marked ‘L.P.S’ or ‘Limited Power Source’, rated PoE 48 VDC, 0.17 A, and Tma 55°C.
Need help?
Do you have a question about the VPort P06HC-1V Series and is the answer not in the manual?
Questions and answers