Garmin echo 550c Installation Instructions Manual
Hide thumbs
Also See for echo 550c:
- Owner's manual (28 pages) ,
- Important safety and product information (28 pages)
Advertisement
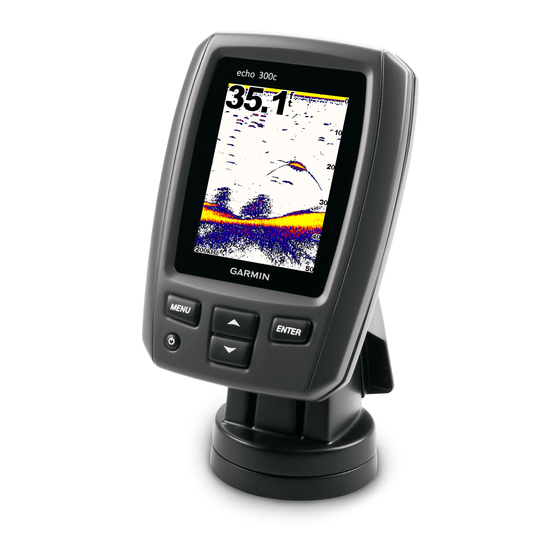
echo
Installation Instructions
™
See the Important Safety and Product Information guide in the product box
for product warnings and other important information.
Always wear safety goggles, ear protection, and a dust mask when drilling,
cutting, or sanding.
Follow these instructions to properly install the all of the components
provided with your echo 100/150/200/300c/500c /550c.
contact garmin
Contact Garmin Product Support if you have any questions while using your
echo. In the USA, go to www.garmin.com/support, or contact Garmin USA
by phone at (913) 397.8200 or (800) 800.1020.
In the UK, contact Garmin (Europe) Ltd. by phone at 0808 2380000.
In Europe, go to
www.garmin.com/support
in-country support information, or contact Garmin (Europe) Ltd. by phone at
+44 (0) 870.8501241.
tools needed
• Drill and drill bits
•
/
in. wrench or socket
3
8
• Masking tape
• Number 2 Phillips screwdriver
• Marine sealant
• Hardware for the swivel mount (bolts or screws)
Installation Preparation
Before permanently installing any part of your echo, plan the installation by
determining the location of the various components. Verify that the cables are
long enough to connect the components to each other and to power.
about the transducer
The transducer is the component of your echo that transmits sound waves
through the water and receives them to relay the information to your echo
device. With the supplied hardware, you can install the included transducer
on the transom of your boat
(page
If you already have an existing Garmin 6-pin dual-beam transducer on your
boat, you can use it with your echo device by installing an adapter cable (sold
separately).
about the echo Mount
The echo device can be mounted using the included swivel-mount bracket
(page
3), or it can be mounted flush with the dashboard using the appropriate
flush-mount kit (sold separately).
February, 2011
WarnIng
cautIon
and click
Contact Support
(page
3)
1) or on your trolling motor
(page
When planning a mounting location, choose a location that you can see as
you operate your vessel, provides easy access to the keys on the echo, and is
the appropriate distance from a compass
assembling the transducer
1. Insert the rubber washer ➊ and the plastic spacer ➋ into the transducer
➌ at the same time.
Do not add any lubrication to the rubber washer.
for
2. Pull the cable back and slide the transducer into the mounting bracket ➍.
3. Place a 5 mm flat washer ➎ on the 10-32 x 1.75 in. screw ➏ and insert
the screw through the mounting bracket, transducer, spacer, and rubber
washer.
4. Place a 5 mm flat washer on the exposed end of the 10-32 x 1.75 in.
screw, and fasten it with the 10-32 lock nut ➐.
Do not tighten the 10-32 lock nut. You will adjust the transducer and
tighten the nut after you install the transducer on the boat.
Installing the transducer on a transom
Selecting a transom-mount Location
Select a transom-mount location while considering these guidelines for
optimal performance.
• Mount the transducer as close to the center of the boat as possible.
• Do not mount the transducer behind strakes, struts, fittings, water
intake or discharge ports, or anything that creates air bubbles or
causes the water to become turbulent.
The transducer must be in clean (non-turbulent) water for optimal
performance.
3).
• Do not mount the transducer in the path of the propeller on single-
drive boats.
The transducer can cause cavitation that can degrade the performance
of the boat and damage the propeller.
• On twin-drive boats, mount the transducer between the drives, if
possible.
• Do not mount the transducer in a location where it might be jarred
when launching, hauling, or storing.
190-01312-02 Rev. B
(page
6).
➍
➎
➏
➋
➊
➌
➐
Printed in Taiwan
Advertisement
Table of Contents

Related Manuals for Garmin echo 550c


Summary of Contents for Garmin echo 550c
-
Page 1: Assembling The Transducer
Follow these instructions to properly install the all of the components provided with your echo 100/150/200/300c/500c /550c. contact garmin Contact Garmin Product Support if you have any questions while using your echo. In the USA, go to www.garmin.com/support, or contact Garmin USA by phone at (913) 397.8200 or (800) 800.1020. - Page 2 Installing the transom-Mount Hardware Notice Do not cut the transducer cable. Cutting the transducer cable will void your warranty. 1. Position the transducer mount ➊ at the selected mounting location on the transom (page ➏ ➍ ➎ ➊ ➌ ➋ 2.
-
Page 3: Installing The Swivel Mount
Installing the transducer on a trolling Motor Notice Do not cut the transducer cable. Cutting the transducer cable will void your warranty. 1. Feed the 20 in. (50 cm) cable tie ➊ through the slot on the transducer mount ➋, with the ridges of the cable tie facing up, until equal lengths extend on both sides of the mount. -
Page 4: Installing The Cables And Connectors
Fastening the Swivel Mount with the cables Installed in the Mount 1. Feed the cables ➏ through the in. (16 mm) center hole you drilled when preparing the swivel-mount base. 2. Place the swivel-mount base ➊ on the mounting surface, route the cables through the cable pass-through holes ➎, and loosely fasten the swivel-mount base using the appropriate screws or bolts ➋. -
Page 5: Testing The Installation
connecting the cables to an echo 200/500c/550c On an echo 200/500c/550c device, the connectors on the cables are keyed to fit only in the correct ports on the cradle. The connected cables are then held in place by a locking bracket. No cables connect directly to an echo 200/500c/550c device. -
Page 6: Specifications
Information in this document is subject to change without notice. Garmin reserves the right to change or improve its products and to make changes in the content without obligation to notify any person or organization of such changes or improvements.
Need help?
Do you have a question about the echo 550c and is the answer not in the manual?
Questions and answers