Advertisement
Available languages
Available languages
Quick Links
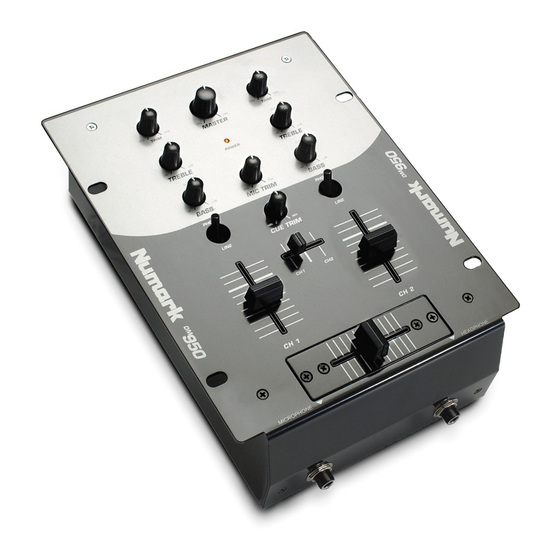
PROFESSIONAL DJ MIXER
Quick Start Owner's Manual
Manual de inicio rápido para el usuario
Schnellbedienungsanleitung (DEUTSCH)
Manuel d'utilisation du propriétaire
Manuale rapido di utilizzazione (ITALIANO)
BOX CONTENTS
•
MIXER
•
USB CABLE
•
POWER SUPPLY
(ESPAÑOL)
CONTENIDOS DE LA CAJA
•
MEZCLADOR
•
CABLE USB
•
FUENTE DE ALIMENTACIÓN
SCHACHTELINHALT
•
MISCHPULT
•
USB-KABEL
•
STROMKABEL
(FRANÇAIS)
CONTENU DE LA BOÎTE
•
MIXER
•
CABLE USB
•
BLOC D'ALIMENTATION
CONTENUTO DELLA CONFEZIONE
•
MIXER
•
CAVO USB
•
CAVI DI ALIMENTAZIONE
Advertisement

Subscribe to Our Youtube Channel
Related Manuals for Numark DM950


Summary of Contents for Numark DM950
- Page 1 PROFESSIONAL DJ MIXER Quick Start Owner’s Manual BOX CONTENTS • • • Manual de inicio rápido para el usuario CONTENIDOS DE LA CAJA • • • Schnellbedienungsanleitung (DEUTSCH) SCHACHTELINHALT • • • Manuel d’utilisation du propriétaire CONTENU DE LA BOÎTE •...
- Page 2 (i.e. turntables or CD players) • your mixer • last, any amplifiers When turning off, always reverse this operation by, • turning off amplifiers • your mixer • last, any input devices 11. Go to http://www.numark.com for product registration.
-
Page 3: Front/Rear Panel Features
Replace the fader with a quality authorized replacement from your local Numark retailer. Cue Trim & Slider: The Cue Trim rotary control knob adjusts the volume level of the headphone output. Channels 1 and 2 can be previewed using the Cue Slider. - Page 4 (por ej. giradiscos o reproductores de CD) • su mezclador • por último, cualquier amplificador Al apagar, realice siempre esta operación al contrario: • apague los amplificadores • su mezclador • por último, cualquier dispositivo de entrada Visite http://www.numark.com para registrar el producto.
- Page 5 Simplemente, retire el panel frontal y luego retire los tornillos que lo mantienen sujeto. Cambie el fader con un repuesto de calidad autorizado por su vendedor de Numark más cercano. Deslizador del Trim y Cue: El mando giratorio de Cue Trim ajusta el nivel de volumen de la salida de los auriculares.
- Page 6 Ihr Mischpult • zuletzt, vorhandene Verstärker Beim Ausschalten, drehen Sie diese Reihenfolge jeweils um, indem Sie: • die Verstärker ausschalten • dann Ihr Mischpult • zuletzt alle Eingabequellen 11. Gehen Sie auf die Webseite http://www.numark.com, um Ihr Produkt zu registrieren.
- Page 7 Nehmen Sie einfach die Deckplatte ab und lösen Sie die Schrauben, welche ihn befestigen. Ersetzen Sie den Regler mit einem Ersatzteil, welches in seiner Qualität von Ihrem örtlichen Numark-Händler authorisiert wurde. Cue-Abgleich & Schieberegler: Der Cue- Abgleich-Drehregler dient zur Einstellung der Lautstärke der Kopfhörerausgabe.
- Page 8 • votre console de mixage • en dernier, tout amplificateur Pour éteindre, toujours inverser l’opération, • Éteindre les amplificateurs • votre console de mixage • en dernier lieu, tous les dispositifs d’entrée 11. Allez à http://www.numark.com pour enregistrer le produit.
-
Page 9: Caractéristiques Du Panneau Avant
Ôter simplement le panneau avant et retirer les vis qui le retiennent. Remplacer l’atténuateur avec un atténuateur de qualité approuvé par votre distributeur Numark. Bouton et atténuateur de pré-écoute : Le contrôle rotatif (Cue Trim) ajuste le niveau du volume du casque d’écoute. - Page 10 • per ultimi, tutti gli amplificatori Al momento dello spegnimento, invertire sempre questa operazione, • spegnendo gli amplificatori • il mixer • per ultimi, tutti i dispositivi di ingresso 11. Andare sul sito http://www.numark.com per la registrazione del prodotto.
- Page 11 Sostituite il cursore con un ricambio autorizzato che troverete presso il vostro rivenditore locale Numark. Cue Trim e Slider: La manopola Cue Trim regola il livello del volume dell’uscita delle CONFIGURAZIONE PANNELLO POSTERIORE...
-
Page 12: Specifications
SPECIFICATIONS 1. Input Levels PHONO: LINE: 200mV MIC: 2. Output Gain: 14.5dB +/- 2dB Conditions : (a) TRIM/ CH VOL/MASTER at maximum (b) CH Fader at the middle (c) Tone control at the middle 3. Frequency Response (20-20KHz): 4. Channel Balance : < 2.5dB at 1KHz 5.
Need help?
Do you have a question about the DM950 and is the answer not in the manual?
Questions and answers