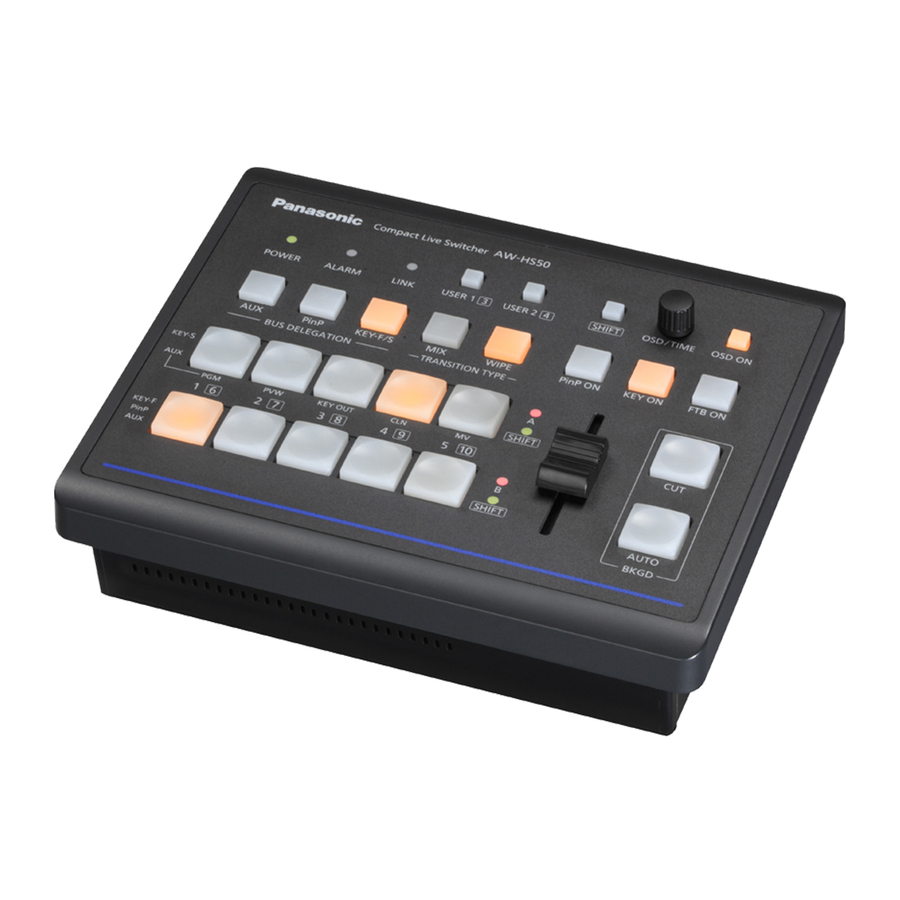
Panasonic AW-HS50 Quick Start Manual
Hide thumbs
Also See for AW-HS50:
- Quick start manual (4 pages) ,
- Manual (2 pages) ,
- Operating instructions manual (140 pages)
Table of Contents
Advertisement
Quick Links
Linked-Up Functions of AW-HS50 and AW-RP50
★ A highly efficient operating environment can be established by linking AW-HS50 switcher and AW-RP50 controller
together. (Only one AW-HS50 switcher can be linked.)
This is to explain how the devices are to be connected and what features are made available by this linkage.
Features Available by This Linkage
- Switching the Sources: The sources on AW-HS50 can be switched in tandem with the camera selecting operations
- Focus Assist Function: It is possible to switch between the Multi View Display (MV) and a full-screen display of
- Displaying the Camera Icon: A camera being controlled by AW-RP50 can be indicated with the camera icon (
- Displaying the Camera Information: The setting information of a camera can be displayed on an AW-HS50 AUX
- Getting the Tally Information: Tally information can be output to a camera selected using AW-HS50 PGM.
- Changing the AW-HS50 Settings: Setting values on AW-HS50 can be changed using the PAN/TILT lever and
Connection Procedure and Type of Cable
① Connect AW-HS50 and AW-RP50 using a LAN cable.
* Connecting directly: crossover cable
【Step 1】 Making the linked-up features ready
★ Configuring AW-HS50
① Hold down the OSD ON button – (Fig.1-A) for two seconds to open the menu. (To close it, hold the button down
again for two seconds.)
② Use the OSD/TIME dial – (Fig.1-B) to change the menu setting below so that the functions linked up with
AW-RP50 are enabled.
Menu: [13] Output Menu > 10. CamContLink => [On] – (Fig.2)
by AW-RP50. * Controllable buses: AUX, PVW, PinP, KEY-F
camera output image by a single AW-RP50 button operation. * Controllable bus: AUX
on the MV screen by AW-HS50.
output image or the MV screen.
ZOOM button on AW-RP50.
Connecting via a hub: straight cable, category 5 or higher, up to 100m
* Default: Off
)
Advertisement
Table of Contents

Related Manuals for Panasonic AW-HS50


Summary of Contents for Panasonic AW-HS50
- Page 1 This is to explain how the devices are to be connected and what features are made available by this linkage. Features Available by This Linkage - Switching the Sources: The sources on AW-HS50 can be switched in tandem with the camera selecting operations by AW-RP50. * Controllable buses: AUX, PVW, PinP, KEY-F - Focus Assist Function: It is possible to switch between the Multi View Display (MV) and a full-screen display of camera output image by a single AW-RP50 button operation.
- Page 2 ① Set the IP address of AW-HS50. * Default IP address for AW-HS50: (192. 168. 0. 8) Menu: (10) SYSTEM > [9] SW IP ADR => [IP address of AW-HS50] * Default (192. 168. 0. 8) (Procedure) * Also at the following steps, perform the operations like this.
- Page 3 (On AW-RP50, SDI IN 1 – 4 are indicated as INPUT1 – 4, DVI-IN as INPUT5.) According to this set-up, if one of the cameras that have been set up is selected using AW-RP50, AW-HS50 receives the information of selection.
- Page 4 Setting for Focus Assist Function ① AUX source image output from AW-HS50 is switched to an image from a remote camera selected by AW-RP50. If this setting is set to “Off”, AW-HS50 AUX output image is switched to MV screen.
- Page 5 * Default: [Off] Setting for Displaying the Camera Information ① On a monitor connected with AW-HS50, the information of a remote camera can be displayed at a time. Menu: (9) SETUP > [3] SW DISP => 1. CAMINF => [On]...
- Page 6 Menu: (9) SETUP > [2] SW LINK => 7. P/T LEVER => [Self, SW, Button Select] * Default: [Self] - [Self]: For controlling the remote cameras - [SW]: For changing the setting values on AW-HS50 * This use of PAN/TILT lever and ZOOM button can be enabled while the following sub-menus are shown on AW-HS50.
Need help?
Do you have a question about the AW-HS50 and is the answer not in the manual?
Questions and answers