Advertisement
Before You Begin
This guide provides step-by-step instructions on how to setup and configure ScreenBeam wireless display receiver for deployment. After completing the steps described in this guide, you will be able to place the receiver at your site and provide wireless display to users.
Before deploying ScreenBeam products, check for the latest firmware and release documentation.
- For ScreenBeam receiver's deployment guide, firmware upgrades, and release notes, go to: https://support.screenbeam.com/750.
- For ScreenBeam Central Management System (CMS) software and user guide, go to: https://support.screenbeam.com/cms.
- For an online tutorial on how to connect your Wi-Fi Miracast device to ScreenBeam, go to: www.screenbeam.com/setup.
- For Open Source information, go to: https://opensource.screenbeam.com.
Package Contents
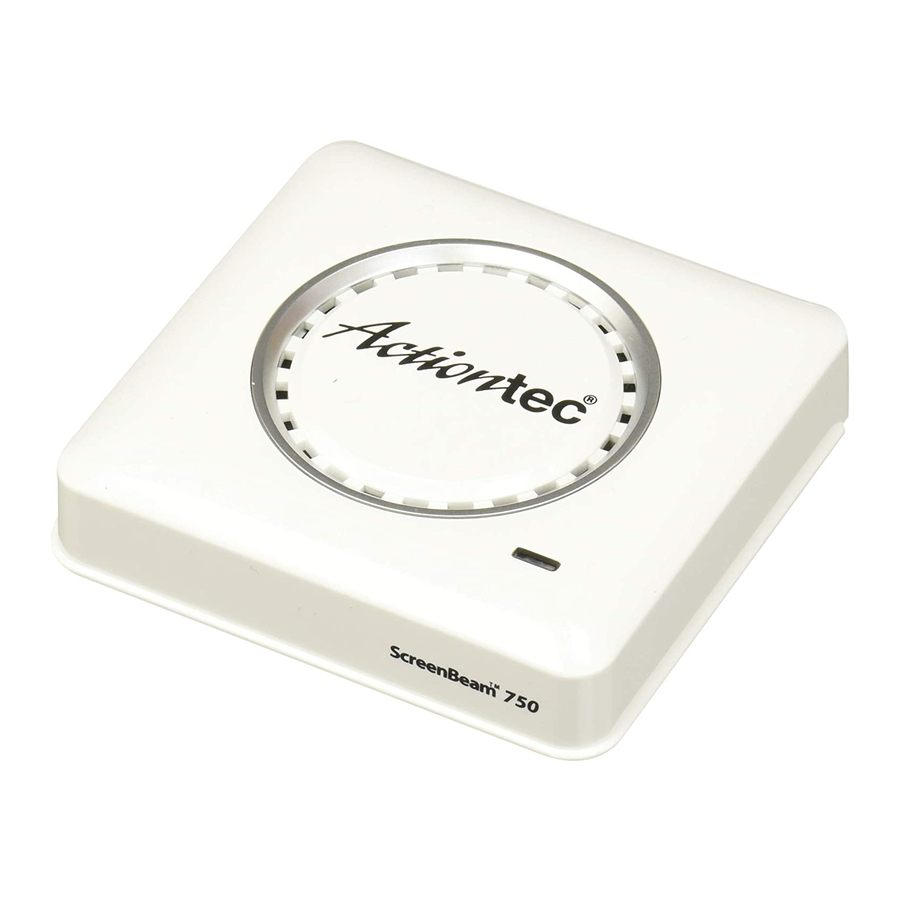
- ScreenBeam 750 wireless display receiver
- Power supply
- HDMI® cable
- HDMI-to-VGA dongle and 3.5mm audio cable
- CMS network dongle (USB-to-Ethernet or USB-to-Wireless)
- Quick Setup Guide (this document)
- Regulatory flyer
Setup Requirements
- TV/projector/monitor with available HDMI input
- Windows 10 device with Wi-Fi Miracast wireless display
Connect Receiver to Display

Figure 1 Connection guide
- Place the receiver next to the display.
- Using an HDMI cable, connect one end to the receiver's HDMI port and the other end to the HDMI port on the TV.
![warning]() Note: If VGA connection is preferred, refer to ScreenBeam receiver's user guide for additional details.
Note: If VGA connection is preferred, refer to ScreenBeam receiver's user guide for additional details. - Connect one end of the receiver's power supply to the receiver's power port, and the other end to an electrical wall outlet.
- Turn on the display and switch to the HDMI input to which the receiver is connected to.
- Wait about 30 seconds, then verify the Ready to Connect screen appears on the display.
The ScreenBeam 750 receiver is ready to connect with Wi-Fi Miracast client devices. If you wish to configure for deployment now, please see the Remote Management Setup Guide.
Connect From Your Device
- For an online tutorial on how to connect your Wi-Fi Miracast client device to ScreenBeam, go to: www.screenbeam.com/setup.
![warning]() Note: The tutorial webpage will display the instructions based on the client device's OS. If the client device's OS is different than what user(s) will use, then manually select from the links below for instructions pertaining to that OS.
Note: The tutorial webpage will display the instructions based on the client device's OS. If the client device's OS is different than what user(s) will use, then manually select from the links below for instructions pertaining to that OS. - Using a Windows 10/8.1 client device, connect to the receiver's name as displayed on the Ready to Connect screen.
- Enter in the PIN code if required.
![warning]() Note: If the PIN code does not show on the display, then try the default code 12345670.
Note: If the PIN code does not show on the display, then try the default code 12345670. - The client device's screen appears on the display.
Tip: Press hot keys Windows + P and select a project mode.
Congratulations! Your TV/Projector is now enabled with wireless display.
For FAQs, troubleshooting tips and support, go to: https://support.screenbeam.com.
| Remote Management Guide For the ScreenBeam 750 Wireless Display Receiver |
Prepare ScreenBeam Management
Using ScreenBeam CMS software
ScreenBeam Central Management System can configure, update, and manage all of your receivers. It's a highly recommended tool for multi-unit deployment and post-deployment.
- To obtain CMS software and CMS User Guide, go to:https://support.screenbeam.com/cms.
- Refer to CMS User Guide for setup instructions.
- Once complete, proceed to Section C of this Setup Guide.

Figure 2 Receivers managed by ScreenBeam CMS
Using Local Management Console on ScreenBeam
If using CMS you will not need to use local management. Local management console can configure and update only one ScreenBeam receiver at a time.

Figure 3 Receiver managed by local management console
Wireless P2P Direct Connection
This step requires a Windows 10 Miracast capable device.
- Locate the receiver name in the bottom left corner of the Ready to Connect screen
- On a Windows 10 device, simultaneously press the Windows + K keys to open the Connect menu. If you have a tablet device, swipe from the right for the Connect option.
- Select the receiver name from the list that matches the name shown on the display.
- If prompted, enter the PIN shown on the display. If no PIN is shown on the display, but the PC still prompts for a PIN, try the default PIN 12345670.
- Select Connect button.
- The Windows 10 Miracast capable device is now connected in Wireless P2P Direct and is mirroring.
Log Into Local Management Console
- On the Windows 10 system, open a web browser.
- Enter the following URL into the browser's address text box: http://192.168.16.1.
- You may encounter a browser error that states "There's a problem with the wireless security certification." Manually accept the connection by doing one of the following:
- For Chrome browser: click Advance, then click Proceed.
- For Edge/IE browser: click Continue to this webpage (not recommended).
- When the ScreenBeam management console page appears, enter the following:
- Username: Administrator
- Password: screenbeam
- Click Login.
- The Device Configuration webpage appears.
 Note: The following sections provide the necessary configuration and customization for deployment.
Customize the ScreenBeam Settings
Under the Device Configuration Page
Assign New Device Name
- From the Device Name Access option, select Enable.
- Click the Device Name text box, then enter a new name (example: Conference TV).
Note: Each receiver should have a unique name; this makes it easier for users to identify and connect to the right TV/Projector. Supported naming characters are A-Z, a-z, 0-9, -, _.
Change the Administrator's Password
- Click in the Administrator Password text box and enter the new password.
- Click Apply/Save button below to save any changes.
Customize Wireless Display Settings
Under the Features Page
Configure Force PIN Pairing
By default, the Force PIN Pairing option is Enabled and the PIN code is 12345670. This means only users with the PIN code could connect. To change the PIN pairing type or PIN code:
- Select either On to force PIN or Off to not force PIN upon connection.
- If Force PIN is On, you can select on Each connection or First connection only.
- Select PIN code generation type of your choice.
- If Static, then enter in a code of your choice.
Note: Write down the new PIN for user(s). If the Windows 10 Miracast device has previously connected to the old PIN, its profile may need to be removed to clear the old PIN.
Configure HDMI/VGA Port Power Management
ScreenBeam is designed to display continuously. To extend the TV/projector's bulb life:
- Select either ScreenSaver or Display Off.
- Enter a desired time period for setting to take effect.
- (Optional) Select a Wake up mode.
Place Receiver at Site
- Unplug the power supply and HDMI cable from ScreenBeam.
- Move the receiver to its permanent location (accessible to both power and HDMI/VGA input of the display).
![warning]() Note: If you plan to deploy with CMS for management, access to a wired (recommended) or wireless LAN is also required.
Note: If you plan to deploy with CMS for management, access to a wired (recommended) or wireless LAN is also required. - Plug the HDMI cable to the receiver and the TV/projector.
- Plug in the receiver's power supply.
- Switch the TV/projector to the correct input, and verify the Ready to Connect screen appears.
© 2021 All rights reserved. ScreenBeam and the ScreenBeam logo are registered trademarks owned by ScreenBeam Inc. The terms HDMI, HDMI High-Definition Multimedia Interface, and the HDMI Logo are trademarks or registered trademarks of HDMI Licensing Administrator, Inc. All other names are properties of their respective owners.
Specifications subject to change without notice.


Documents / Resources
References
Download manual
Here you can download full pdf version of manual, it may contain additional safety instructions, warranty information, FCC rules, etc.
Download ScreenBeam 750: SBWD750E/W - Wireless Display Receiver User Guide
Advertisement


Need help?
Do you have a question about the 750 and is the answer not in the manual?
Questions and answers