Advertisement
Quick Links
Advertisement

Related Manuals for keymaXX DP-200


Summary of Contents for keymaXX DP-200
- Page 1 DP-200 02/2023 KEY0005482-000 user manual...
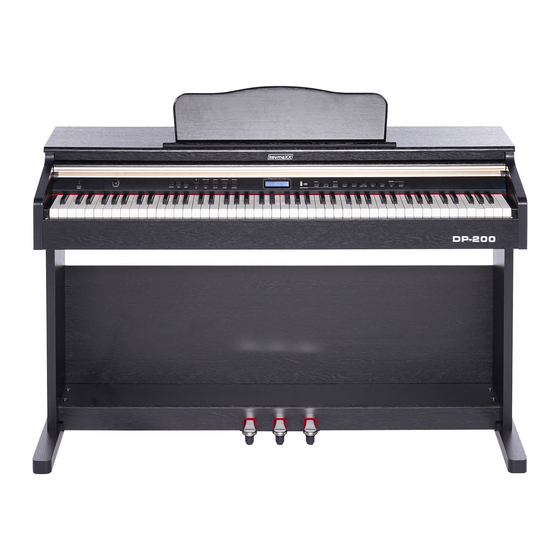
- Page 2 Intended use: The keymaXX DP-200 is a digital E-Piano, designed to play sounds on the keyboard and make them audible through built-in speakers or headphones. Improper use of the product is considered improper and can lead to personal injury or property damage. No liability is assumed for damage resulting from improper use.
- Page 3 Important safety instructions! Please read before connection! CAUTION! (Electro Magnetic Interference) The normal function of the product may be disturbed by Strong Electro Magnetic Interference. If so, simply reset the product to resume normal operation by following the owner‘s manual. In case the function could not resume, please use the product in other location.
- Page 4 Hint! (Operating conditions) Due to its structural characteristics, the device is designed for indoor operation (IP20). Never expose the device to rain, moisture or liquids as this may cause damage. Vibrations, dust or solar radiation can also lead to damage, avoid them! Do not apply excessive force to the switches or controls.
- Page 5 Hint! (Interferences with other electrical devices) Radios and televisions placed nearby may experience reception interference. Operate this unit at a suitable distance from radios and televisions. If this equipment does cause harmful interference to radio or television reception, which can be determined by turning the equipment off and on, the user is encouraged to try to correct the interference by one or more of the following measures: ...
- Page 6 Cleaning: A regular cleaning of the device from impurities and dust increases the durability of the product. Always disconnect the device from the power supply before cleaning it! Never clean the appliance wet! Optical lenses should be cleaned with a dry microfiber cloth to optimize light output. Ventilation grilles and openings should always be cleaned of dust and dirt.
- Page 7 JACK SOCKET [1] Power Cord Connection When using, connect the power cord as shown in the figure, insert one end into the electrical socket in the operation panel at the bottom of the piano, and the other end into the 220V household power socket. (Fig. 1) ...
-
Page 8: Installation
INSTALLATION... - Page 9 OPERATION GUIDE Power On Connect the power adapter to the power socket and turn an the power switch to operate normally. The default voice is grand piano. Master Volume Adjust the main volume knob an the control panel, turn the knob clockwise to increase the volume, and turn the knob anticlockwise to decrease the volume.
- Page 10 OPERATION GUIDE Adjust style speed 1. Use the [metronome + / -] key to adjust the accompaniment speed. The adjustable range is 20-280 beats / min. 2. When the accompaniment stops, select the rhythm, and the speed is automatically set as the preset value of the rhythm; when the rhythm is played, switch the rhythm, and the speed does not return to the preset value.
- Page 11 OPERATION GUIDE Beat settings Long press the [metronome] key to enter the metronome type selection state. Use the [+/-] key to select the corresponding beat type: (1-4, 2-4, 3-4, 4-4, 3-8, 6-8). After selection, press the [metronome] key or there is no operation for more than 2 seconds to confirm the metronome type selection.
- Page 12 OPERATION GUIDE Recording settings Press the [record] key to enter the recording mode, and make metronome sound. lf you do not need metronome, you can use the [metronome] key to turn off. At this time, press any piano key to start recording, and then press the [record] key to stop recording. Playback settings After recording the track, press the [play] button to start playing the recorded track.
- Page 13 APPENDIX 1...
- Page 14 APPENDIX 1...
- Page 15 APPENDIX 2...
- Page 16 APPENDIX 3...
Need help?
Do you have a question about the DP-200 and is the answer not in the manual?
Questions and answers