Table of Contents
Advertisement
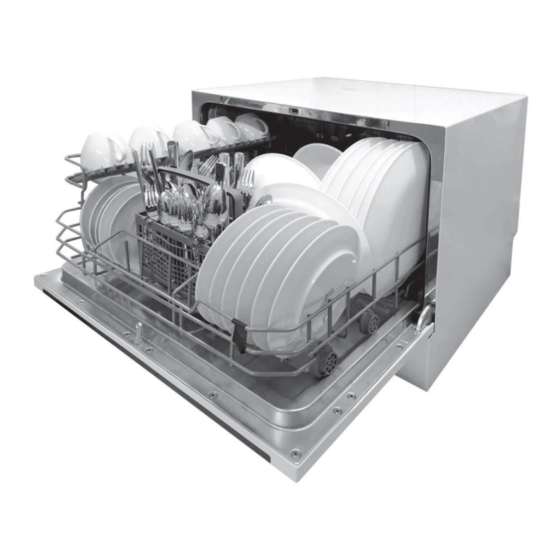
!nstructionManual
Free 3 months
extension
of the
Models:
original limited warranty
period!* Simply text a
CDC22P2AWW
picture of your proof of
purchase to:
CDC22P1ABB
1-844-224-1614
*The warranty extension is for the
three months immediately following
the completion of the product's
original warranty period.
Advertisement
Table of Contents


Need help?
Do you have a question about the CDC22P2AWW and is the answer not in the manual?
Questions and answers
How to videos