Advertisement
Quick Links
Advertisement

Subscribe to Our Youtube Channel
Summary of Contents for Cerio SP-800
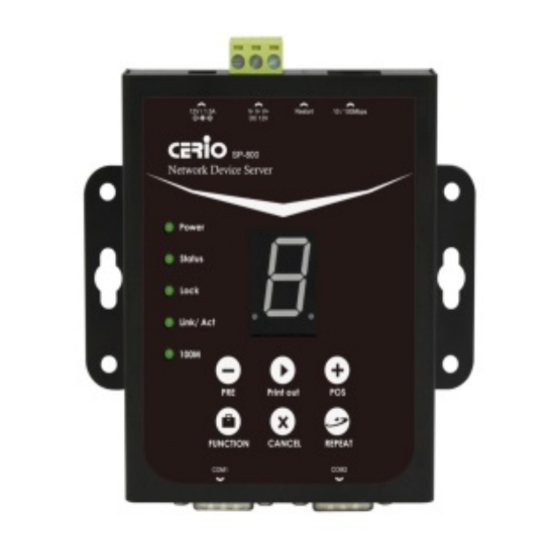
- Page 1 CERIO Corporation Network Control Server (SP-800) Quick Installation Guide...
- Page 2 CERIO's Web authentication device of the special use network control server (SP-800), the SP-800 must connect printer. Administrator can use SP-800 to generate a new account for the remote control Cerio's Web authentication device and print authentication account. You can refer to SP-800-PRINTER and SP-800-QRCPRT for Cerio's .
- Page 3 3. POS system application architecture for Hot spot Cerio's Web authentication POS system contains Controller + SP-800 + Thermal printer and Cerio’s Access Point etc. Cerio's controller mounted SP-800-PRINTER for POS system application diagram. Cerio's controller mounted for POS system application diagram.
- Page 4 4. Login management interface for SP-800 Network control server(SP-800) built-in web management interface. After install POS system architecture, administrator can use network connect to SP-800 interface and management. The SP-800 manager URL is http://192.168.2.253/setting.htm, please open IE or Firefox browser and enter URL address to set function.
- Page 5 2) Place the thermal paper in the printer groove 3) After pull the paper out a small portion please close the lid for thermal printer 1) SP-800 connection to thermal printer use console port 2) DC Power in. 3) Power on/off switch.
- Page 6 6. Install QR Code thermal printer Behind the printer connection functions support USB / console / RJ-45 /RJ-11 and Power. As follows DC in Console RJ-45 RJ-11 USB Port Connect the controller only need to use RJ-45 and power. # Login web page for QR Code printer. The QR Code printer support web management interface, administrator can login web page and modify IP address for the QR Code printer.
- Page 7 # Install or Replace Paper Roll for QR code printer 1) Pull the Cover Release Button to open the Cover. 2) Roll out and install the Paper Roll with Holder into the Printer. (with the edges of the paper roll holder fitted onto the holder slots) 79.5mm size for thermal paper 57.5mm size for thermal paper When using a paper roll in...
- Page 8 3) Please close the lid for thermal printer. #DIP Switch Setting for QR code Printer DIP Switch in printer bottom. Function Paper Cutter Yes* Audio Alarm Yes * Print Density Dark Light * Two-byte Character Code Character Per Line 48 * Cutter with Cash Drawer No * 7 &...
- Page 9 You can refer to “ Login management interface for SP-800” Steps2 If SP-800 with QR code Printer, administrator must set IP address for QR code Printer (same network segment for your network). You can refer to “ 6. Install QR Code printer ”...
- Page 10 IP address: Please enter IP address for SP-800 (You can refer to 4. Login SP-800) Command port: Please enter Command for SP-800 (You can refer to 4. Login SP-800) Printer Type: Administrator can select Printer for normal or QR Code Printer.
- Page 11 COM Port: Please select connection type for printer. 1. If use normal thermal printer and connect to com1 port of the SP-800, please select COM1 2. If use QR Code Printer, please select RJ-45 New Lock Password:Enter pass key of the DR-3000 to connect SP-800 ...
- Page 12 The counting will stop when users log out, and begin counting again once the user signs back in. PS. Package list (0~9) is Network control server (SP-800) code, administrator can choose number to print out account.
- Page 13 Hot spots web authentication architecture must be with combine Cerio's CenOS5.0 access point. As follows Steps7 Enable Web authentication for Cerio’s CenOS5.0 Access Point. (You can refer user manual for Access Point), As follows for Cerio’s Access Point. 1) Enables web authentication function. Please click “System””Authentication” for Cerio’s Access Point.
- Page 14 Set system time for Cerio’s Access Point. Please click menu “System””Time server”. Steps9 The system time is very important, administrator must set system time is right. Please click (Cerio’s Access Point) menu “System””Time Server” to set system time. PS. Recommend select update the system time for the NTP Server...
- Page 15 8. Other function for Access Point After wireless user connect to Cerio’s Access Point and open browser will display authentication page. As follows Administrator can click SP-800 “Print” button will print account and password of the tickets. As follows...
- Page 16 This login page can customize the user Login Page.
Need help?
Do you have a question about the SP-800 and is the answer not in the manual?
Questions and answers