Table of Contents
Advertisement
Quick Links
Advertisement
Table of Contents

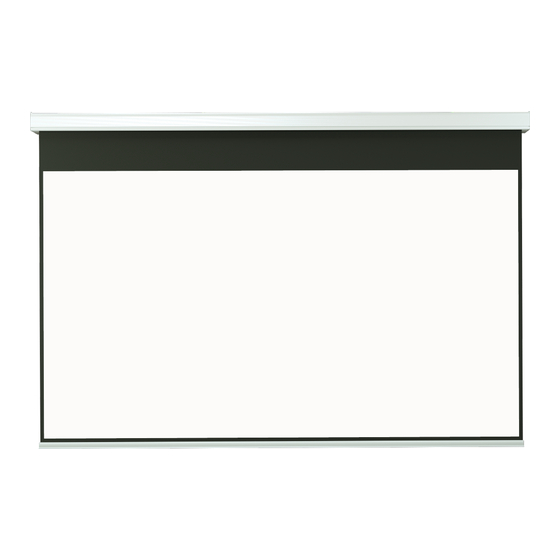
Summary of Contents for SCREENLINE BIG LODO EVOLUTION
- Page 1 BIG LODO EVOLUTION Istruzioni – Instructions...
- Page 2 Posizionare l’imballo all’interno della sala di installazione assicurandosi di preparare lo schermo con il verso nella giusta direzione. Place the empty packaging in the installation room making sure that the screen is positioned with its front side in the right direction. FRONT Disimballare lo schermo.
- Page 3 236,6 9 [ 0,34] B ( 1 : 2 ) 28,4 B ( 1 : 2.5 ) 23,9 249,5 Ruotare il gancio. Preparazione staffa. Separare la parte da installare allo schermo. Se bloccato aiutarsi spingendo il gancio con il cacciavite. Wall brackers installation.
- Page 4 Preparazione staffa: Separare la parte da installare allo schermo. Wall brackets installation 400/600 mm 400/600 mm Installa le staffe a muro secondo l’indicazione 400/600 mm. Sullo schermo troverai le viti nella posizione corretta 400/600 mm. Install brackets according to the indication 400/600 mm. The screws will be already in the correct position 400/600 mm.
- Page 5 Installazione staffe a parete Wall brackets installation Installazione staffe a soffi tto Ceil brackets installation Installazione schermo Screen installation Ruotare il gancio per chiudere la staffa Rotate the hook to lock the bracket...
- Page 6 In caso di installazione ad americana: Staffa Aliscaf In case of truss installation: Aliscaf brackets Distanza max/Max distance 255mm Distanza min/Min distance 145mm Rimuovere parte inferiore staffa Vedi pagina 4 per installare parte inferiore della staffa allo schermo Remove the lower part of the bracket.
- Page 7 Staffa a golfare Eyebolt bracket Rimuovere parte inferiore staffa Vedi pagina 4 per installare parte inferiore della staffa allo schermo Remove the lower part of the bracket. See page 4 to intall the lower part of the bracket to the screen Ruotare il gancio per aprire o chiudere la staffa Rotate the hook to open and close...
- Page 8 Installazione catena di sicurezza Wall safety chains Regolazione contrappeso per flettere la tela dello schermo. Solo in caso di pieghe Regulation of the counterweight in order to flat the fabric. Just in case of waves. ATTENZIONE/WARNING La tela in PVC è molto sensibile al calore. In un ambiente molto caldo la tela può ammorbidirsi eccessivamente ed allungarsi verso il basso alterando il rapporto video.
- Page 9 L’installazione elettrica deve essere effettuata da personale qualifi cato. Electrical installation must be carried out by qualifi ed personnel. Junction box (not included)
- Page 10 UNITÀ DI PROGRAMMAZIONE DEL FINECORSA ELETTRONICO LIMIT-SWITCH PROGRAMMING UNIT COLLEGARE DIRETTAMENTE AL MOTORE CONNECT DIRECTLY TO THE MOTOR...
- Page 11 CANCELLAZIONE/MODIFICA DEL FINE CORSA INFERIORE AVVERTENZA: Per modificare i punti impostati è necessario procedere alla cancellazione dei punti preimpostati dalla fabbrica. QUANDO SI REIMPOSTA IL PUNTO DI FINE CORSA INFERIORE È FONDAMENTALE NON MODIFICARE OLTRE I 10 CM IN PIÙ O IN MENO IL PUNTO GIÀ IMPOSTATO DI DEFAULT (ALTRIMENTI DECADE LA GARANZIA) IL FINE CORSA IN ALTO SI REGISTRA IN AUTOMATICO.
- Page 12 INFERIOR LIMIT POINTS’ CHANGING WARNING: When delivered, the motor is set on “working” mode. To change the set points it is necessary proceed with the cancellation of the points set by the manufacturer. IT IS ESSENTIAL NOT TO MODIFIY THE DOWN LIMIT POINT SET BY MANUFACTURER OVER ± 10 CM. (Otherwise the warranty shall not apply).
-
Page 13: Norme Generali
NORME GENERALI ATTENZIONE: Importanti istruzioni di sicurezza. Attenersi alle istruzioni poichè l’installazione impropria può provocare gravi ferite. Assicurarsi sempre di aver letto e compreso bene le istruzioni e le avvertenze contenute in questo manuale prima di iniziare a utilizzare il prodotto e di effettuarne qualsiasi intervento di manutenzione. DIVIETO ASSOLUTO DI INSTALLARE GLI SCHERMI SOPRA ZONE DI POSSIBILE TRANSITO DI PERSONE. -
Page 14: Smaltimento Del Prodotto
SMALTIMENTO DEL PRODOTTO Come le operazioni d’installazione, anche al termine della vita di questo prodotto, le operazioni di smantellamento devono essere eseguite da personale qualificato. Questo prodotto è costituito da vari tipi di materiali: alcuni possono essere riciclati, altri devono essere smaltiti. Informatevi sui sitemi di riciclaggio o smaltimento previsti dai regolamenti vigenti nel vostro territorio per questa categoria di prodotto. -
Page 15: Pulizia E Manutenzione
The Fabric of projection is a cadmium-free plastic pvc sheet plastified PVC impregnated, any fabric can be classified in category: - M1 and M2 fire classification under French standards (LNE Laboratoire national de métrologie et d’essais – SME Centre de recherches du Bouchet - WARRINGTONFIRE GENT Laboratoire de métrologie et d’essais –... -
Page 16: Garanzia
brackets must be checked regularly. In case of canvas deformation or rips, or loosening of structural components such as brackets or screws, action must be taken immediately to clear the area around the screen and avoid hazard to people and things, replace the defective component and restore the product’s functionality. DISIMBALLO DELLO SCHERMO E MOVIMENTAZIONE PRODOTTO Assicurarsi che nessuna parte dello schermo sia stata danneggiata durante il trasporto. - Page 17 NOTE...
- Page 18 NOTE...
- Page 19 NOTE...
- Page 20 38060 Besenello (TN) Via Nazionale, 1/n - 1/u | +39 0464830003 info@screenline.it | screenline.it...


Need help?
Do you have a question about the BIG LODO EVOLUTION and is the answer not in the manual?
Questions and answers