Table of Contents
Advertisement
Quick Links
1. Accessories
Item
A
B
C
3P-ACTrunk Port Disconnect Tool
D
3P-ACTrunk Connector Unlock Tool
E
F
M8*25 screws (Prepared by the installer)
G
H
3P-ACTrunk Cable, 12/10 AWG Cable
*Note:
All accessoriesabove are not included in the package and should be purchased
separately.
2. Installation Steps
The order of Step 1 and Step 2 can be reversed according to your planned needs.
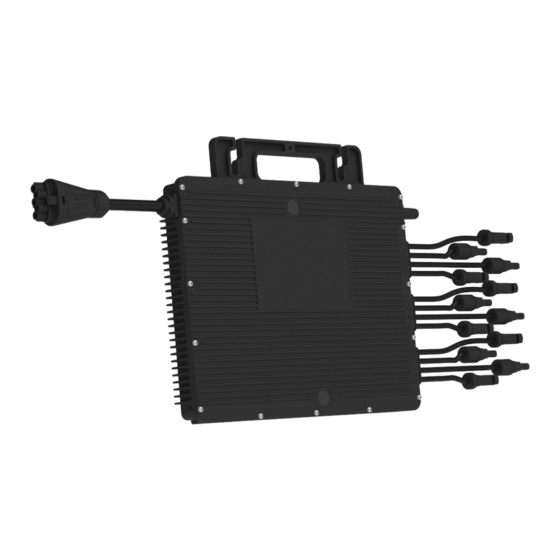
Step 1. Plan and install the Microinverter
A ) Mark the position of each microinverter on the rail, according to the PV module layout.
B ) Fix the screw on the rail.
C ) Hang the microinverter on the
screws, and tighten the screws. The silver
cover side of the microinverter should be
facing the panel.
Note:
1. Install the microinverter and all DCconnections under the PVmodule to avoid direct sunlight, rain exposure,snow buildup,
UV,etc.
2. Leaveat least 2 cm of spacearound the microinverter enclosure to ensure ventilation and heat dissipation.
3. Mounting torque of the 8 mm screw should be 9 N·m.Pleasedo not over-torque.
Step 2. Plan and Build the 3P-ACTrunk Cable
3P-ACTrunk Cable is used to connect the microinverter to distribution box.
A ) Determine how many microinverters you plan to install on each ACbranch and prepare AC Trunk Connectors
accordingly.
B ) Take out segments of ACTrunk Cable as you need to make AC branch.
1 ) Disassemble the ACTrunk Connector and remove the cable.
- Use the 3P-ACTrunk Connector Unlock Tool
to unlock the connector upper cover.
- Loosen the three screws with screwdriver.
Untighten the cap and remove the cable.
2 ) Install the 3P-ACTrunk End Cap at one side of 3P-ACTrunk Cable (The end of 3P-ACTrunk Cable)
- Insert the 3P-ACTrunk End Cap and screw
the cap back to port, then tighten the cap.
- Plug the upper cover back to the Trunk
connector.
3 ) Install AC end cable on the other side of 3P-ACTrunk Cable (connected to the distribution box)
- Unlock the port upper cover, loosen the screws
with screwdriver and remove the extra cable.
(Skipthis step if there is no cable at this side.)
Region: Global AP040390 REV1.1
© 2020 Hoymiles Power Electronics Inc. All rights reserved.
HMT-2250/1800-6T Quick Installation Guide
Description
3P-AC Trunk End Cap
3P-ACTrunk Connector
3P-ACTrunk Port Cap
DC Extension Cable,1m
A
B
C D
E F
H
G
Mounting Torque : 9 N·m
5.5±0.5N·m
click
01
Advertisement
Table of Contents

Summary of Contents for Hoymiles HMT-2250/1800-6T
- Page 1 3 ) Install AC end cable on the other side of 3P-ACTrunk Cable (connected to the distribution box) - Unlock the port upper cover, loosen the screws with screwdriver and remove the extra cable. (Skipthis step if there is no cable at this side.) Region: Global AP040390 REV1.1 © 2020 Hoymiles Power Electronics Inc. All rights reserved.
- Page 2 DTUand set up monitoring system. minutes. Product information is subject to change without notice. (Pleasedownload reference manuals at www.hoymiles.com). Region: Global AP040390 REV1.1 © 2020 Hoymiles Power Electronics Inc. All rights reserved.


Need help?
Do you have a question about the HMT-2250/1800-6T and is the answer not in the manual?
Questions and answers